
Hi and Merry Christmas to you all. Although the circumstances are not ideal, I hope you've managed to enjoy this time of year as best as you can. Do you find that crafting sooths the soul like I do? For me, it's a real calming hobby and it brings me so much joy to be able to share in our crafty community.
Today, I'm sharing some lunar delights using the new Tonic Studios, Stamp Club Shoot for the Moon.
What is Stamp Club?- Monthly Stamp release to be launched on the last Friday of every month (holidays permitting).
- Not a subscription based program.
- Shoot For The Moon stamp and die set will only be sold as a bundle.
- Limited stock available.
- Retail value £39.99 / $39.99 so you receive a £/$5 savings.
- Exclusive to Tonic Studios.
- Inspired by Maria Willis.
- Tonic dies are amazing and come pre-cut/separated with no burs.
- Stamps and dies come in high quality plastic envelopes with a tab for labelling and binder holes on the side and are compatible with all Tonic Studios A5 binders.
- Monthly Stamp release to be launched on the last Friday of every month (holidays permitting).
- Not a subscription based program.
- Shoot For The Moon stamp and die set will only be sold as a bundle.
- Limited stock available.
- Retail value £39.99 / $39.99 so you receive a £/$5 savings.
- Exclusive to Tonic Studios.
- Inspired by Maria Willis.
- Tonic dies are amazing and come pre-cut/separated with no burs.
- Stamps and dies come in high quality plastic envelopes with a tab for labelling and binder holes on the side and are compatible with all Tonic Studios A5 binders.
**GIVEAWAY ALERT**
ONE lucky winner will win a £50/$50 Gift Card for Tonic Studios AND Shoot for the Moon bundle! To enter comment on every blog in the hop by 11:59PM PST on January 3rd, 2021. Winner will be announced on January 5th on Instagram and Facebook so make sure you're following all accounts!
What you receive when you purchase Stamp Club 4, Shoot For The Moon.

- One large 6 inch by 8 inch stamp set containing 15 stamps.
- One large 6 inch by 8 inch die set containing 11 dies, 2 of which are embossing plates.
- The concept for this month's stamp and die set is is all about creating wonderful scenic cards using the stamps, dies and additional embossing plates. You can create magical starlight skies for any time of the year using this cleverly imagined bundle.

Slimline Card 1 - French Wine

- Cut slimline watercolour card base 8.5" x 3.5" and watercolour panel 8.25" x 3.25"
- Watercolour sky with French Wine, Wild Phlox and Obsidian Black onto your panel, leaving a border. Allow to dry.
- Splatter white, copper, gold and black ink onto your background. Set aside.
- Die cut the trees and full moon with white card and double sides adhesive sheets.
- Add Copper and Gold Gilding Flakes to your die cuts and brush off.
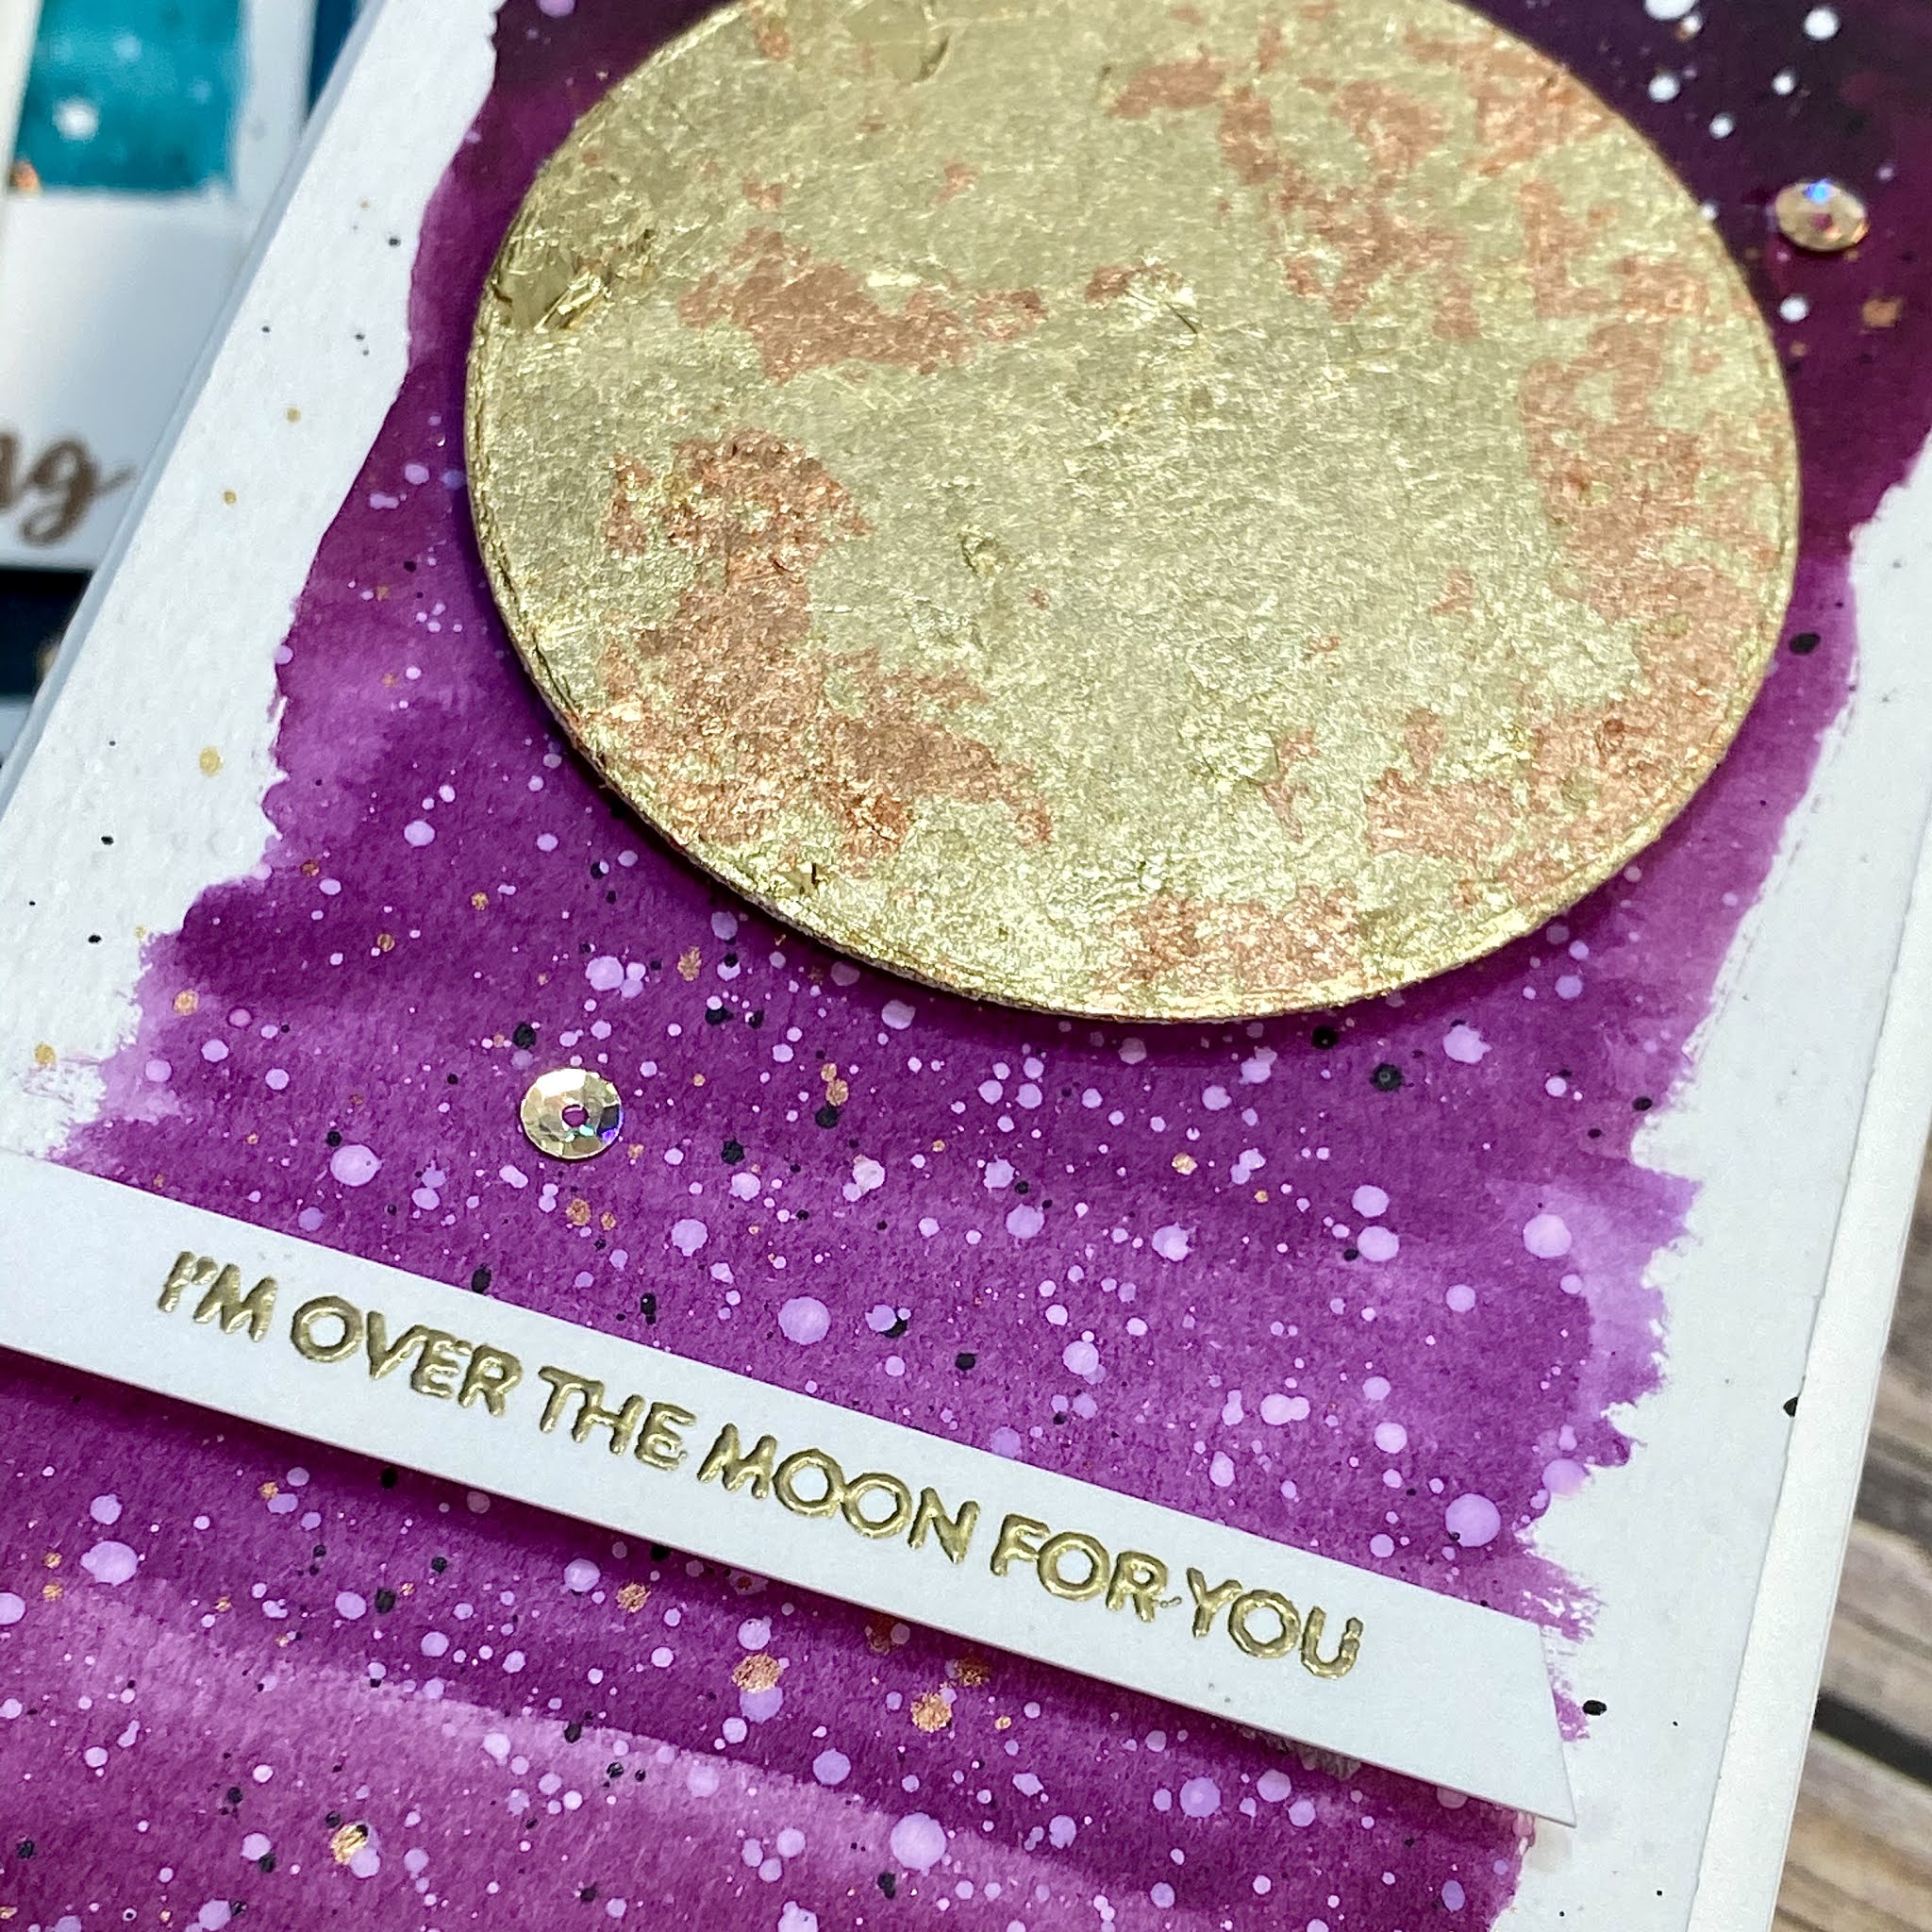
- Attach your gilded die cuts to the watercoloured panel with foam pads.
- Gold heat emboss sentiment and attach.
- Add Champagne Shine sequins to finish, and attach to card base.

Slimline Card 2 - Empress Teal

- Cut slimline watercolour card base 8.5" x 3.5", Teal Craft Perfect Panel panel 8.25" x 3.25", and watercolour panel 8" x 3".
- Watercolour sky with Empress Teal, True Turquoise and Obsidian Black onto your panel, leaving a border. Allow to dry.
- Splatter white, copper and black ink onto your background. Set aside.
- Die cut the small crescent moon with white card and double sides adhesive sheets.
- Add Copper Gilding Flakes to your die cut and brush off.
- Attach your gilded moon to the watercoloured panel with foam pads.
- Die cut your small star plate dies each twice in white watercolour card.

- Attach the die cut stars until your happy with the overall look.
- Attach your Teal card panel to your base, then add your finished panel.
- Complete your card with Champagne shine sequins.

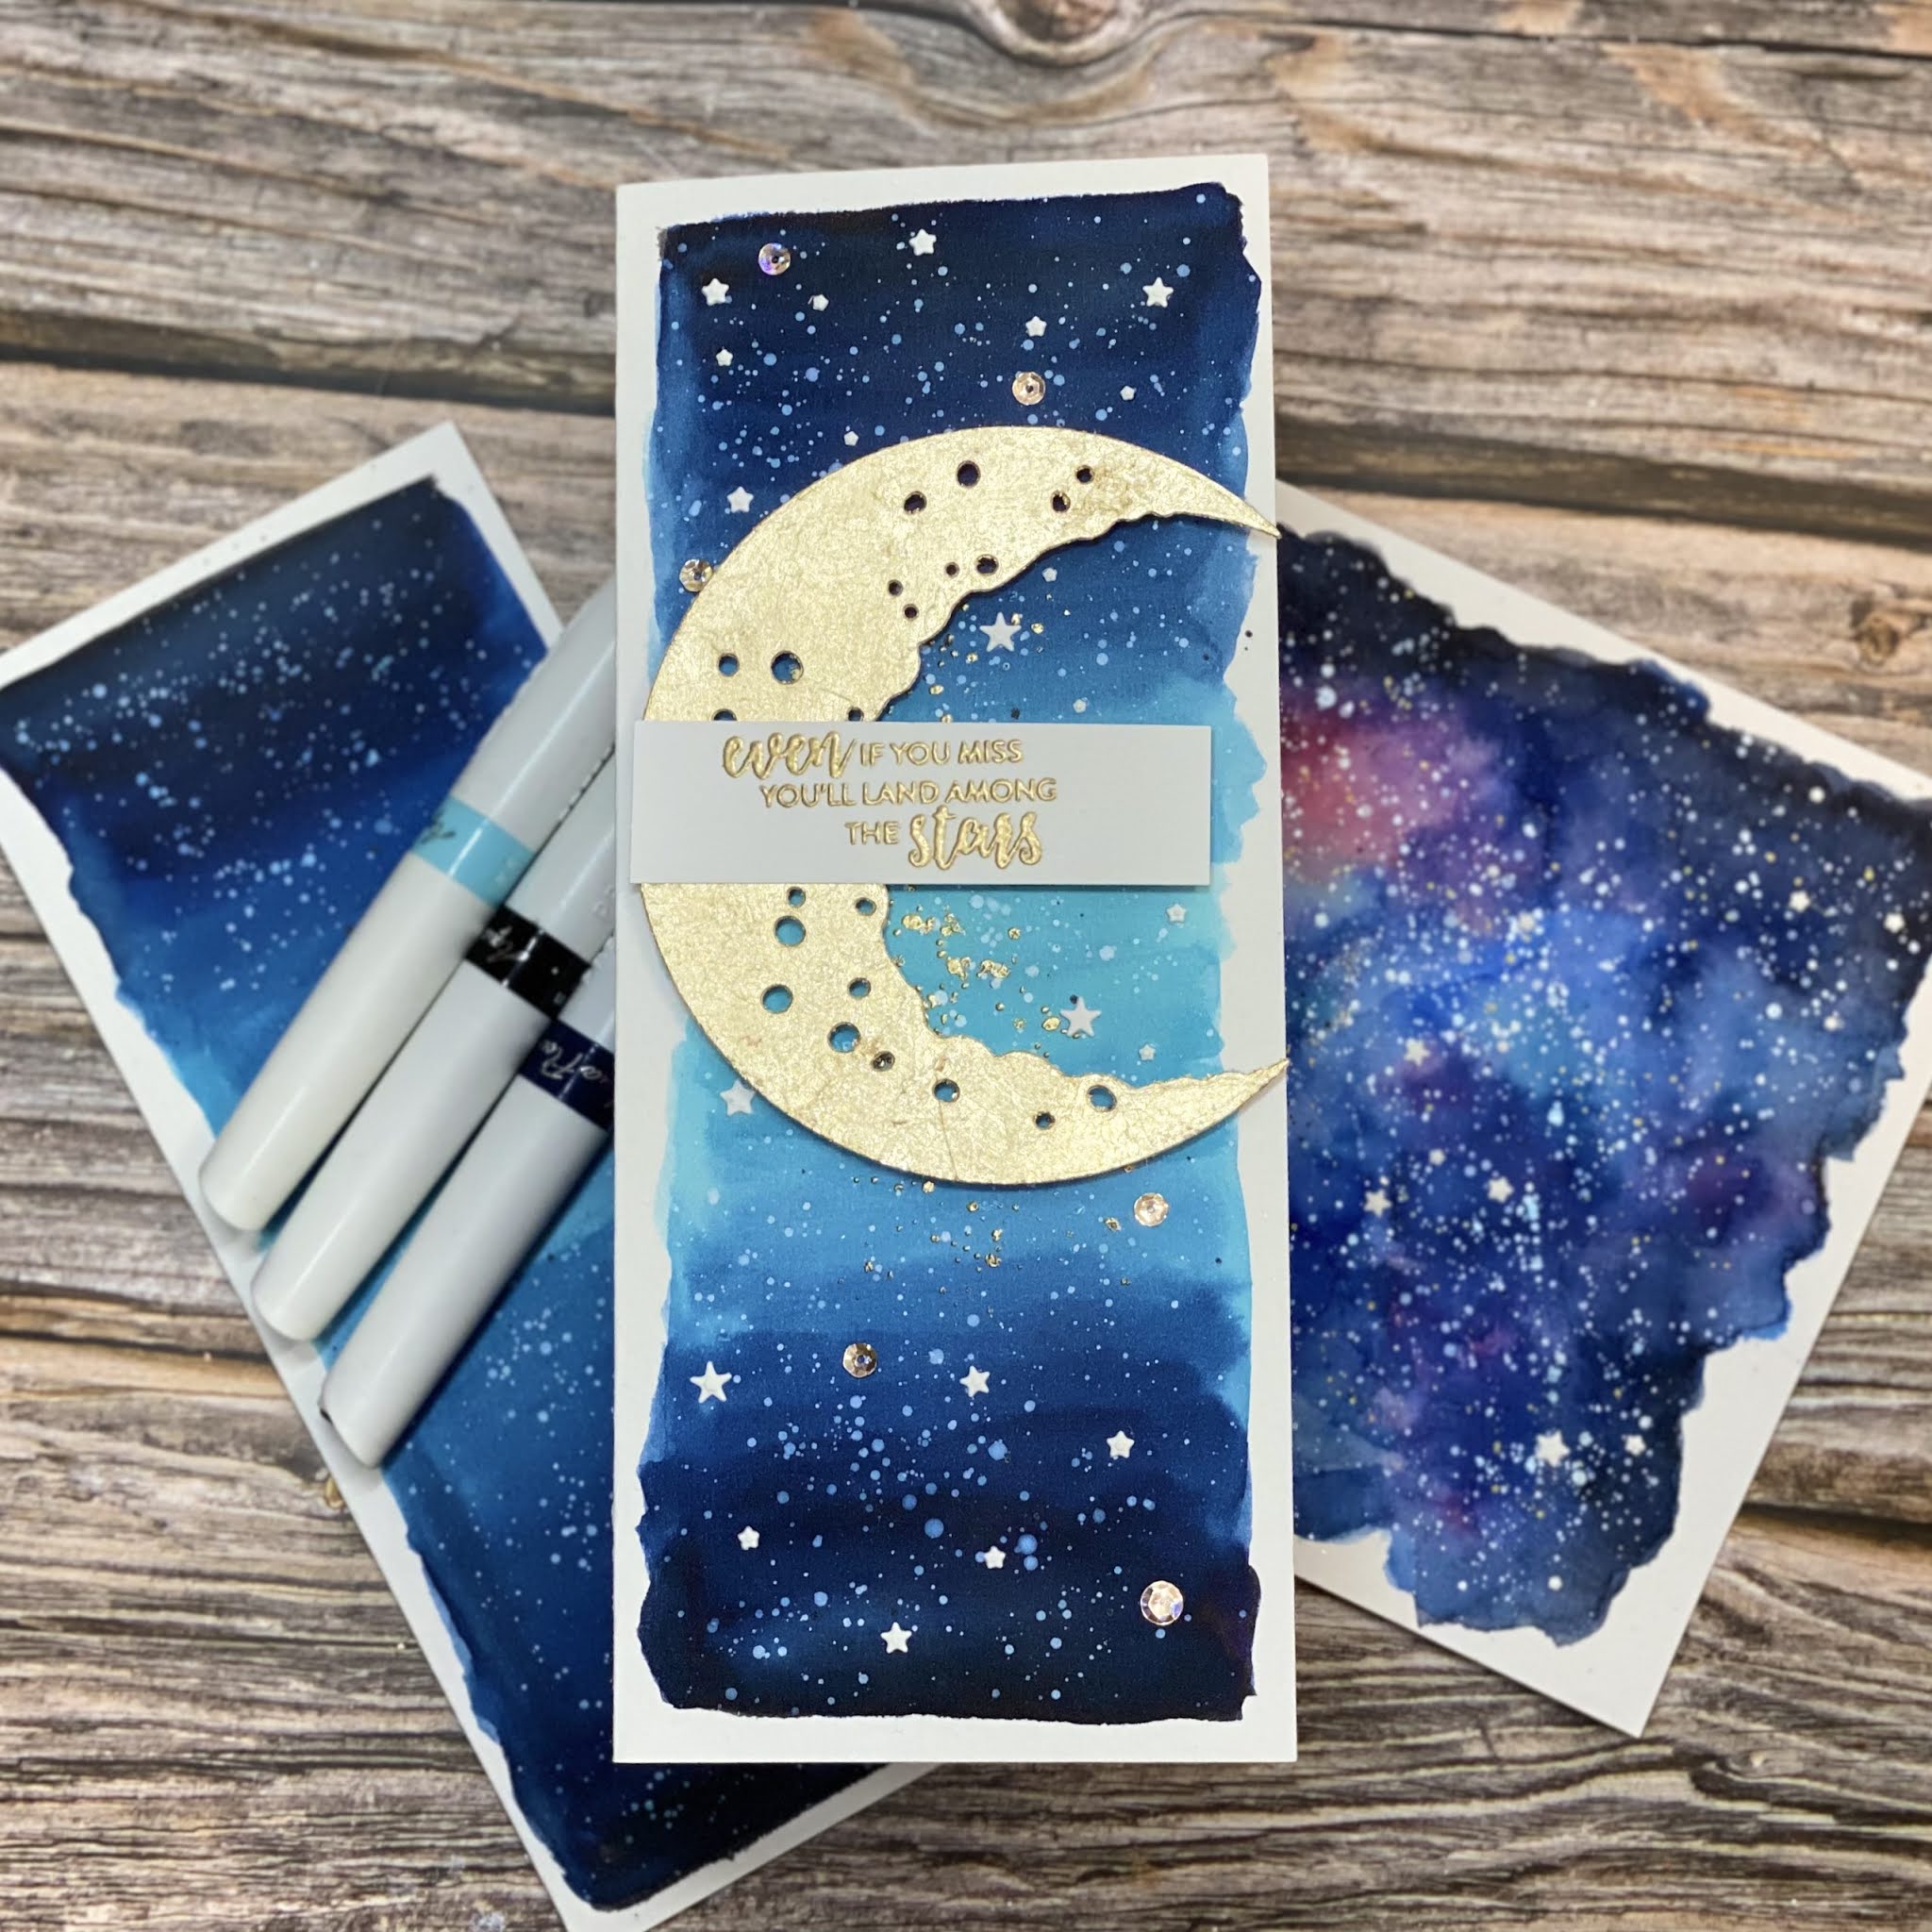

- Cut slimline watercolour card base 8.5" x 3.5".
- Watercolour sky with Blue Velvet, Clear Water and Obsidian Black directly onto your card base, leaving a border. Allow to dry.
- Gold heat emboss the splatter stamp over your watercolour as shown.
- Splatter white, gold, and black ink onto your background. Allow to dry.

- Die cut the large crescent moon with white card and double sides adhesive sheets.
- Add Gold Gilding Flakes to your die cut and brush off.
- Attach your gilded moon to your card with foam pads.
- Die cut the small star plates with white watercolour card.
- Gold heat emboss your sentiment.
- Attach the die cut stars.
- Attach the sentiment on top of your moon and add Champagne shine sequins to finish.
Full YouTube Video with all 3 cards can be seen here. Click the photo link below.
I hope you love this set as much as I do! Next on the BLOG HOP IS the amazing Jennifer Kotas!
Maria Willis
Michelle Short
Mindy Eggen
Seeka
Amber Rain Davis
Daniel West
Ilda Dias
Jen Kray YOU ARE HERE
Jennifer Kotas <----- NEXT
Lydia Fiedler
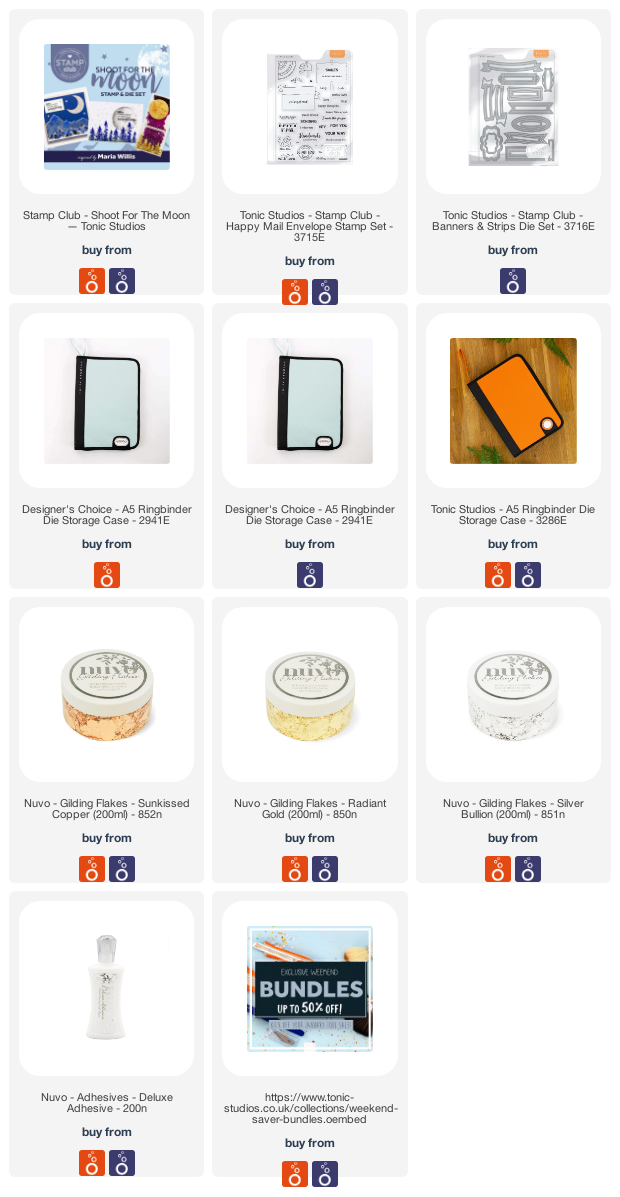
Shopping List (UK Orange/USA Blue)
Stamp Club Shoot For The Moon UK
Some of the links I use are affiliated. This means I make a small commission when you purchase though them but don't worry, this won't affect the cost to you. I am so grateful for the support. Lots of love, Jen xx
love the space the moons take-up on the tall & skinny design
ReplyDeleteSo striking! Thank you for the inspiration.
ReplyDeleteAwesome backgrounds for these beautiful cards, and I love the gold! Really awesome stamps and dies for these fabulous scenes!
ReplyDeleteVery nice cards. Love this set so much!
ReplyDeleteThis set is perfection. Lovely cards! I am imagining all the possibilities!
ReplyDeleteLove your cards! Thanks for sharing your techniques!
ReplyDeleteYour cards just pop, so pretty! Great cards to show off this release.
ReplyDeleteWow! Your cards are amazing! I love the jagged edges of color on the sky! The gold images really pop!
ReplyDeletebeautiful cards, you backgrounds are stunning.
ReplyDeleteI love this set and your cards are gorgeous!
ReplyDeleteI have never done foiling, and I think this set is screaming to be foiled! I love the organic feel it gives this glorious stamp and die set! Stunning backgrounds!
ReplyDeleteI really like these cards. Sparkly and fun!
ReplyDeleteThe gilding flakes make the moon and these cards POP like nothing else! Absolutely gorgeous. If I don’t win this set I will be buying it!
ReplyDeleteYour moons and skies are just gorgeous! Using the gilding flakes really steps up the designs.
ReplyDeleteAll the different faces of moon set on brilliant colored skies are a delight. After your card and a beautiful video I realized how many colors the sky changes as the phases of the moon.. Love the glitter and such a lovely card ❤️❤️❤️
ReplyDeleteBeautiful cards! Thanks for sharing
ReplyDeleteI’m not a stamper but really liked this set and the sentiments in it. I’m not meant to have it though, it’s sold out! Serves me right for dallying. Beautiful makes by the way.
ReplyDeleteWow, these cards are so beautiful and one of a kind. I could not get my hands on this month’s Stamp Club Kit hence I am grateful for the chance of winning it.
ReplyDeleteWOW! Your cards are gorgeous! Thank you for sharing the instructions on how to make them.
ReplyDeleteWant want want
ReplyDeleteLove the different color backgrounds. The die set speaks for itself. Thank you for sharing
ReplyDeleteSo pretty … your cards are amazing........would love to win❤️❤️❤️❤️❤️
ReplyDeleteLoving the watercolored backgrounds and all the shimmer and shine. Beautiful!
ReplyDeleteLove your backgrounds, so simple, but they stand out with the gold and copper guilding flakes against them, so elegant, would love to win this set.
ReplyDeleteOhhhh! The foiling on these is stunning!
ReplyDeleteSaw your cards and ordered mine right away. Love how you use the waterbrush pens as a background they are stunning. Pauline T
ReplyDeleteLove the bright and cheerful colours! These cards are all stunning! I liked your use of the gilding flakes. Inspiration for me to try something new. Keep creating!
ReplyDeleteBeautiful cards, thanks for sharing
ReplyDelete