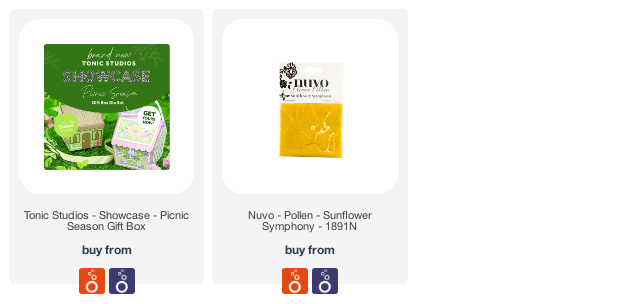
Hi there. Today I'm sharing a few projects I've made using the new Showcase Picnic Basket, which is a beauty! There are a ton of photos and a YouTube tutorial below, plus a link to the set if you'd like to have a closer look.
Project 1
This bright and vibrant picnic box opens on one side and is made with beautiful reds, yellows, and whites.
This is hot glue and pollen, an excellent technique for your floral centres.
 Project 2
I've mixed a few of the panels from Showcase 1 - Out For Lunch with this new set to give you a watercolor beauty! I love coloring my die cuts and this box was no exception. I've left both sides unglued just like a picnic hamper.
The butterflies and love sentiment plus the side panels are all from Showcase 1, the rest of the panels and the picnic box share are all part of the new die set.
I love the gorgeous handle, it really brings the picnic basket to life.
Those large leaves are divine. I'm a sucker for leaves and foliage and these large uns don't disappoint.
 Project 3
For my last project I made a fun tulle shaker card. This was a much quicker make and there's no need for shaker tape or acetate if you use tulle - which I absolutely adore! I also made dazzlers to go in the centre of the flowers, with hot glue and glitter.
The panels I used to create the shaker are from the Picnic Basket set and look just as lovely as cards.
Thanks so much for joining me today and swinging by. I'd love to know if you like these projects and if you're more a paper piecer or watercolorer with your die cutting. I love both, but lean towards watercoloring.
 Some of my links are affiliated, which means I make a small commission when you purchase through them but don't worry, this doesn't affect the cost to you.
 SHOPPING LIST


Cute Jen, can't remember if I got this set yet. lol Glad this was a larger box. Thank you for sharing!!
ReplyDelete