The Nuvo Classic Color Pencils contains a highly pigmented, rich wax core. The pencils will blend together to create a beautiful range of shades and hues. You can use alongside a paper stub and blending solution or a colorless blending pencil for a smooth finish on your projects.
The Classic Color Pencils can also be used in conjunction with the Nuvo Alcohol Marker range pens to add more detail in your cards and colored images.
There are two sets of color pencils, Hair & Skin Tones, and Brilliantly Vibrant. Each tin contains 12 gorgeous colors and features a traditional ergonomic triangular-shaped barrel for comfort while coloring.
- light pressure
- heavy pressure
- gradate (heavy to light pressure)
- hatching (lines)
- cross hatching (lines cross each other, think x's)
- burnish (gradate then use eraser or colorless pencil to blend)
- layer - darker color covers the top half, lighter color covers the left half.
- gradate - light pressure - gradate left to right then take lighter color right to left with light pressure
- gradate - heavy pressure gradate left to right then take lighter color to right to left with heavy pressure
- gradate + white gradate as step 3 then gradate right to left with white
- gradate + grey same as above
- gradate + black gradate black left to right then add another color right to left.
Project 1 - Quick Unicorn Tag
You can make a quick gift tag in a matter of minutes with this sweet unicorn stamp. Simply color in the mane and tail. There is no shading or techniques, just throw the color on and you've created a quick and easy tag.
Project 2 - Oval Tag Rainbow Hoop
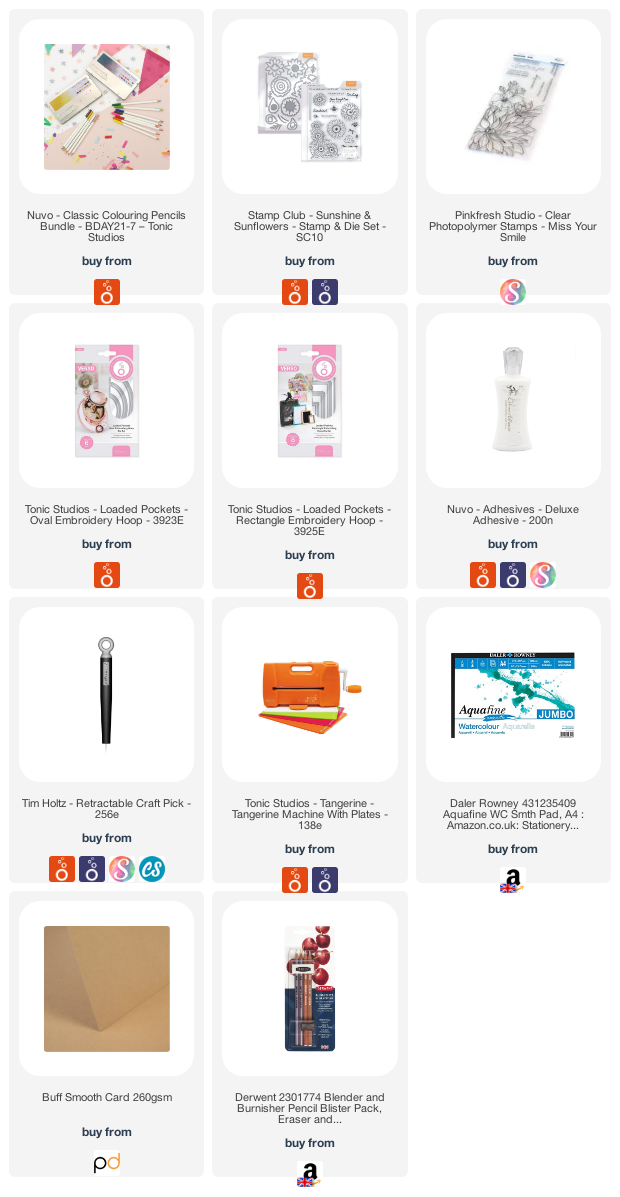
This oval tag showcases the vibrant rainbow colors of the pencils. I've used miss your smile stamp set from PinkFresh Studios and the oval embroidery hoop from Tonic Studios.
Project 3 - Birthday Sunflowers
Stamp out the sunflower on color pencil paper.

When coloring these images you want to work light to dark.
 Color with red, orange, and yellow from the set. You can go back to create multiple layers but make sure you are not using heavy pressure.
  Continue adding layers
  Create some darker areas with your red pencil.
  Color in the center with the same three colors then add browns for a darker center. I use a colorless blending pencil to smooth out my colors.
  Continue to stamp and color images. Add white gel detail for highlights.
  Die cut your images and put aside. Die cut your hoop in buff card and the inner layer in white watercolor card. assemble your pieces and add some black and white dotted ribbon to the top of your hoop. Add clear Nuvo Drops and a happy birthday sentiment to finish. I hope that I've given you a few ideas to use with the color pencils. These are an amazing price until Sunday due to celebrating Tonic's Birthday! Thank you for visiting my blog today, I'm so grateful for you.


Comments
Post a Comment
Thank you for taking the time to read my blog today. I am thankful for the people in my life and although the world seems upside down at the moment, the joy of craft brings us all together.