
Today I’m sharing a super fun tutorial with the brilliant ‘Ahoy Sailor’ Stamp
and Die Set! I absolutely love everything about this set, from the wave die, to
the gorgeous little sailboat, the clouds, and delightful seaside cliff. This is
a perfect set for stampers, scene building, and die cutters.
*Thank you for using my affiliate links to shop, your support means so much to me, and I shall endeavour to share as many inspirational posts as possible.
There's some awesome Cyber Deals going on this week over at Tonic Studios, you can visit the UK SITE HERE and the USA SITE HERE

Materials
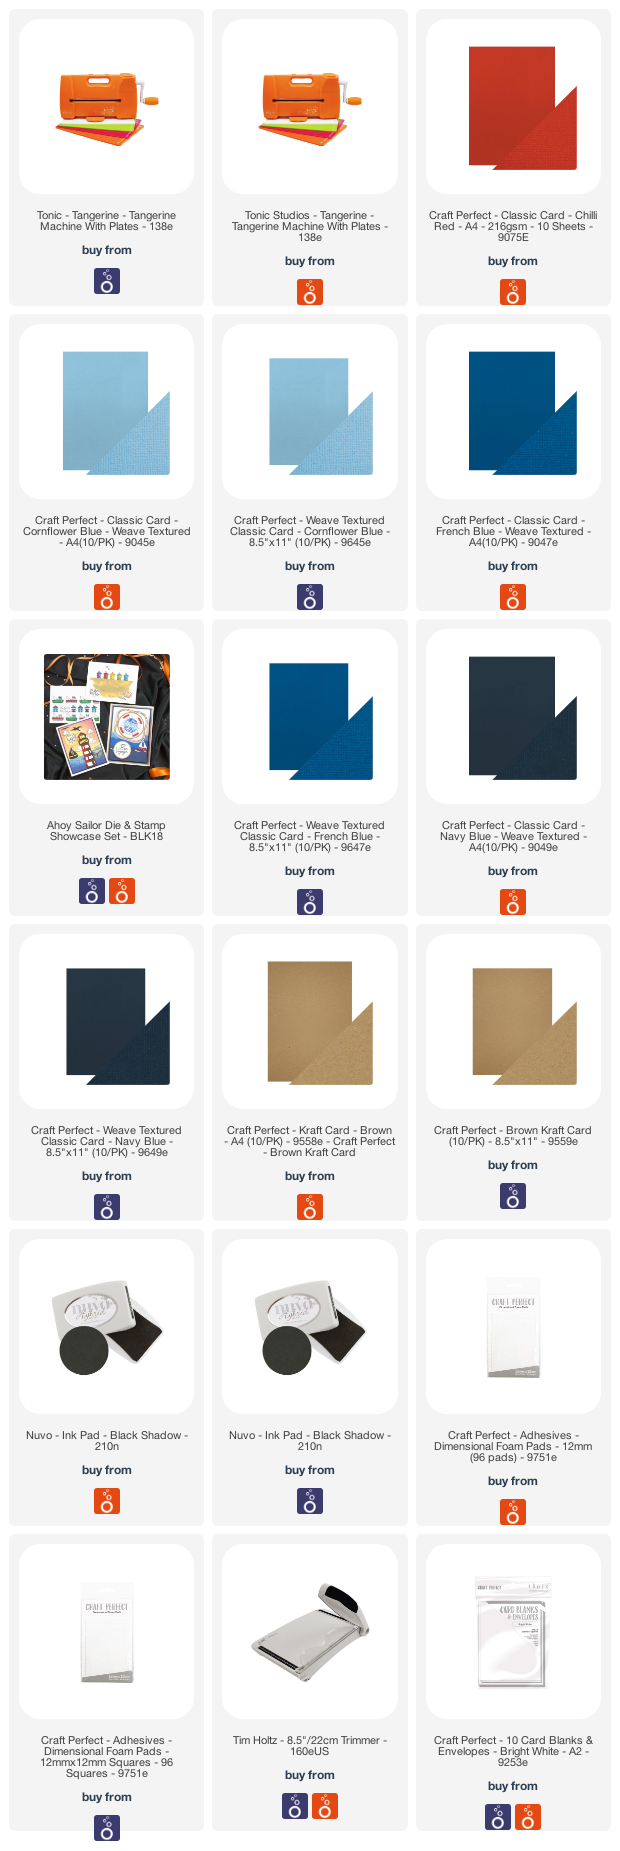
Tangerine Die Cutting Machine
Tim Holtz Stamping Platform
Craft Perfect 216gsm Card – Chilli Red, Cornflower Blue, French Blue, Navy
Blue.
Buff or Kraft Card, Smooth White Card
Nuvo Black Hybrid Ink
Nuvo Alcohol Markers, 379, 381
Nuvo Deluxe Adhesive
Craft Perfect Foam Pads
Tim Holtz Trimmer
Craft Perfect A2 Card Blank
The Project

- Cut Cornflower Blue, French Blue, Navy Craft Perfect card approx. 4 inches wide, using the wave generator die.
- Cut panel from smooth white card, 3.5 inches by 4.75 inches, and stagger the ombre waves as shown. Trim to size, attach with foam pads and set aside.
- Die cut the pieces shown, in Chilli Red and White.
- Next, die cut the smaller circle sentiment in white with the backing plate in Cornflower Blue.
- Paper piece the waves in the circle sentiment, French Blue.
- Die cut the large Rope die in Kraft or Buff card.
- Add inky details with Nuvo Hybrid Inks, Soft Suede and Rich Rosewood.
- Adhere and Layer the circle die cuts into the larger rope, and add a white backing plate.
- Attach your large sentiment piece to the top of your wave card panel.
- Stamp out Bon Voyage using Black Hybrid Ink and die cut using the circle in the set.
- In addition to the plain circle, die cut the larger circle, as shown, in Kraft or buff and adhere together.
- Die cut the sailboat in smooth white card and color the bottom of the boat and flag with 379, and 381 Nuvo Alcohol Markers.
- Adhere your waves panel to a navy layer, 3.75 inches by 5 inches, and then a Kraft or Buff layer, 4 inches by 5.25 inches.
- At this point I decided to make two more waves, one white and the other navy. This would be attached at the bottom of the card to add more depth.
- Attach the additional waves, with the white peaking out, the Bon Voyage circle sentiment and sailboat to complete the look of this card.

Comments
Post a Comment
Thank you for taking the time to read my blog today. I am thankful for the people in my life and although the world seems upside down at the moment, the joy of craft brings us all together.