
Hi friends, and happy Fri-yay! I hope that you have all had a great week, and that you are able to relax, and unwind this coming weekend. For me, it's going to be a busy one with a little cardmaking, and some house re-arranging. This means that I will, in the next month or so, have an actual craft room! Now, don't get too excited because it's extremely small, even in UK terms, and would class it as a small box room - but it will be my space, and that fills me with so much happiness as I'm currently using a small corner of a room. Yippee!
On that note, let me share with you two cards using some of the same products.
**Thank you for using my affiliate links to shop, your support means more to me than ever. If you're here, that means you enjoy my posts and find them inspirational, and I'll strive to create quality tutorials and projects .**
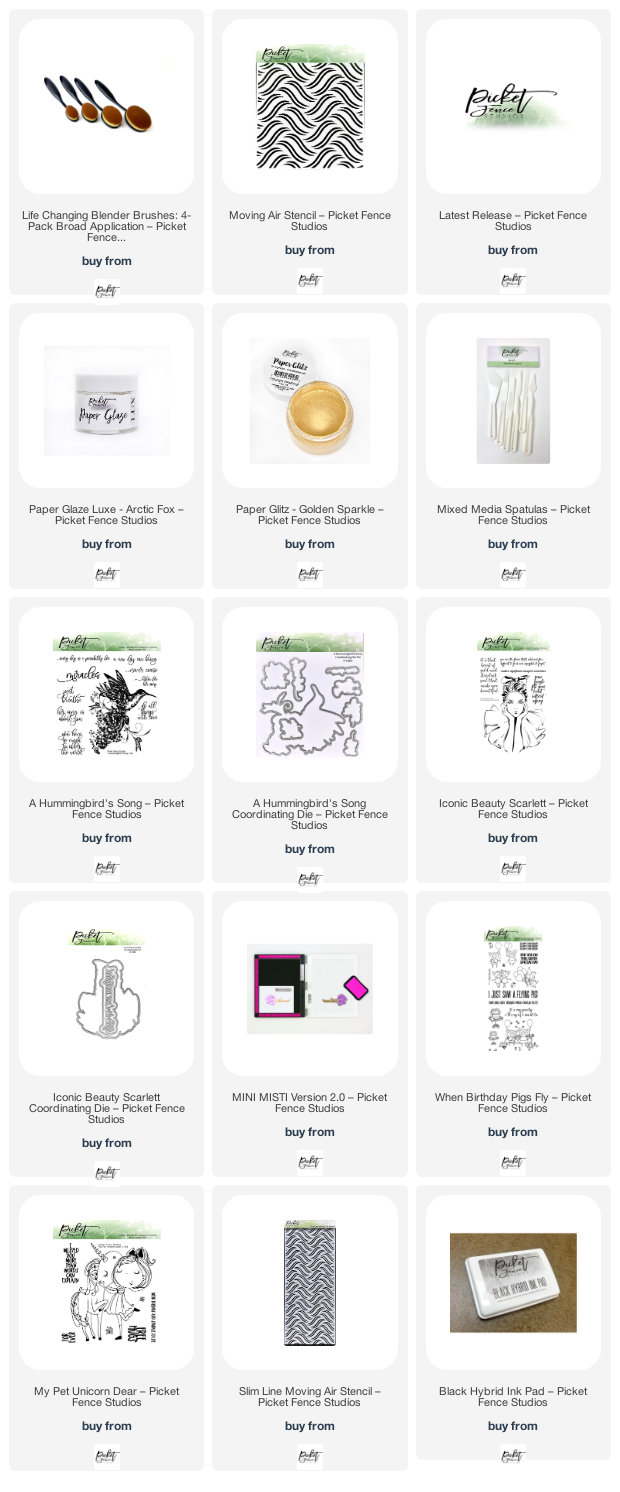
PFS Materials
Project One
I thought we'd talk about card one for a moment and to show you what the stamp looks like without the extra details from a fineliner pen, particularly on her dress, bow, and socks.

- Use the 6x6 stencil to ink-blend Salvaged Patina Oxide onto a watercolor panel 4.5" x 3.25".
- Trim a piece of vellum 3.5" x 2.25" and white heat emboss the Happy Birthday sentiment until the whole panel is covered.
- Stamp out the main image, and color with Ohuhu Alcohol Markers.
- Die cut the stamped image, and assemble elements onto an A2 card base.

I love her and think she's absolutely adorable!

Project Two, Adding Details to stamped images
We'll step up the detail for my next card, using a simple fineliner.
Video on PFS YT coming soon...

- Die cut two panels from the Slimline Die Cutting System, one scallop edge in black, and the smaller smooth finish in watercolor card.
- Use the Moving Air Slimline Stencil to ink-blend using Picked Raspberry, and Squeezed Lemonade onto the die cut watercolor panel.
- Stamp out the image onto alcohol friendly card, and then stamp the smallest butterfly into the upper part of her back. Next, Color in the main image with Ohuhu Alcohol Markers.
- To step up the image, use a permanent fineliner to add extra details to the dress, socks, and bow. I've made simple dots, but it's super effective when you add different sizes dots, hearts, or stripes.

- Stamp out 4 more small butterflies, and both sentiments. Die cut the butterflies, and then the word 'Friends' four times, and adhere. Trim a piece of vellum to create a small panel for the friend sentiment to sit on top of.
- Assmeble all the elements onto a slimline card base, and then add some sequins to finish.
 I really like both of these cards, although they look so different. Do you have a favorite? Like me, do you add details or doodle on your cards too?
Here is a photo of the two cards together, and you can see how that added detail really pops off the orange outfit.

Thank you for all your support, and kindness. This community really knows how to pull together, and I am so thankful to have you in my life.
Jen xoxo
Some of the links I use are affiliated. This means I make a small commission when you purchase through them but don't worry, there is no additional cost to you. Your support means the world to me, and I am so grateful that you choose to shop through me. From the bottom of my heart, thank you.
Comments
Post a Comment
Thank you for taking the time to read my blog today. I am thankful for the people in my life and although the world seems upside down at the moment, the joy of craft brings us all together.