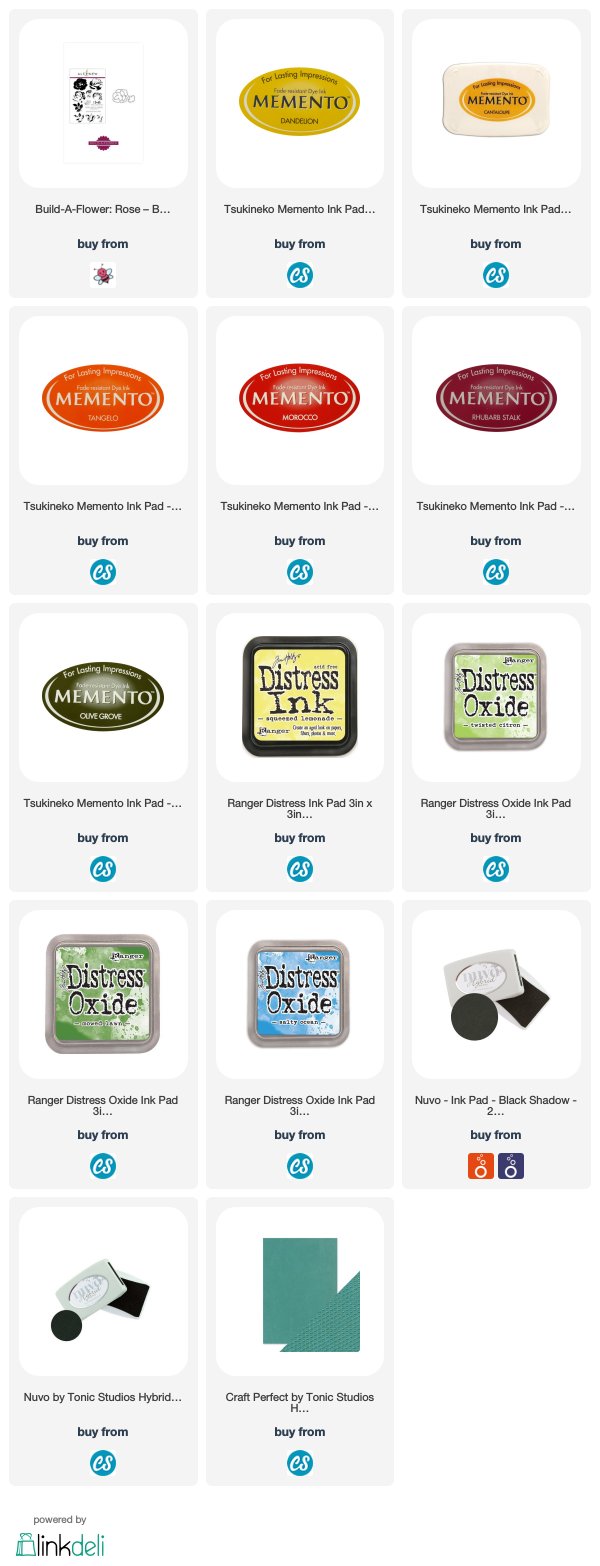
Inks for the Rose
Distress Ink- Squeezed Lemonade
Memento - Dandelion, Cantaloupe, Tangelo, Morocco, Rhubarb Stark
Inks for the Leaves
Nuvo - Lime Burst
Altenew - Frayed Leaf, Forest Glades
Memento - Olive Grove
Inks for the Background
Distress Oxide - Salty Ocean, Twisted Citron, Mowed Lawn
Ink for the Sentiment
Nuvo - Black Shadow Hybrid
I started off stamping out the rose and it did take about 3 times (ok, more like 5) before I knew where the lines were. If you're not familiar with layering
Cut a panel of watercolour card 5.25 inches x 4 inches and knock some Distress Oxides on your craft mat, spray lightly with water and smoosh your card into the ink.
Cut a piece of white cardstock 1 inch by 5.25 inches and using your black ink, stamp your sentiment centrally on your small panel
Cut a sliver of handmade paper by Tonic Studios (or any paper) x 5.25 inches long. Adhere the sentiment to the bottom of your smooshed watercolour panel and then add the additional sliver of paper to balance your card.
Assemble your leaves and roses to the front panel and then adhere to an A2 card base.
Isn't this just a gorgeous stamp! I don't use yellow very often but I wanted to celebrate friendship this week and think it turned out really well.
This card was made specifically as a big thank you to all my friends, old and new - who are awesome! I love ya ladies!
There are tons sales on today and if you click my link below, you will get an additional 10% off in Tonic Studios.
Shop Tonic UK https://ldli.co/e/4xdxd5
Shop Tonic USAhttps://ldli.co/e/2yxyx9
Thank you for supporting me and my crafty journey, it means to much to me. When you click on my affiliate links, I receive a small commission. This does not affect the cost to you, but it makes it possible for me to buy the materials I need, upgrade equipment, create YouTube tutorials and make the best possible content.
Shopping List:


Jen Kray, what a beautiful card! Just love your yellow roses and your background, awesome! Aren't Altenew flower stamps just brilliant! I will persevere...I'm still a newbie and can't wait to see more inspiration from you.
ReplyDeleteHi Judith. I love Altenew, their stamps are always so beautiful! Thank you so much for your lovely comment, it means a lot to me. Get your craft goodies out and start creating. :)
DeleteThis is stunning, Jen I really love those lush yellows! Layering stamps always look so cool! x
ReplyDeleteJane, thanks! The yellows look so pretty, I really need to use them more often.
Delete