Hi there! 'm still in migration mode and today I'm sharing a really easy way to create your own background papers to use on projects.
These are not new products, but they are in my stash and that's the fun of crafting. To get your products out, mix and match and make something neat! I've use some Tonic Studios Kaleidoscope dies and Gina K, You're My Anchor Stamps.
I wasn't sure where this project was headed but I wanted to make something a little masculine as I often struggle with male themed projects.
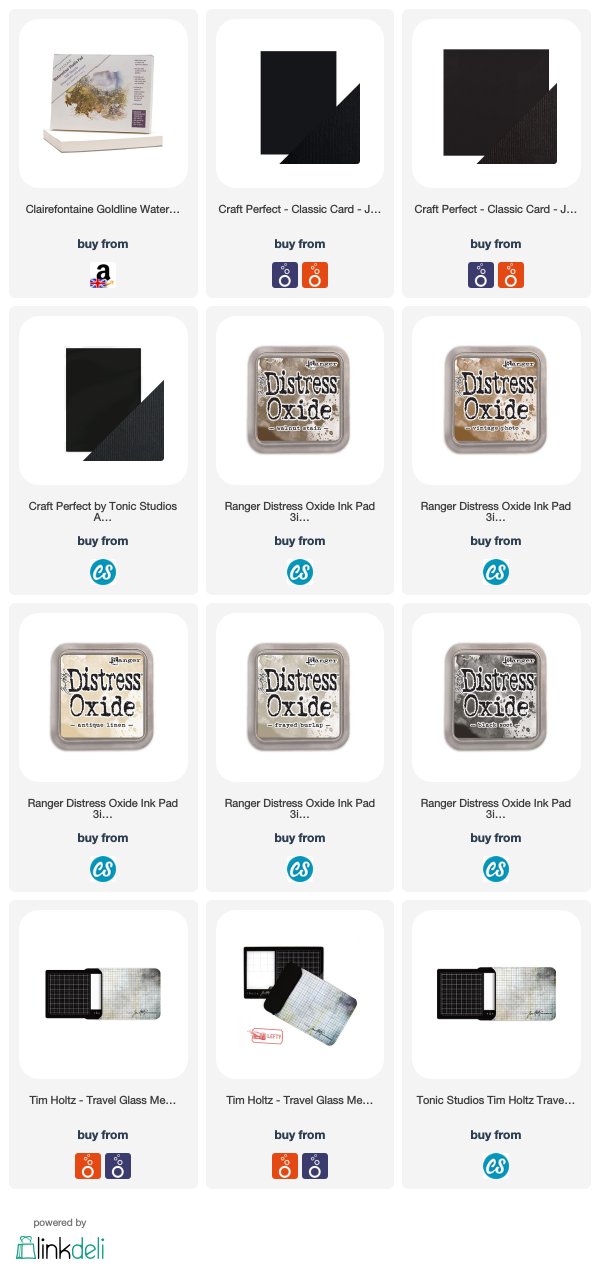
- Smoosh Distress Oxides to make background papers using Antique Linen, Frayed Burlap, Vintage Photo, and Walnut Stain, and Black Soot.
- Once your watercolour card is dry, die cut all the panels.
- Stamp the truck image onto 6 panels.

- stamp one of the sentiments a bunch of times to make background papers.
I take a lot of care when assembling projects as the finish is so important.
I decorate the inside of my boxes too.
Top Tip: Seal your handmade papers as Oxides are water activated and you could transfer colour onto whatever you're putting into your box.
- Another sentiment stamped onto each panel for the lids.
- I assemble all my panels with double sided adhesive and wet glue.
- The box needed a small tag so used some leftover scraps and added a stamped sentiment to it.
 It's all about the detail and positioning of the stamps for me. These are things I think about when making projects. If you look below, I die cut the panel and stamped the truck so it looked like it was kicking up the dirt.
I really enjoyed the process and making this masculine box. It must sit for awhile to dry completely but then it's ready to be filled and gifted to someone special.

Thank you for visitng my blog today and I hope you enjoyed this tutorial.
There are tons sales on today and if you click my link below, you will get an additional 10% off in Tonic Studios.
Shop Tonic UK https://ldli.co/e/4xdxd5Shop Tonic USAhttps://ldli.co/e/2yxyx9
Thank you for supporting me and my crafty journey, it means to much to me. When you click on my affiliate links, I receive a small commission. This does not affect the cost to you, but it makes it possible for me to buy the materials I need, upgrade equipment, create YouTube tutorials and make the best possible content.
Shopping List:


Love the masculine look you have achieved. What do you suggest to seal the oxide panels with please?
ReplyDelete