GIVEAWAY WINNER
Thank you all so much for taking part in my recent giveaway!
Congratulations to Bethany (@bethanygracecreative), the winner of my 25$/£25 Gift Certificate giveaway!
Thank you all so much for taking part in my recent giveaway!
Congratulations to Bethany (@bethanygracecreative), the winner of my 25$/£25 Gift Certificate giveaway!
Stay tuned for lots of fun and interactive giveaways I have in store for 2022!
*Thank you for using my affiliate links to shop, your support means so much to me, and I shall endeavour to share as many inspirational posts as possible.
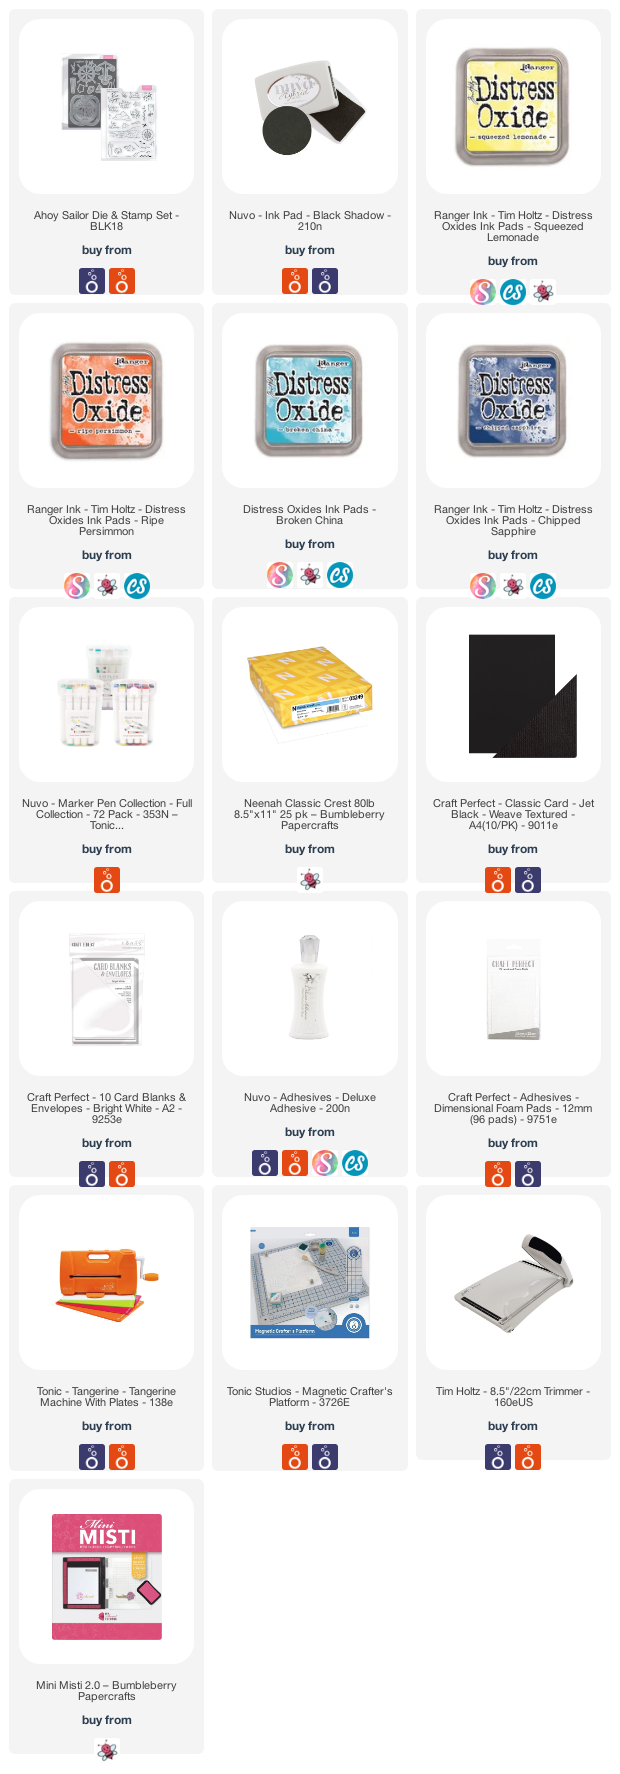
Materials
Ahoy Sailor Stamp and Die Set
Tangerine Die Cutting Machine
Tim HoltStamping Platform
Magnetic Platform
Craft Perfect 216gsm Jet Black Card
Neenah 80lb Solar White Stamping Card
Nuvo Black Hybrid Ink
Distress Oxide Ink Pads, Squeezed Lemonade, Ripe Persimmon, Broken China, Salty Ocean, Chipped Sapphire
Nuvo Alcohol Markers, 377, 379, 381, 401, 403, 405, 485, 487, 489, 491
Uni Pen Permanent Fineliner
Nuvo Deluxe Adhesive
Craft Perfect Foam Pads
Tim Holtz Trimmer
Craft Perfect A2 Card Blank
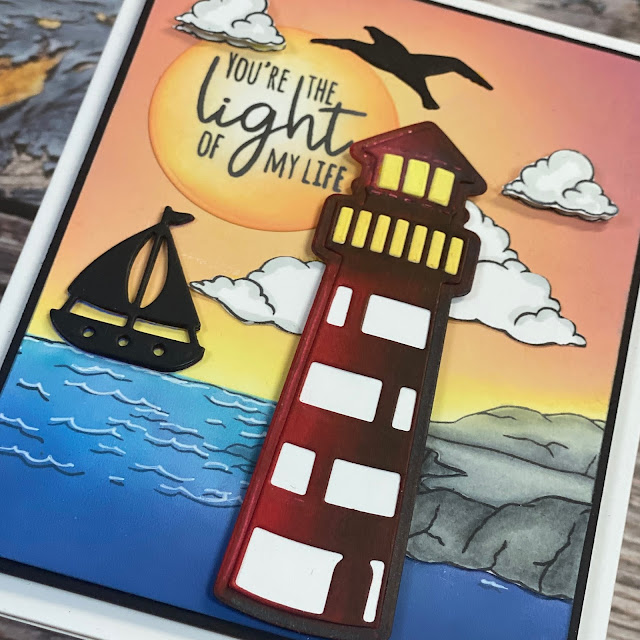
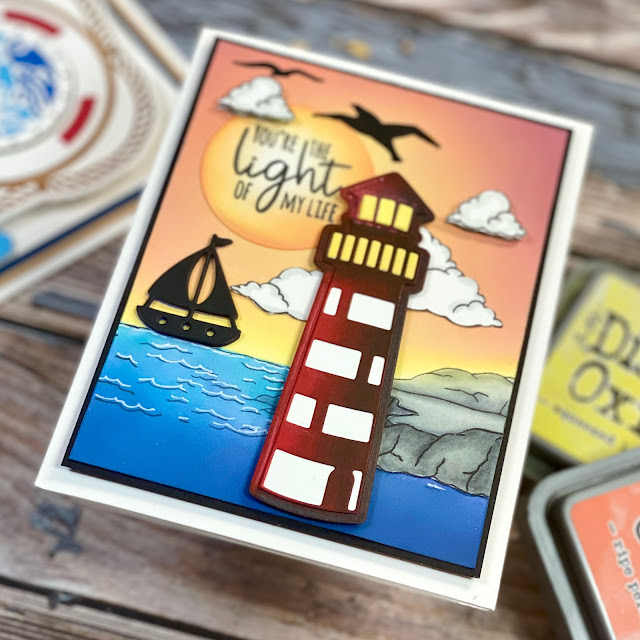
The Project

- Trim a piece of 80lb Neenah Solar White Cardstock and stamp your rocky sea image.
- Use a Permanent and Alcohol friendly fineliner to elongate the sea and add more detail. Alternatively, just trim your card to fit the size of the stamp.


- Color the rocky area with 485, 487, 489, 491.
- Mask off the area above the sea (I've just used a piece of card, and ink blend the sea lightly with Broken China, Salty Ocean and Chipped Sapphire. Blend up into the rock a little as this adds additional interest.
- Mask off a small circle (from the die set) where you want your sentiment to be if you want a less dimensional look, I actually swapped my flat sentiment for a die cut circle as this looked a lot better. Ink Blend the sky with Squeezed Lemonade and Ripe Persimmon,
- Die cut a circle (from the set, and stamp your sentiment onto it, then add directly over your masked area and continue to ink blend until there is a perfectly smooth surface.
- Stamp out 4 clouds and highlight with 485.
- Die cut 2 seagulls and the sailboat in Jet Black,
- Die cut the Lighthouse in Neenah Solar white and color with 377, 379, 381 and 491. Paper piece all the window (white) pieces back in and color the top two rows with 401, 403, 405.
- Once all the ink blending and marker coloring has dried, use a white gel pen to add highlights to the sea,
- Trim down your panel to 5 inches by 3.75 inches. Trim a piece of Jet Black card 5 1/8 inch by 3 7/8 inches.
- Mat and layer your panels onto an A2 card base.
- Assemble the birds, boat, circle sentiment, clouds and lighthouse onto your card base.
Thank you for taking the time to visit the blog today and I hope you’ve enjoyed my tutorial. Have a great day and see you soon! Sending lots of crafty love and hugs your way.

Shopping Basket (Some of the links I use are affiliated. This means I make a small commission when you purchase through them. There is no additional cost to you but means the world to me. I am so grateful for your support, thank you.)
Comments
Post a Comment
Thank you for taking the time to read my blog today. I am thankful for the people in my life and although the world seems upside down at the moment, the joy of craft brings us all together.