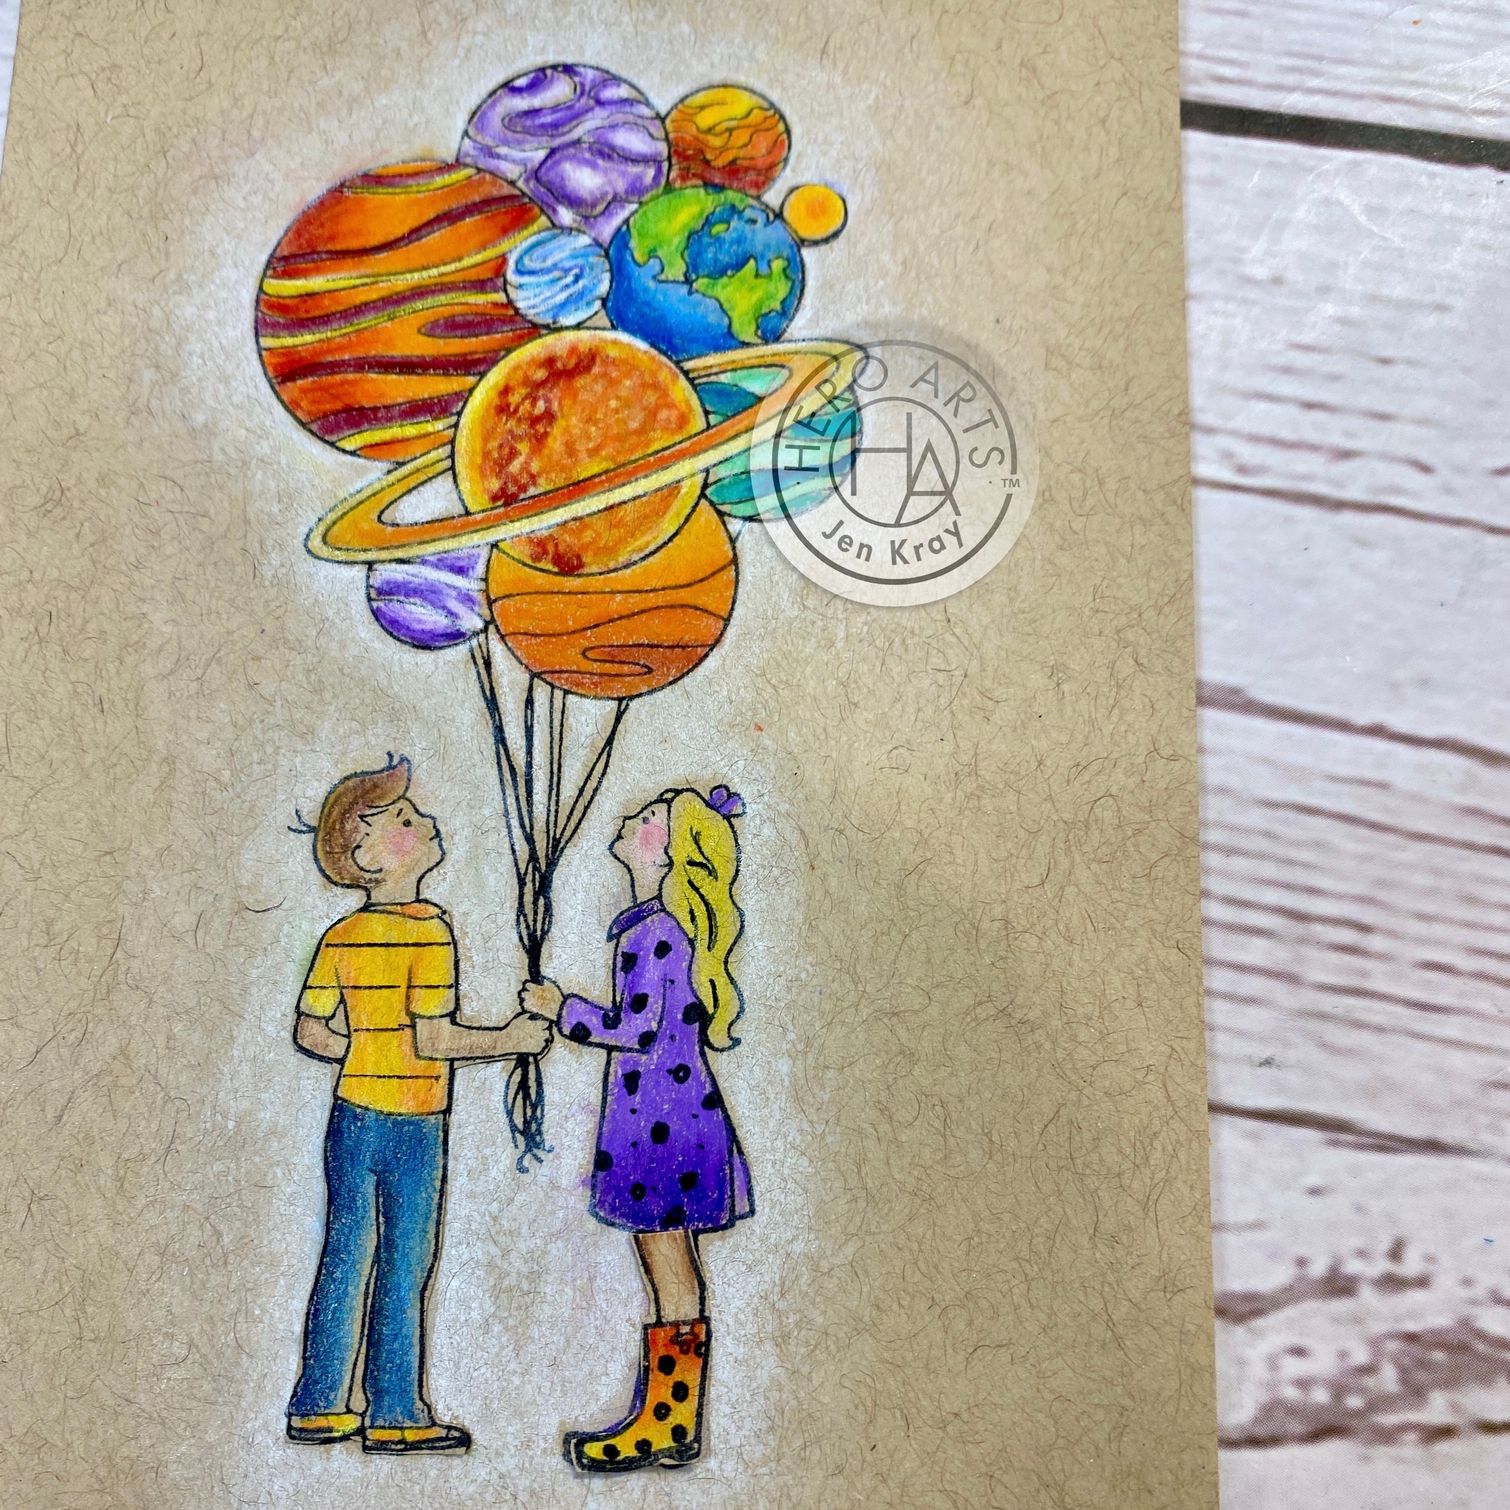
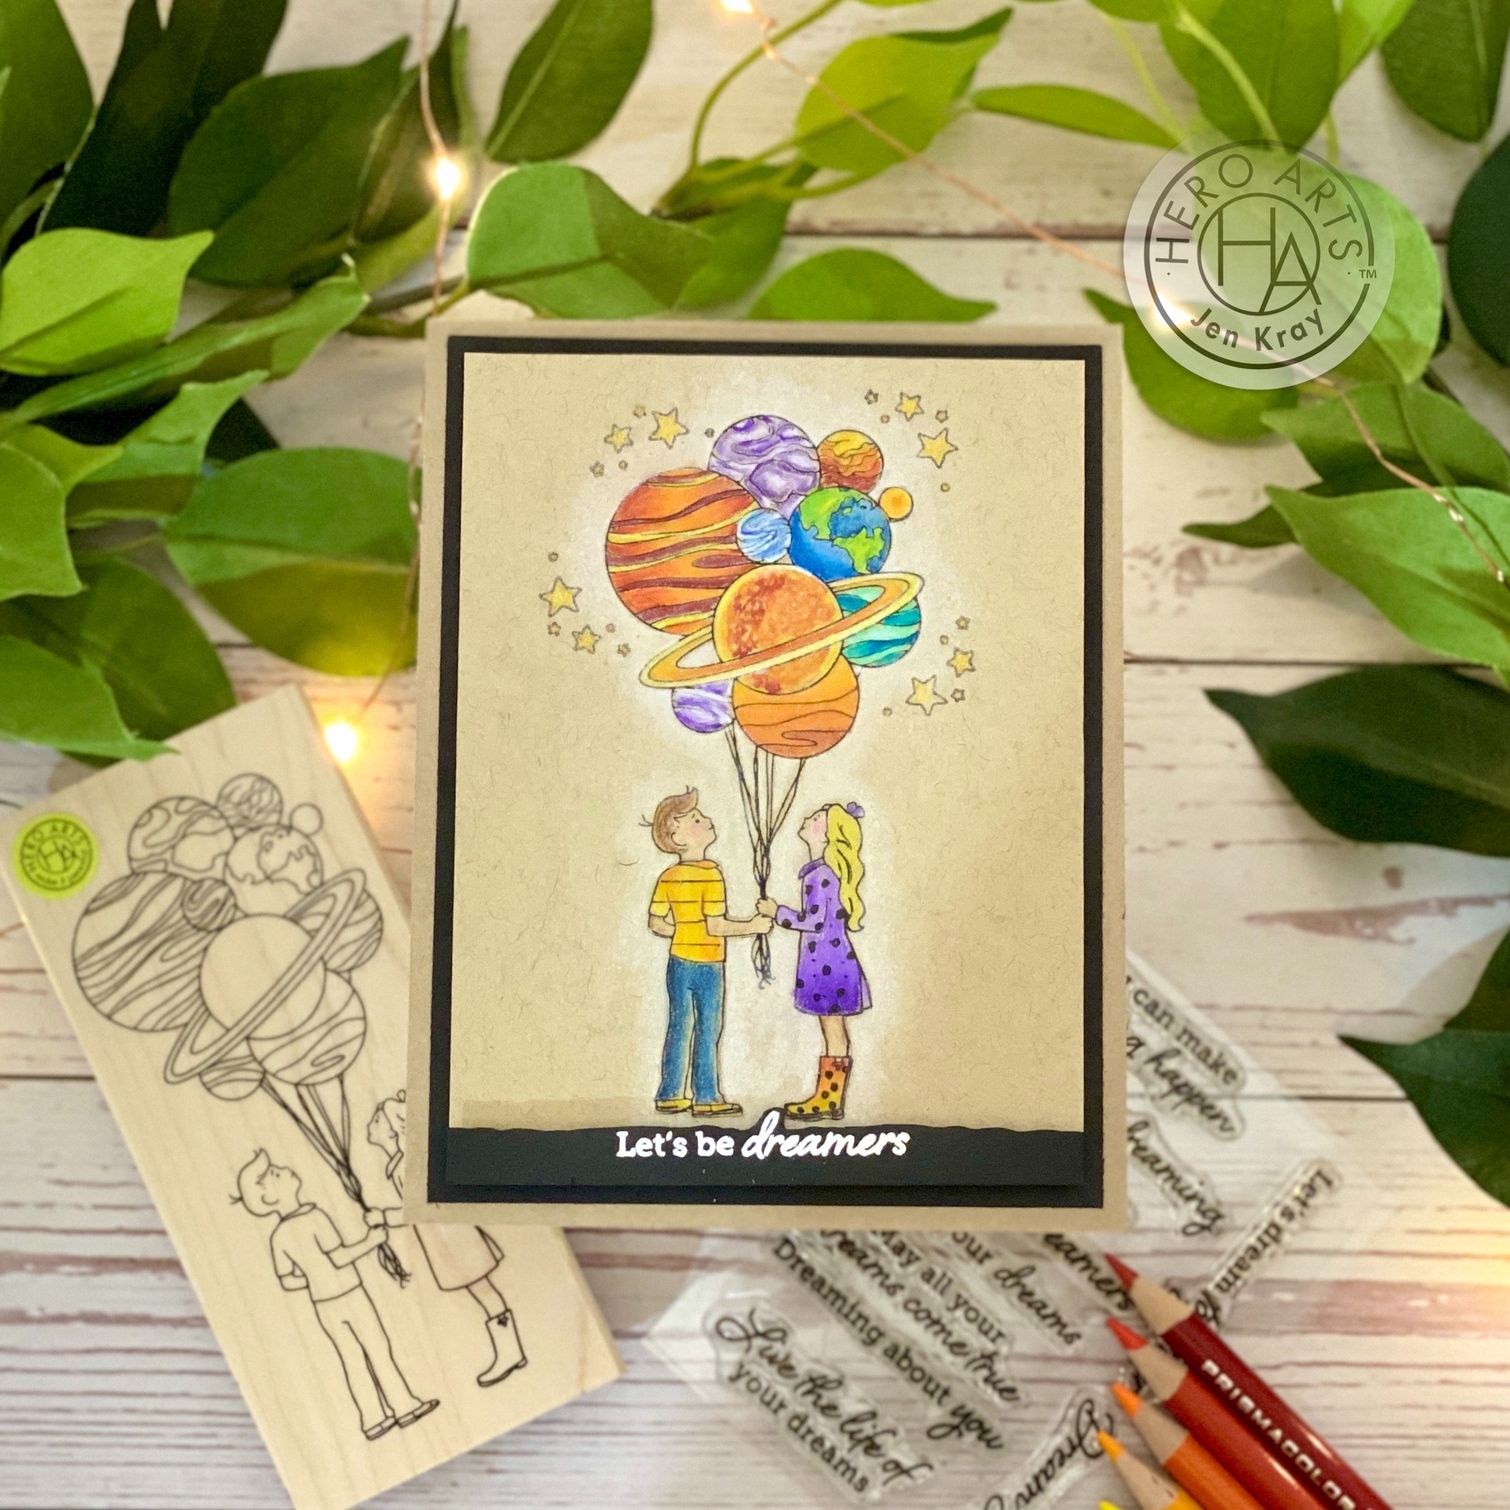
Hello and good afternoon! Today I'm sharing a project made using the February add-on wooden stamp from Hero Arts called, Our Universe. I have a thing about wooden stamps, and until a few months ago, I owned only one, can you believe that?!
*Thank you for using my affiliate links to shop, your support means so much to me, and I shall endeavour to share as many inspirational posts as possible.
*Thank you for using my affiliate links to shop, your support means so much to me, and I shall endeavour to share as many inspirational posts as possible.
I'd like to share a little information with you about Hero Arts and their wooden stamps.
"A Hero Arts woodblock stamp uses FSC-certified North American maple from sustainably-managed forests, all-natural hand-pressed and hand-cut deeply etched rubber, held together with a foam mount that uses specially-formulated, non-toxic, and water-based wood and rubber adhesive, and topped with a 3M-quality, UV-rated, scratch-resistant, and long-lasting label. Our wood stamps are assembled in our family-run California facility with 100% renewable power. There is no individual wood stamp on the market of the same quality or value as a Hero Arts wood stamp. "
This month, I've used both wooden stamps, and think both are gorgeous. You can see my other blog post here: MMH Moon Goddess
The Project - Let's Be Dreamers
 |
Start off trimming a piece of Strathmore Toned Tan paper, 5 inches by 3.75 inches, a piece of black card, 5.25 inches by 4 inches, and create an A2 card base with a buff colored card.
Stamp out the sentiment, 'Let's be dreamers', with white embossing powder onto black card, and trim. you'll want to align the 'd' in dreamers to go in-between the two people. Next, stamp out your image onto the tan color pencil paper, and heat set. This isn't always necessary, but I do it to ensure there is never any smudging or bleeding.
Select your medium. For this project, I turned to Prismacolor Pencils.
Starting with a white pencil, I made my way around the image, also adding it to all the planets, his t-shirt, and her boots. this will brighten your colors.
Once the image was colored, the white halo was blended out with a colorless pencil.
Stamp some little stars from the February MMH Kit around the planets and color in with a gold glitter gel pen.
For added detail, use a finerliner pen and a ruler on the males t-shirt to create some stripes. Use the same fineliner pen to add some polkadots onto the female coat and welly boots.
Adhere the black panel onto the A2 card base. Add a piece of plain card on the back f the color pencil paper as this is a little thin. Use foam pads to adhere the sentiment and the colored panel.
I'm completely enamoured with these balloons and as a child, would have been fascinated by them.
It's been awhile since I used my pencils and felt a little rust, so must use them at least once a month this year!
(Some of the links I use are affiliated. This means I make a small commission when you purchase through them but don't worry, there is no additional cost to you. Your support means the world to me, and I am so grateful that you choose to shop through me. From the bottom of my heart, thank you.)


Comments
Post a Comment
Thank you for taking the time to read my blog today. I am thankful for the people in my life and although the world seems upside down at the moment, the joy of craft brings us all together.