*Thank you for using my affiliate links to shop, your support means so much to me, and I shall endeavour to share as many inspirational posts as possible.
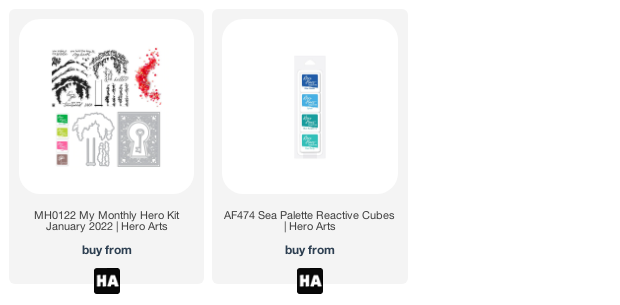
IThe focal point of this month's kit is a gorgeous cover plate die with ornate detail surrounding a keyhole. It can be used alone or layered over any number of beautiful scenes. To get you started, included is a lovely Color Layering stamp set featuring a rope swing covered in inviting greenery. There are ink cubes which work well with the stamps.
KIT INCLUDES:
• 6" x 8" Clear Stamp Set
• 3 Coordinating Frame Cuts
• 4.25" x 5.5" Fancy Cover Plate Die
• Key Fancy Die
• 4 Ink Cubes (Key Lime Fizz, Taffy, Green Apple, Cup O’ Joe)
• Red Iridescent Gems
Your kit will arrive in a Hero Arts reusable 8" x 10" zipper pouch. With all of the goodies packed into this kit, it's an incredible value at $34.99. (Contents add up to $80 if bought separately.)
The Projects
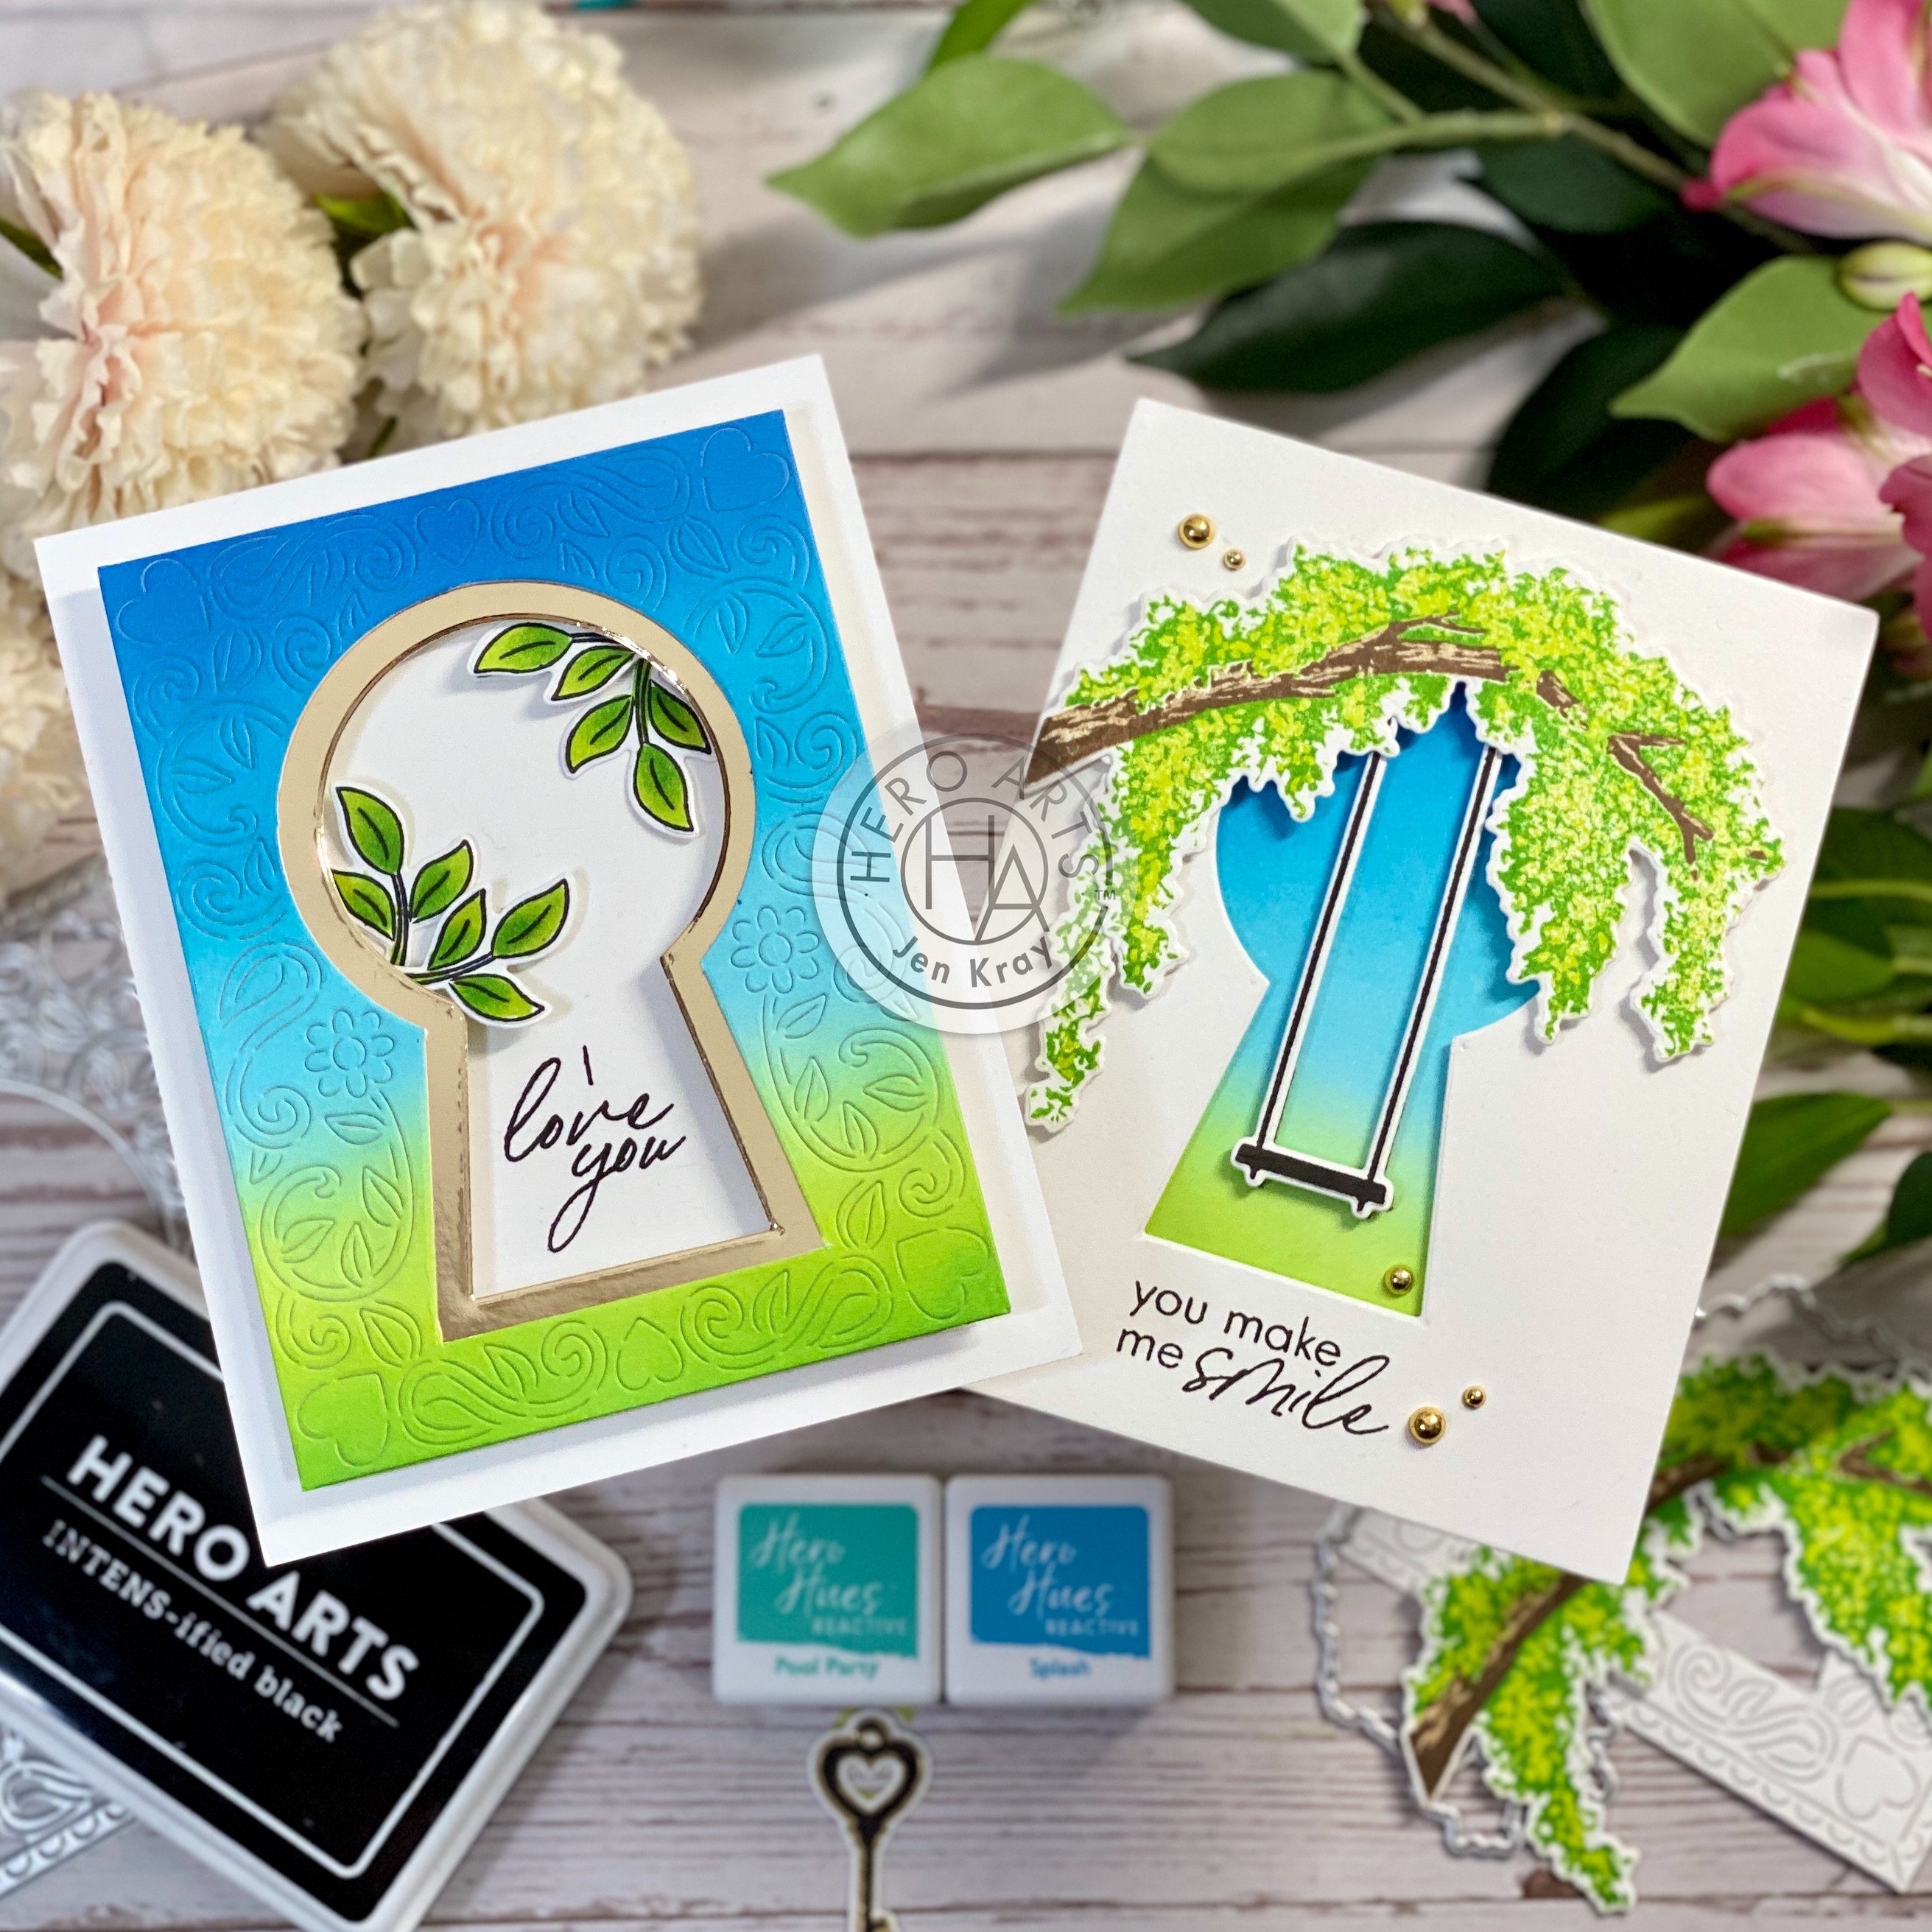
Today I'm sharing two projects, which I made at the same time, with this exquisite kit. I like to have as little waste as possible, which is why I utilised the waste from one card to use in the other.
A2 You Make Me Smile
- Use the outer edge die cut to create a perfect A2 panel, and ink blend using Splash, Blue Hawaii, Key Lime Pie, and Green Apple Reactive Inks.
- Die cut the intricate panel into your inky background, and snip out the keyhole. (Pop aside the panel for card number 2)
- Die cut the smaller keyhole directly into an A2 card base. The keyhole snipped from the inky panel is larger so it's a perfect fit.
- Stamp out the swing in Black ink, then die cut.
- Stamp out the tree in Key Lime Pie, Apple Green, Light Brown, and Cup O Joe inks, then die cut.
- Stamp the sentiment, 'you make me smile' directly onto the A2 card front, then assemble your pieces.
- Add some gold embellishments to finish.
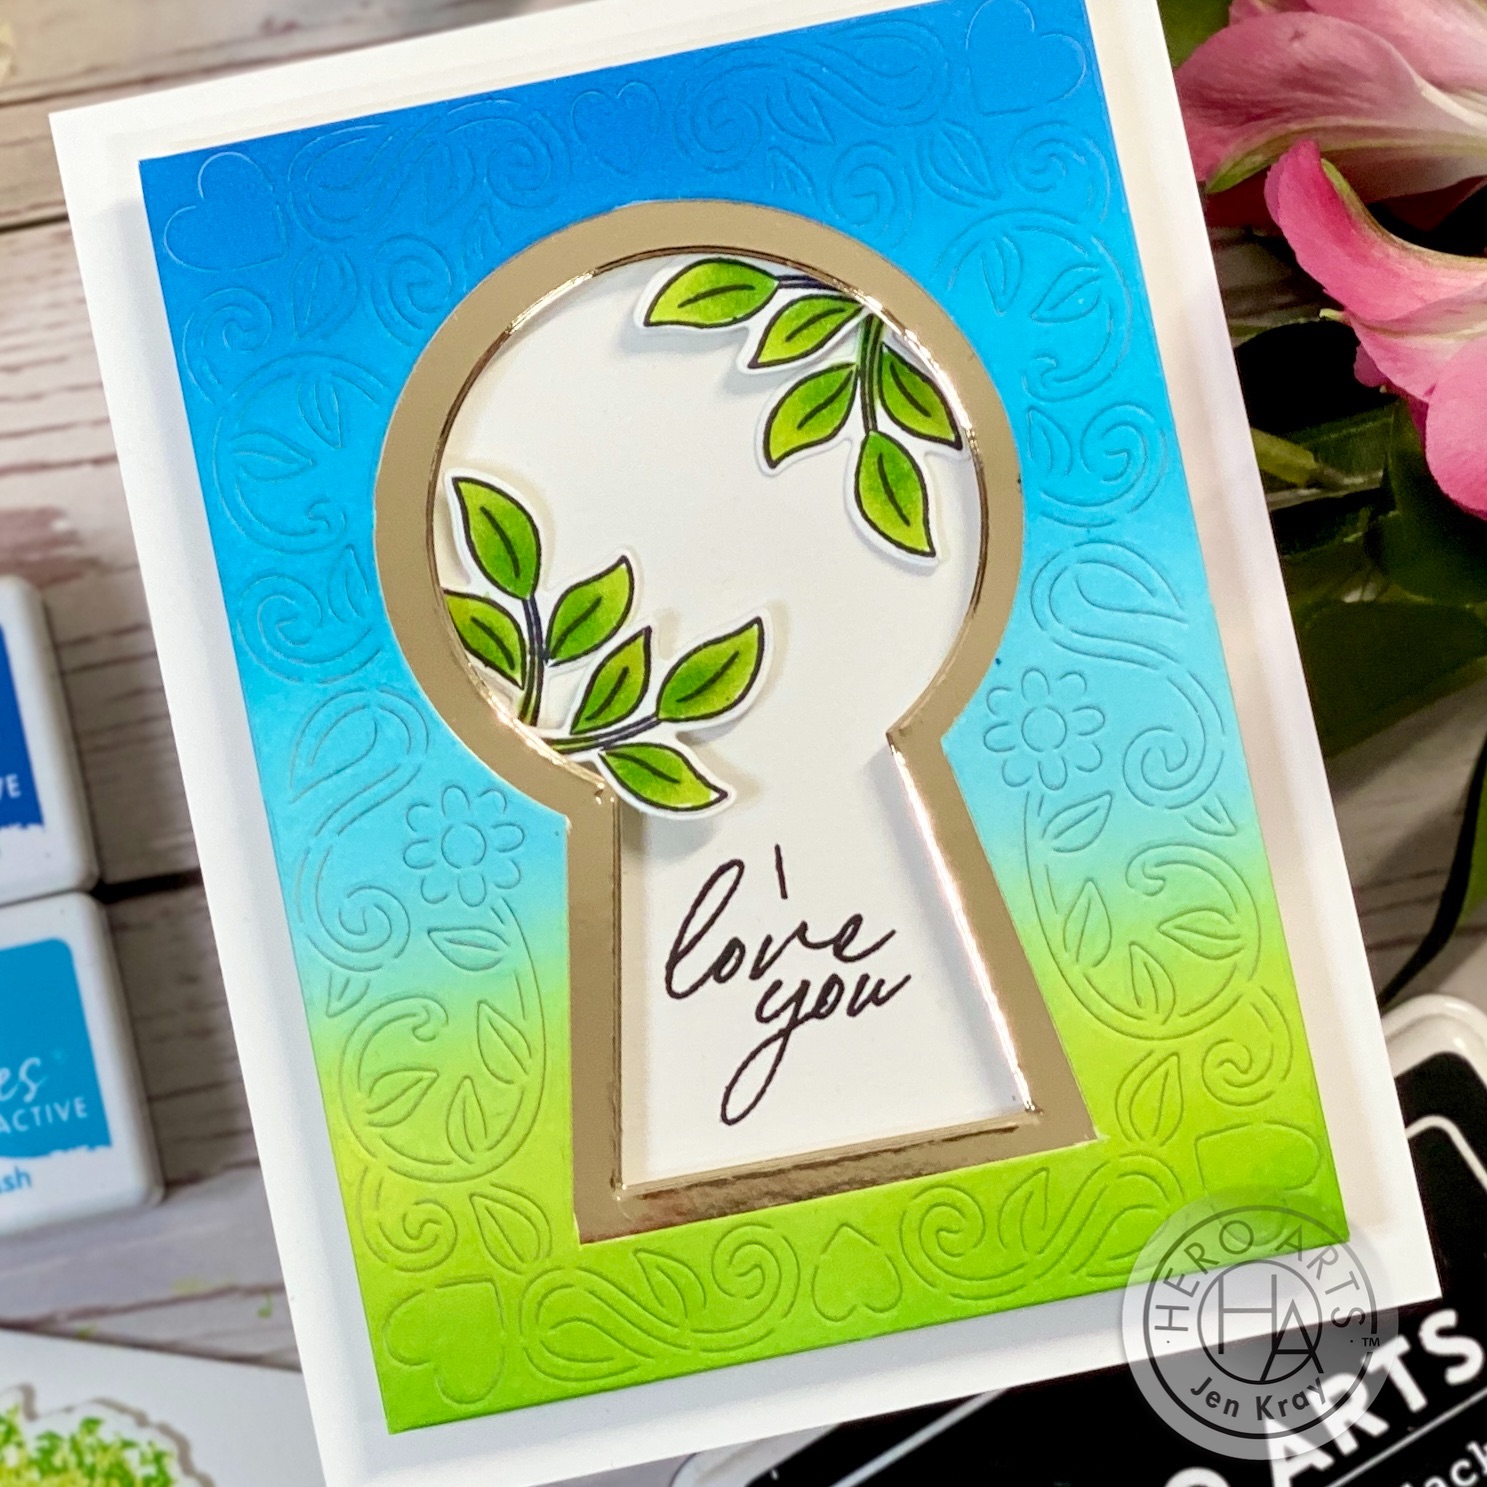
- Take the panel from project one that we set aside and trim off the border. This will leave you with a panel approx. 5 inches by 3.75 inches.
- Die cut the smaller keyhole in gold mirror card, attaching behind the inky panel. U
- Stamp the sentiment, 'I Love You', towards the bottom of the keyhole, on a piece of white smooth card 5 inches by 3.75 inches. Use a stamping platform and the keyhole die to position the sentiment.
- Stamp out 4 leaves and color with alcohol markers, I've used Ohuhu G4, G3, and G2. Die cut.
- Assemble your pieces onto an A2 card base.
Thank you for visiting today! I can't tell you how much I love this kit, it will be used many times over the coming months as it's so beautiful, and versatile.
I also created this bonus card, because I just couldn't help myslef! The characters reminded me so much of my niece, Colette, and I went with soft pinks and peaches.
Sending jots of crafty hugs your way.
Jen


That is a fabulous card. I love the idea of stamps you cut out with dies, it has always been what has put me off of stamping, I'd rather stamp and die cut than drag out my scan and cut which sits unloved in my craft room. Well done so bright and cheerful and reminds me of many an hour playing in my garden as a child on our swings.
ReplyDeleteHi Tracy! I simply adore this set, it feels very secret garden to me. Thank you for your lovely comment and sharing your childhood memory with me. Have a great day!
Delete