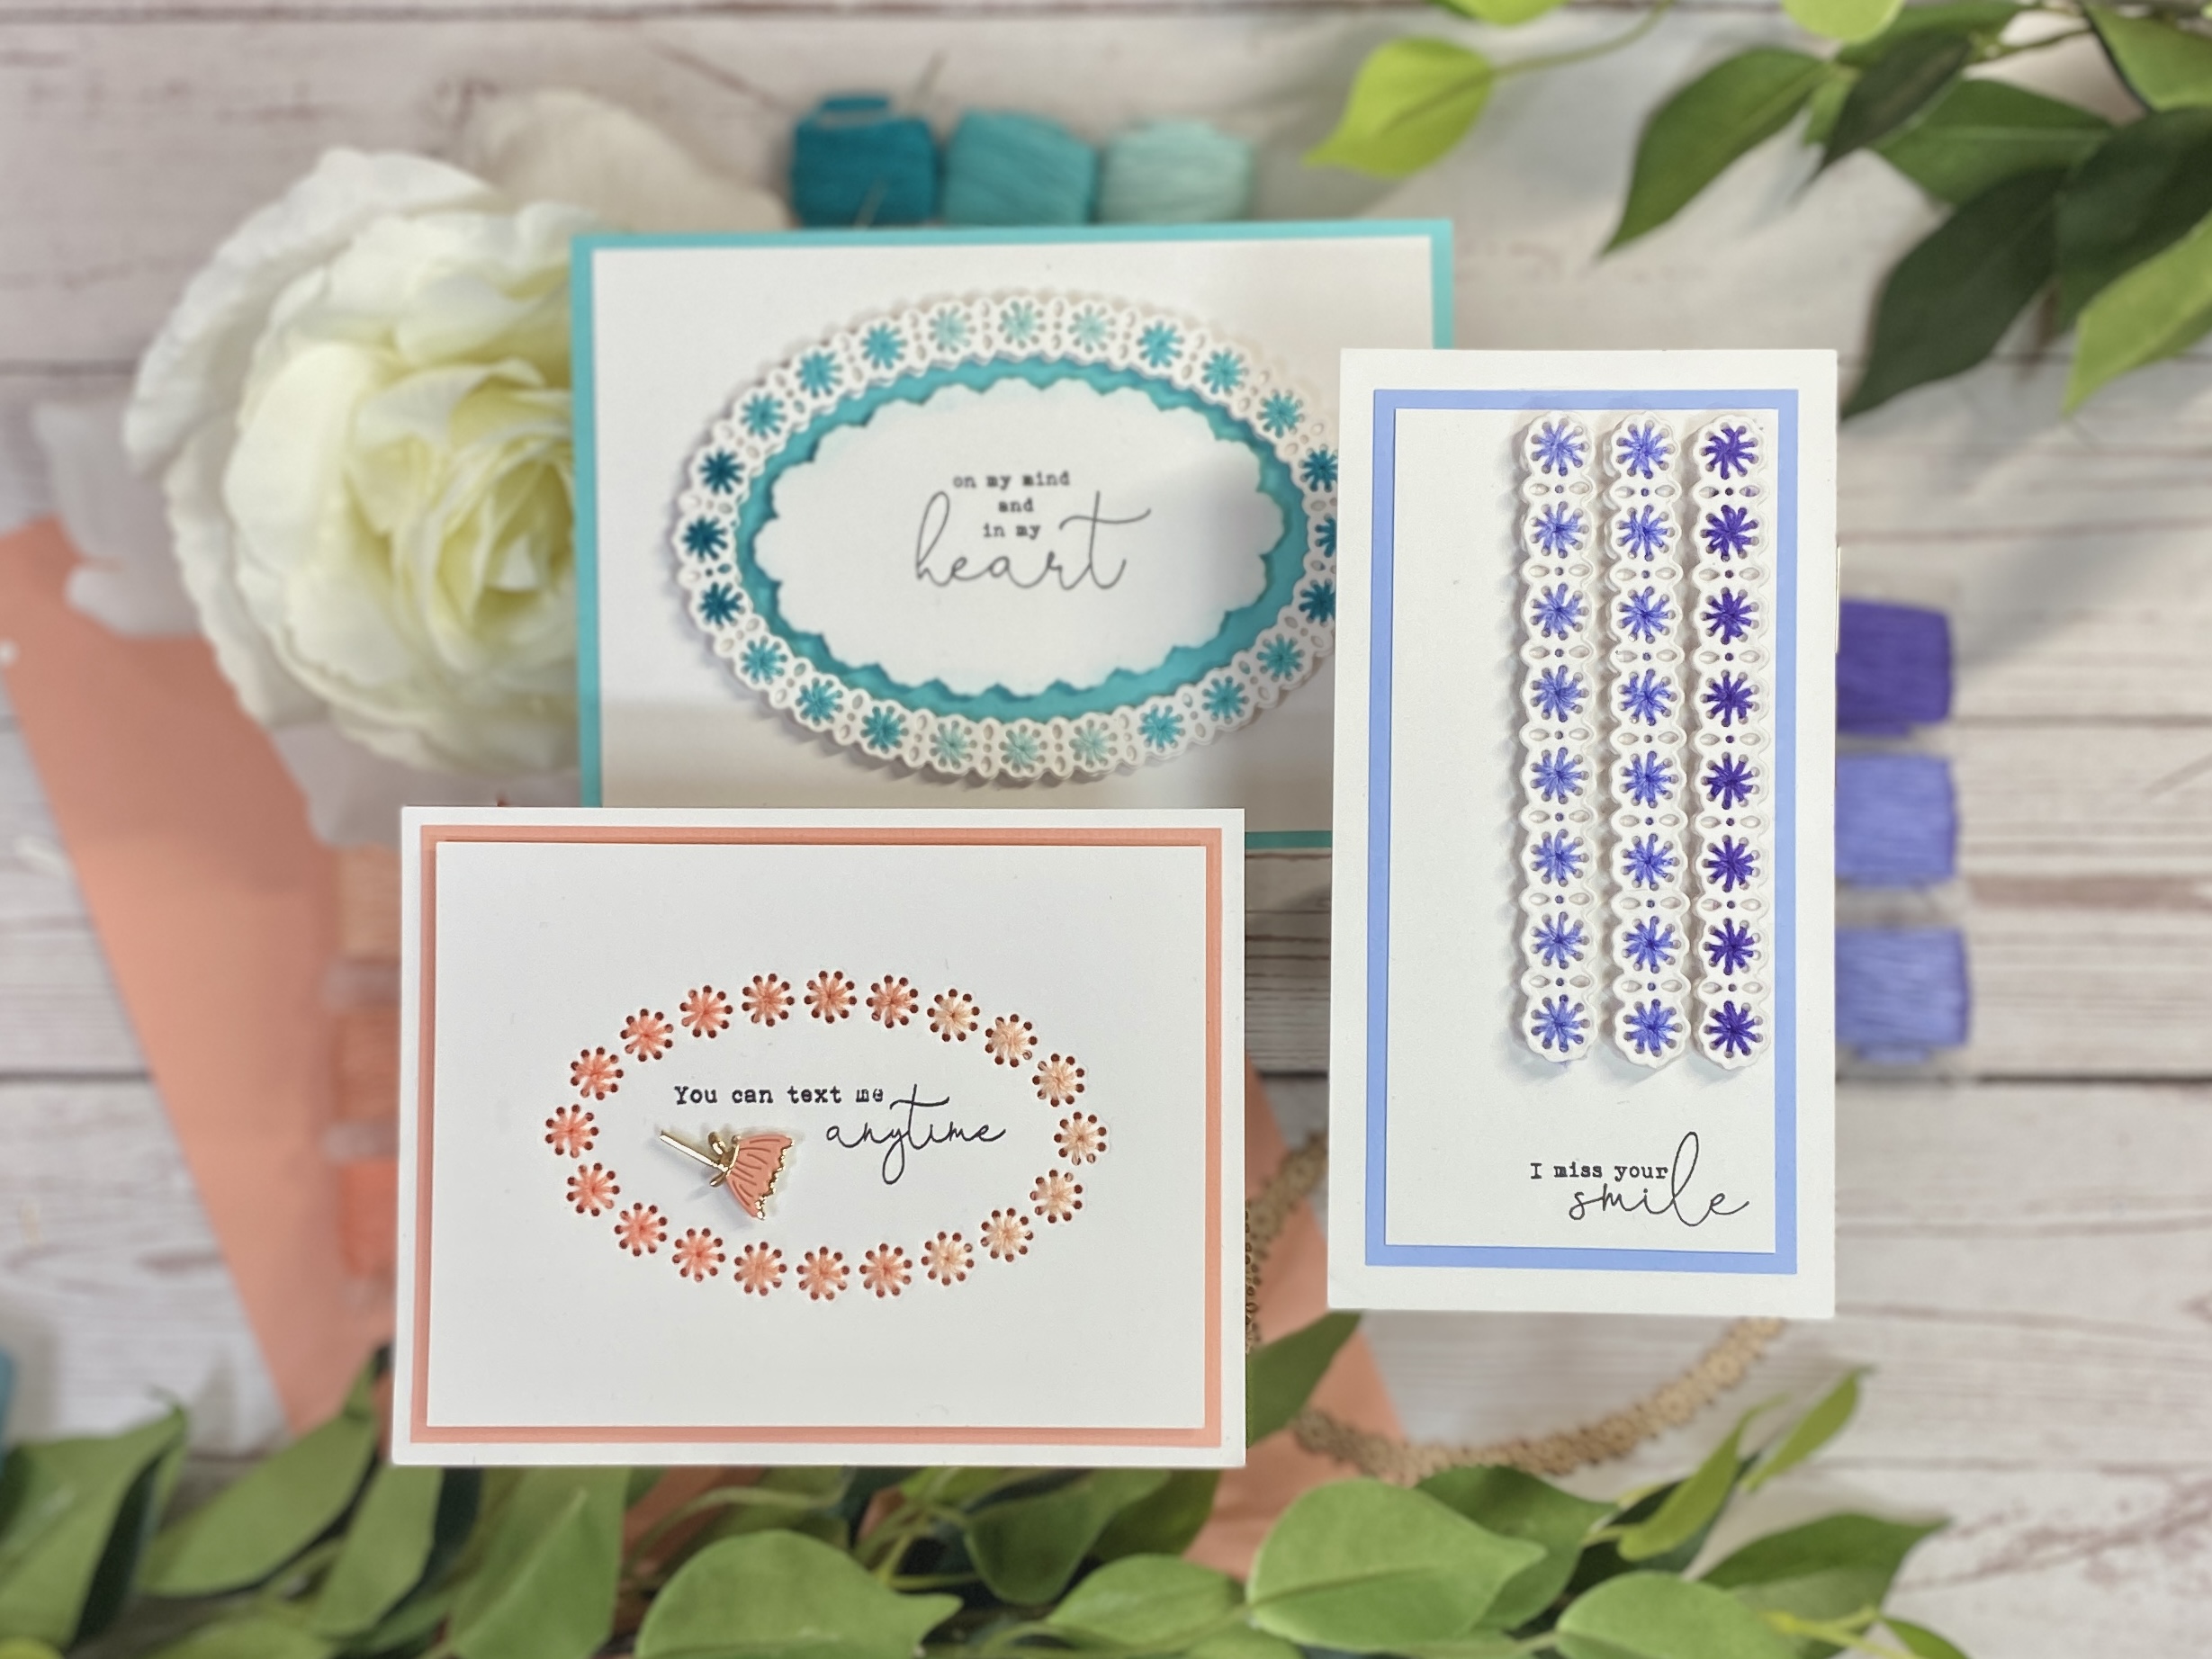
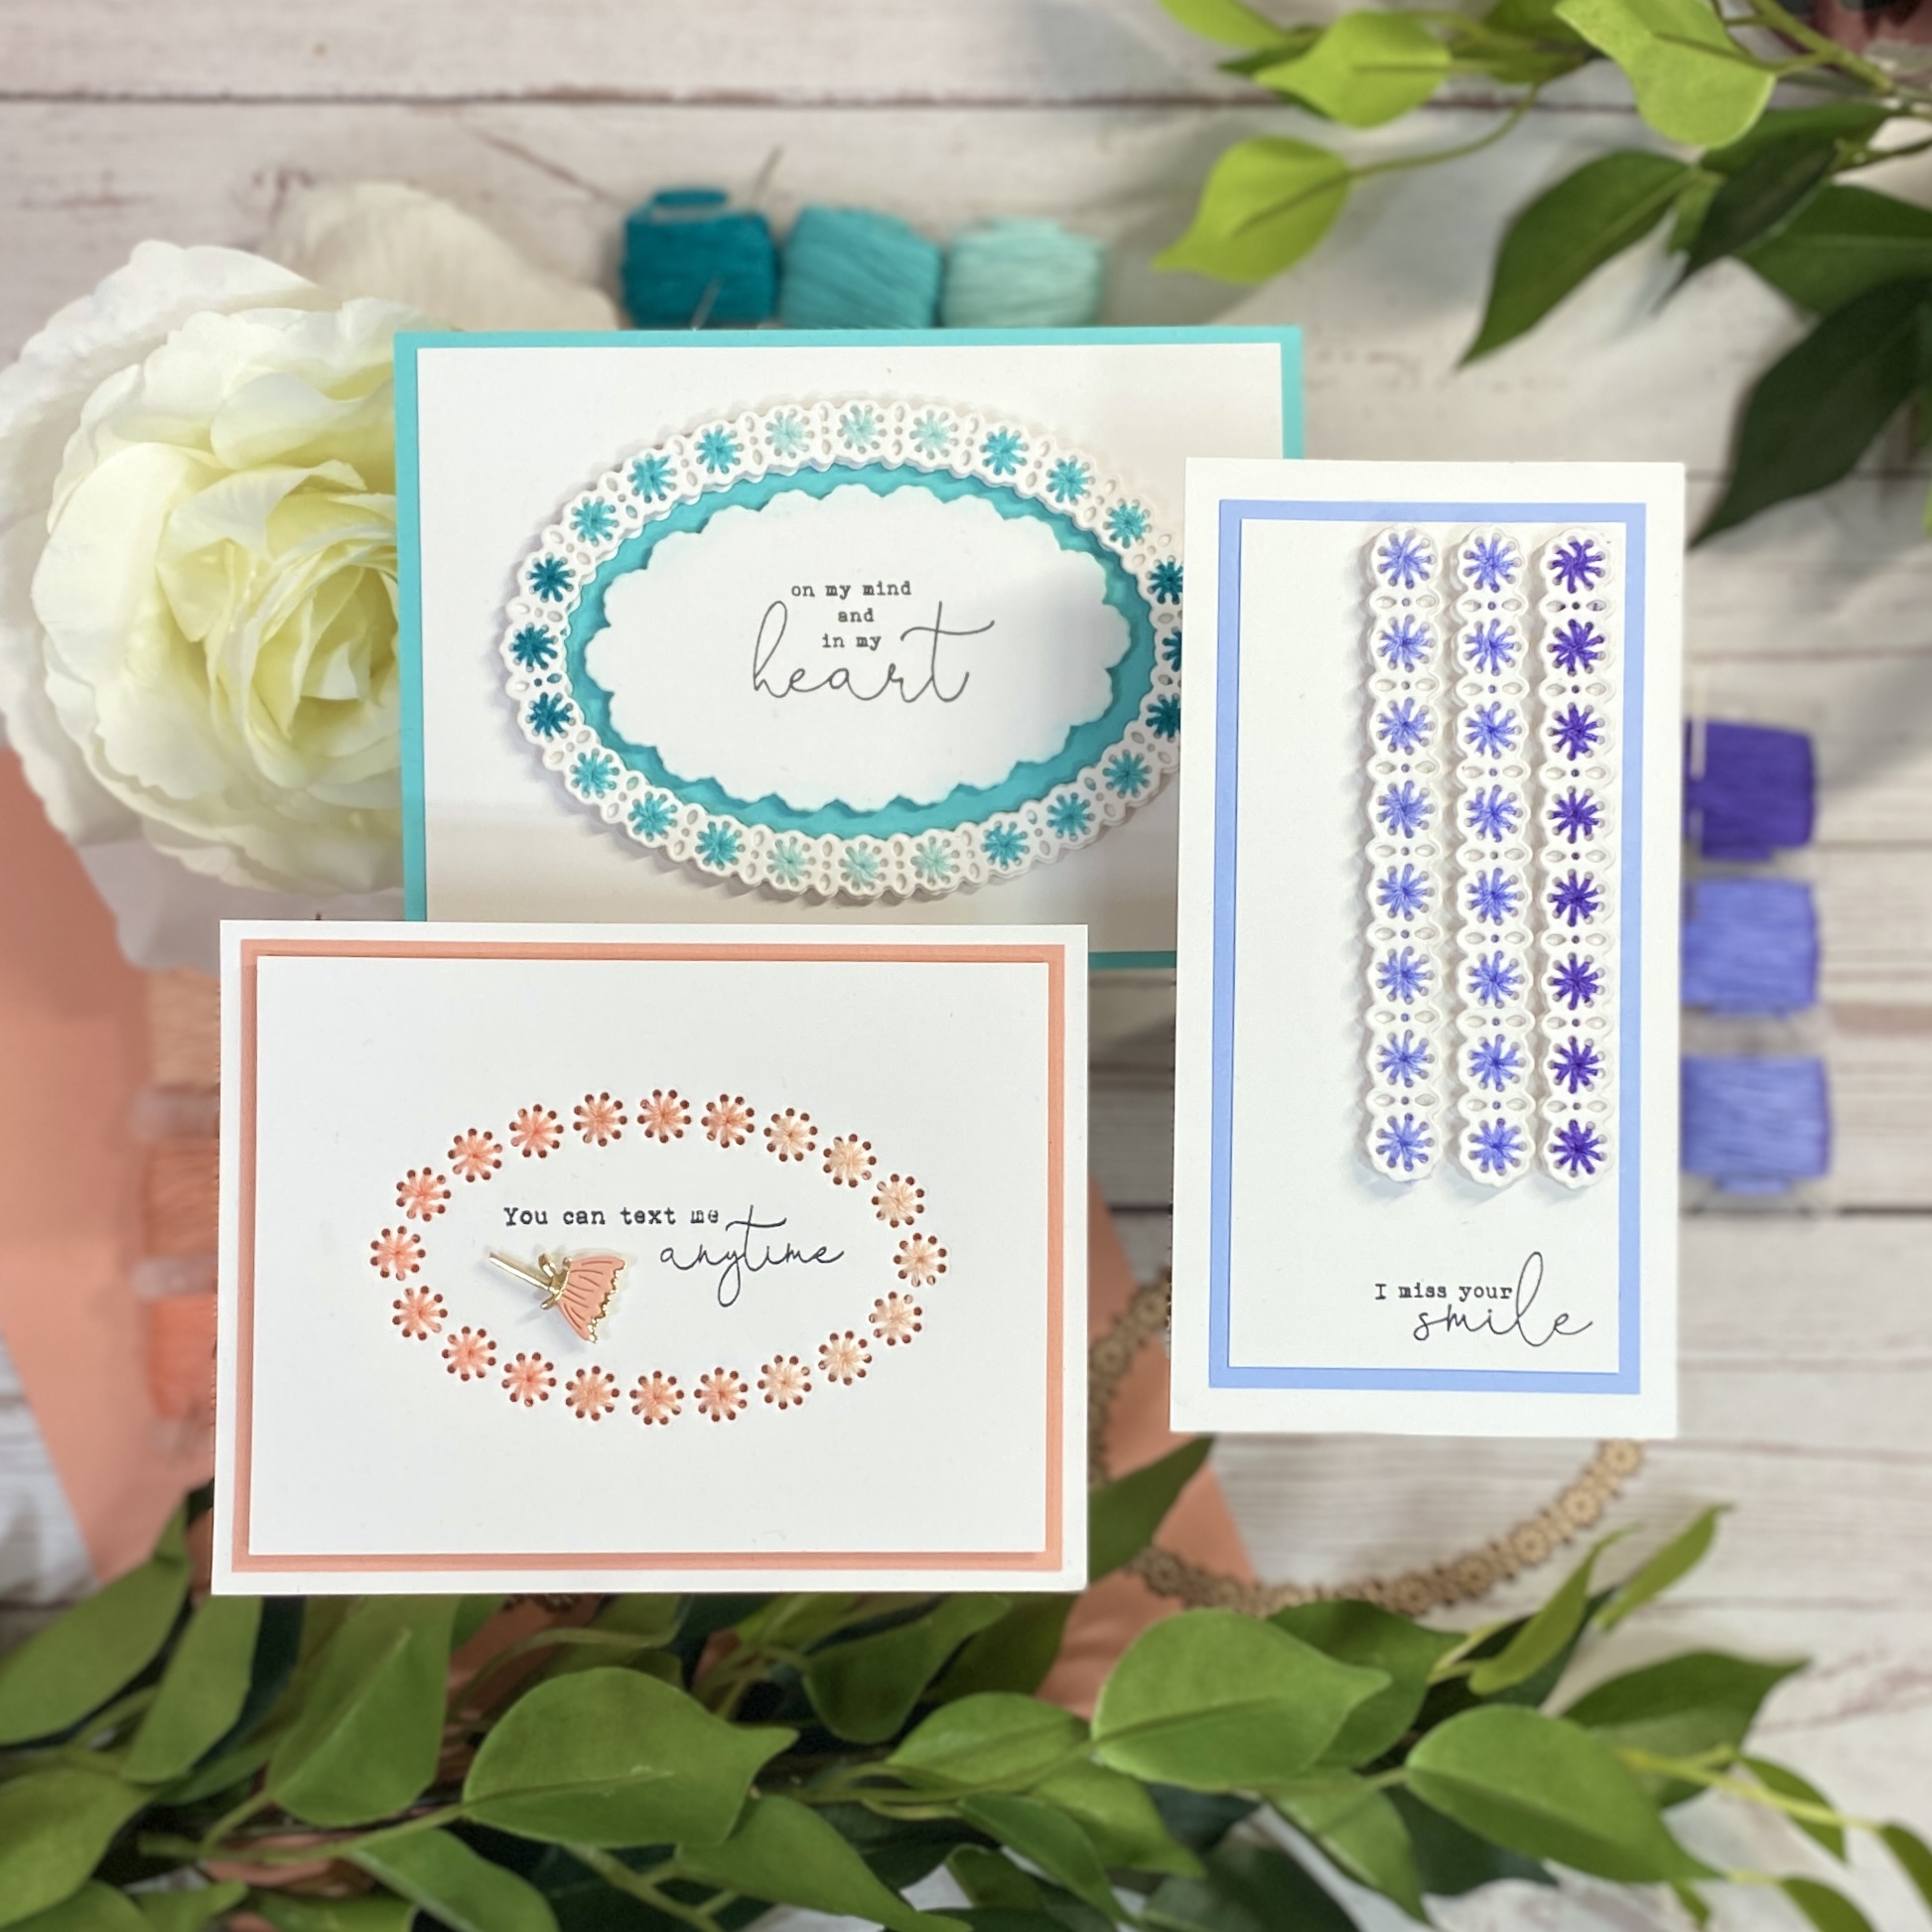
Hi friends! Today I have some beautiful stitched cards to share with you! It's the first time I've stitched onto cards and I had a really nice time making them. In fact, it was pretty relaxing and I managed to do all this stitching in one evening.
**Thank you for using my affiliate links to shop, your support means so much to me, and I shall endeavour to share as many inspirational posts as possible.**
Join the Small Die of the Month Club and receive an expertly designed die set each month, complete with inspiration. Plus, members get store savings, extra deals, gifts, and more. Click Here to learn more about club membership.
Membership Includes:
- Exclusive Set of Small Versatile Dies that cut, emboss, deboss and stencil. Size is similar to Die D-Lites. $27 Value!
- Project Inspiration: Each kit will feature project ideas with at least one detailed how-to instruction tutorial each month.
- Member Benefits & Savings: Receive exclusive member pricing in the Spellbinders store. Plus receive access to deals, savings, and gifts - only available to members.

Small Die of The Month (DOM)
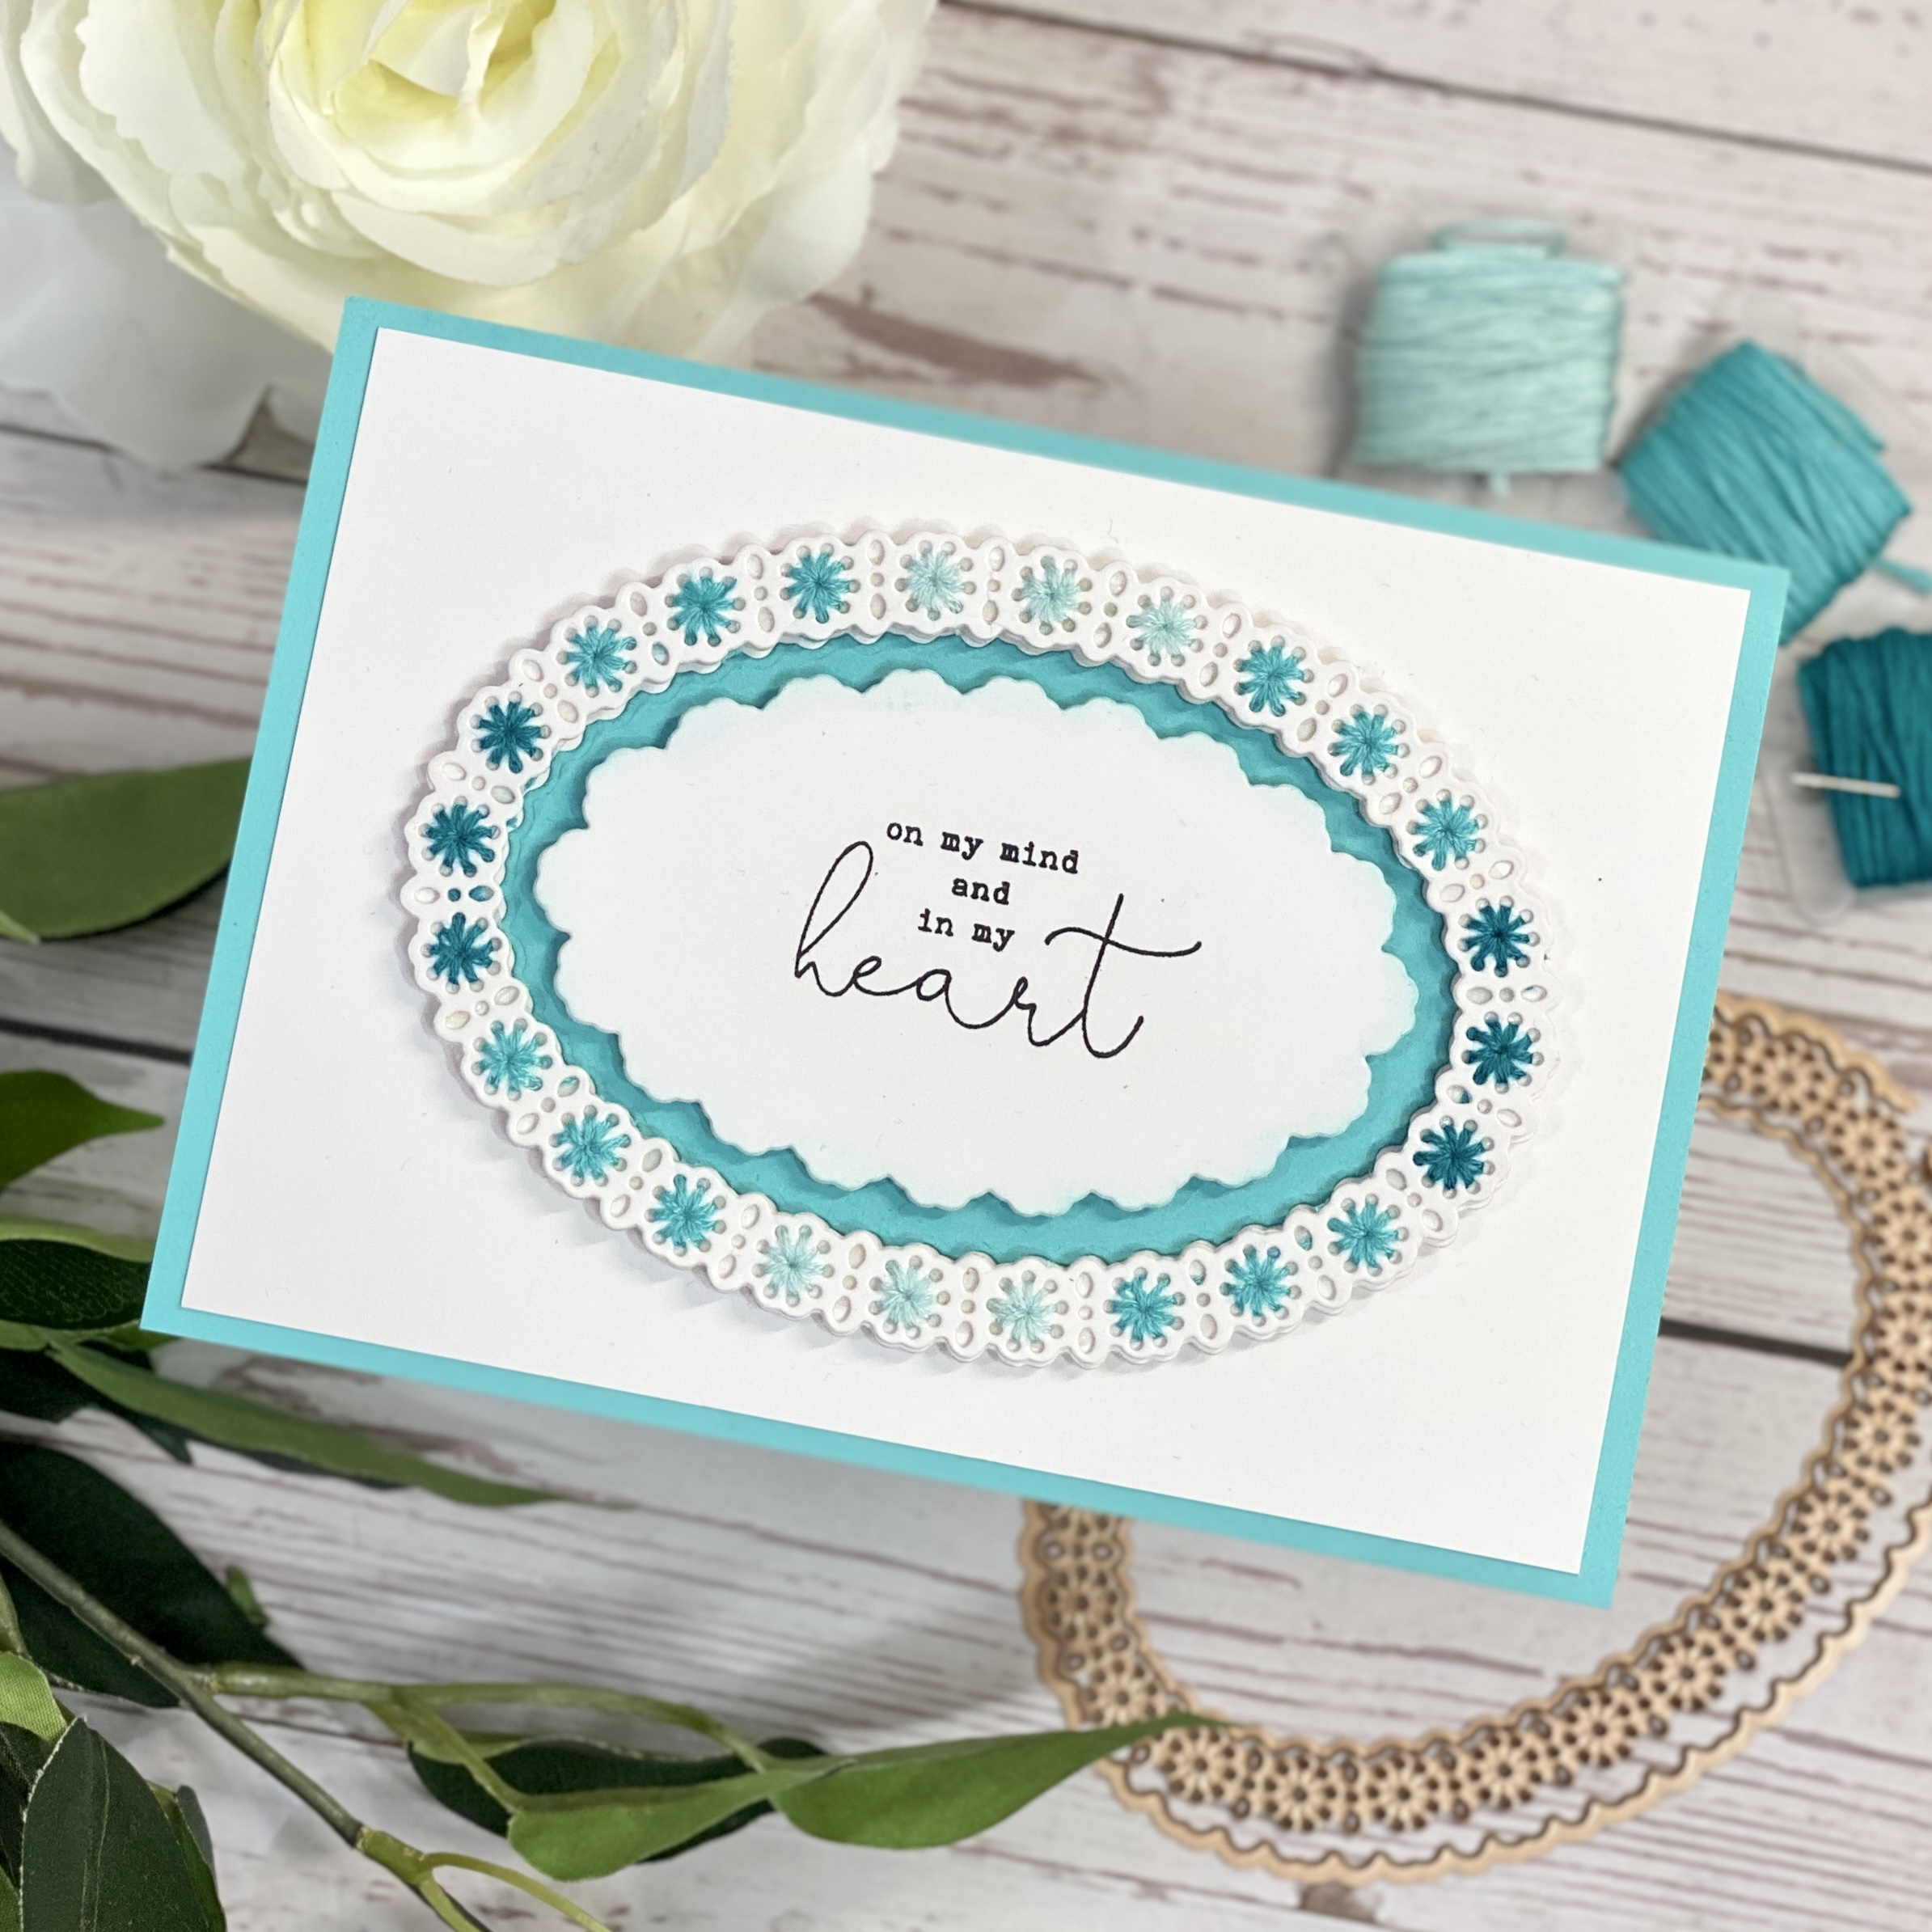
This month's "Oval Stitch & Border" small die set is perfect for making cards, decor, and more.
All the sentiments I've used are from KOM (Card Kit of The Month) and the small floral is from DOML (Large Die of The Month). Embroidery thread is from Amazon, links are all at the end of this post.

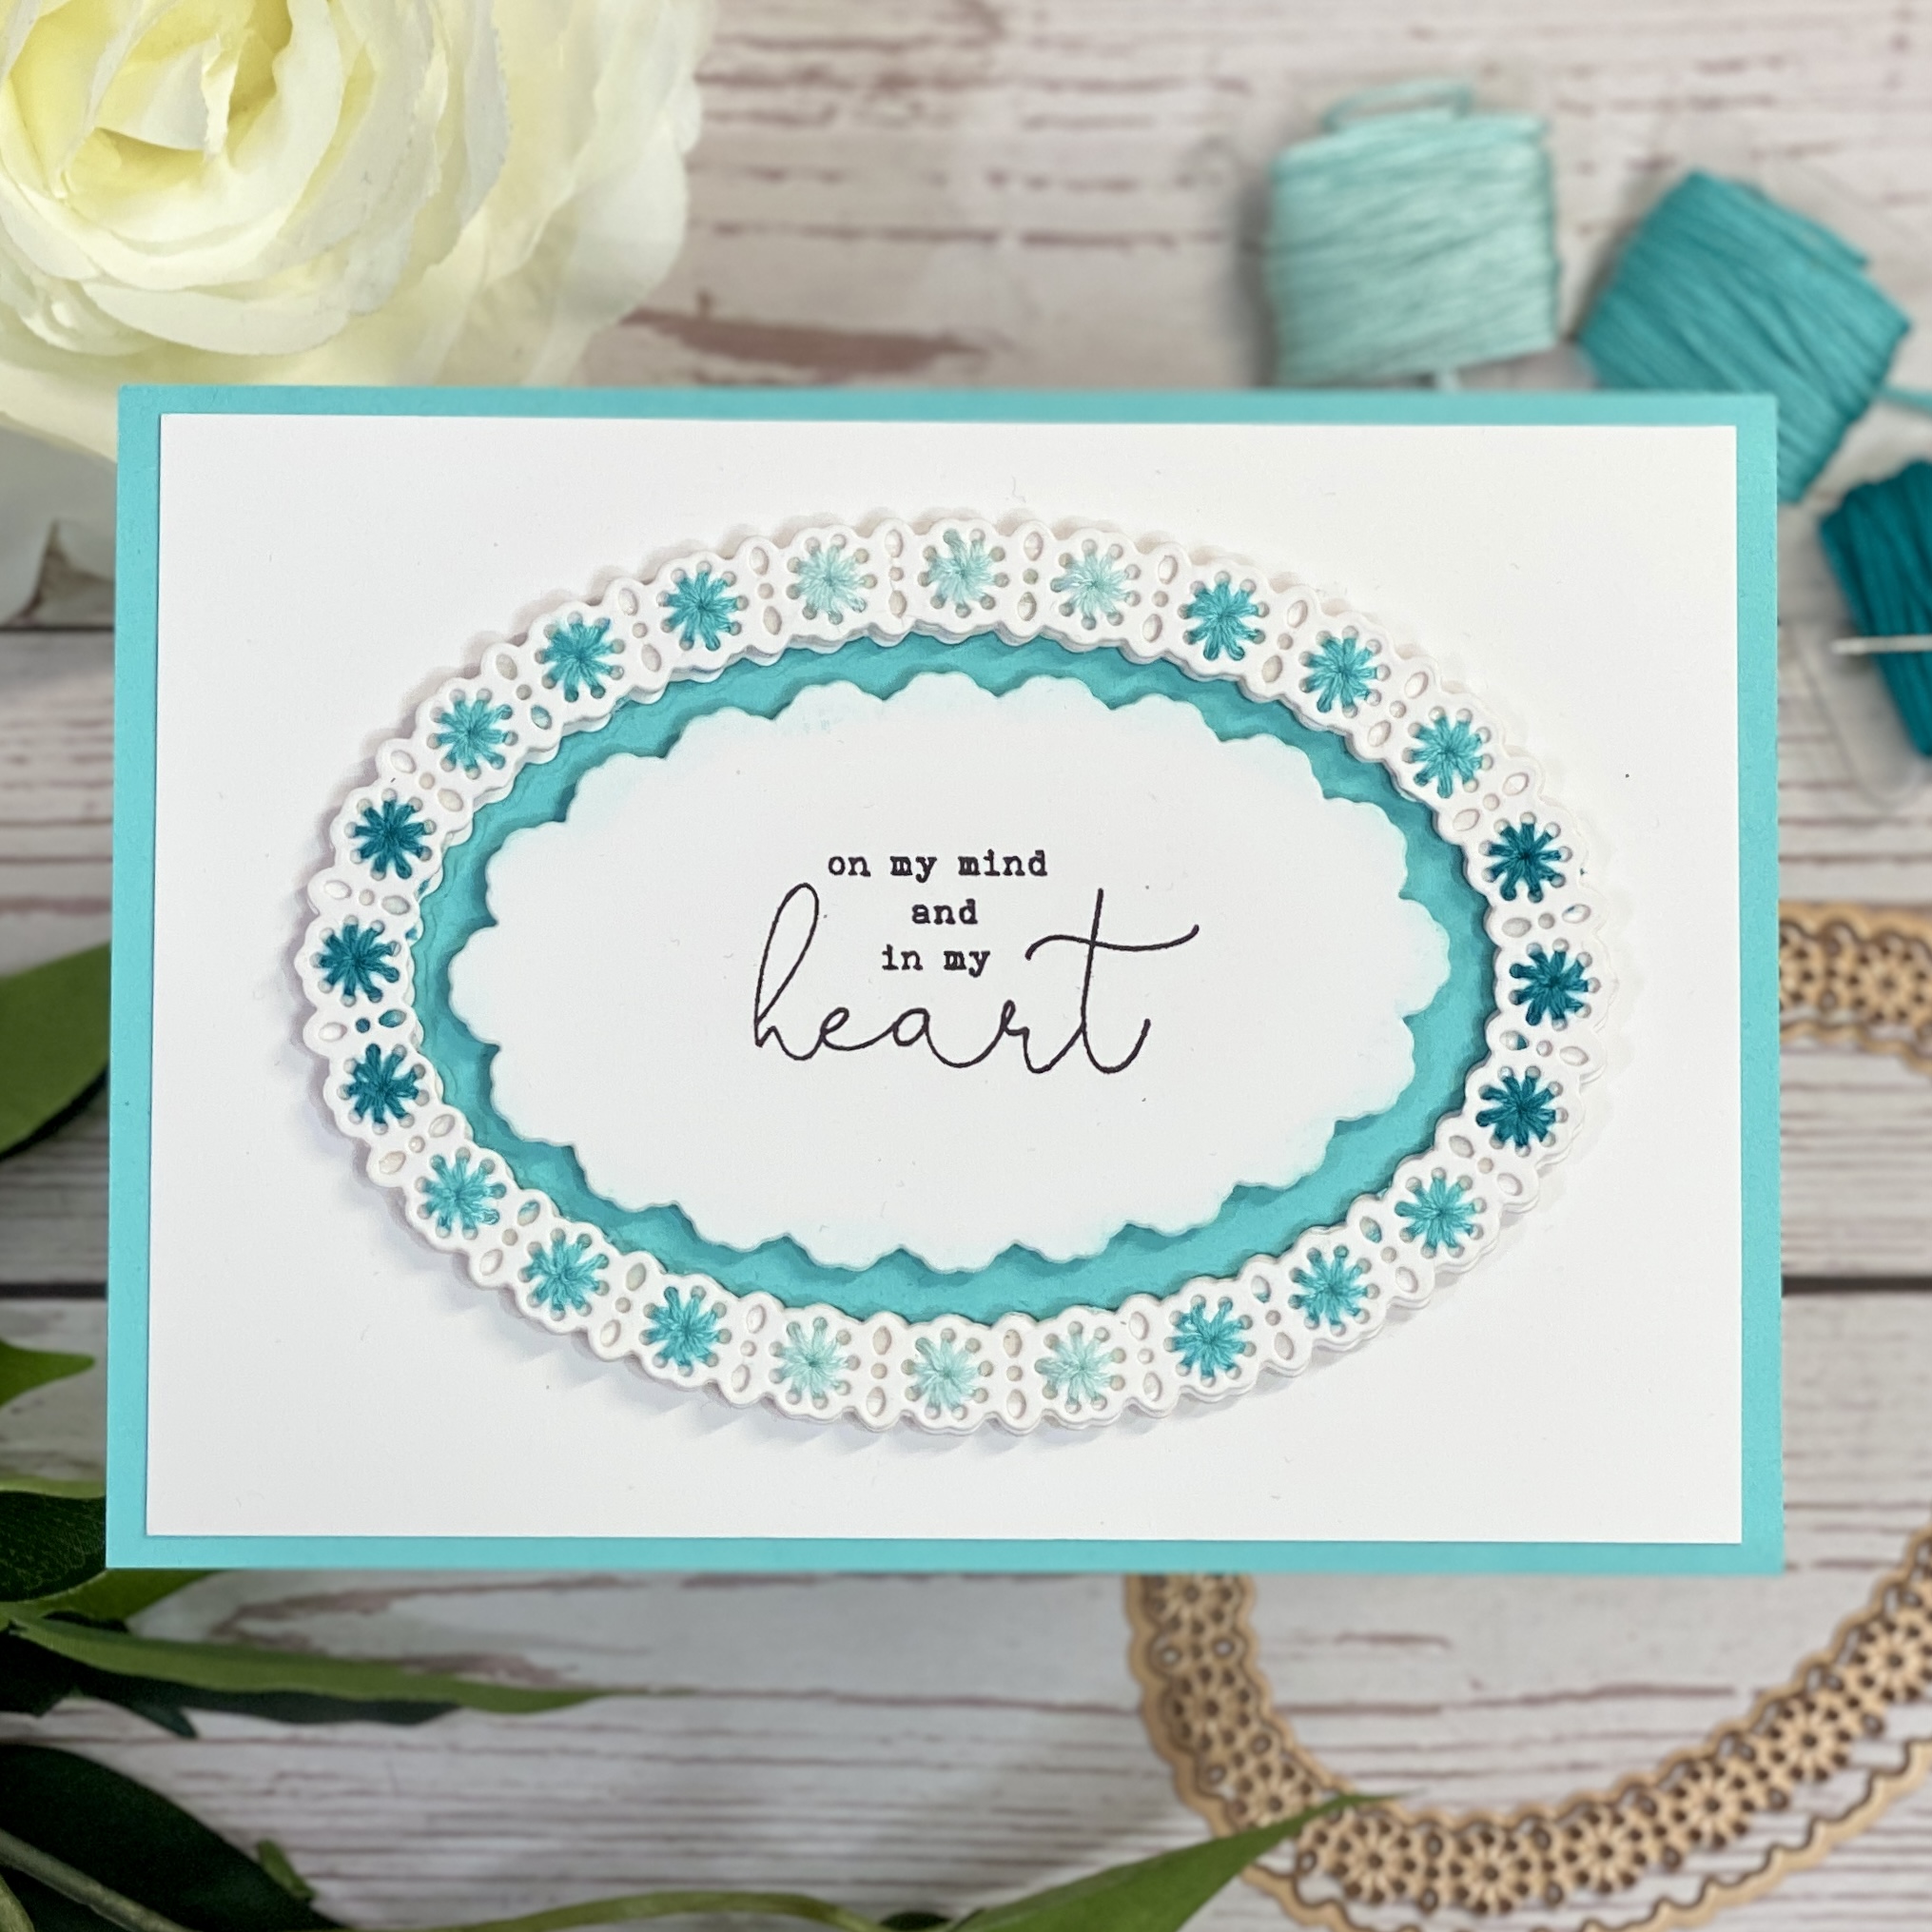
- Trim a piece of white smooth card 6 inches by 4.25 inches, and layer onto an A6 card, 625 inches x 4.5 inches, and set aside.
- Die cut the largest oval twice, but only cut the detail into one. Use the outer edge dies to create a frame for both die cuts. In addition to the frame, die cut the large center oval in aqua, and the smaller oval in white.
- Stamp your sentiment onto the smaller oval die cut and tickle the edges with Peacock Feathers Distress Oxide Ink.
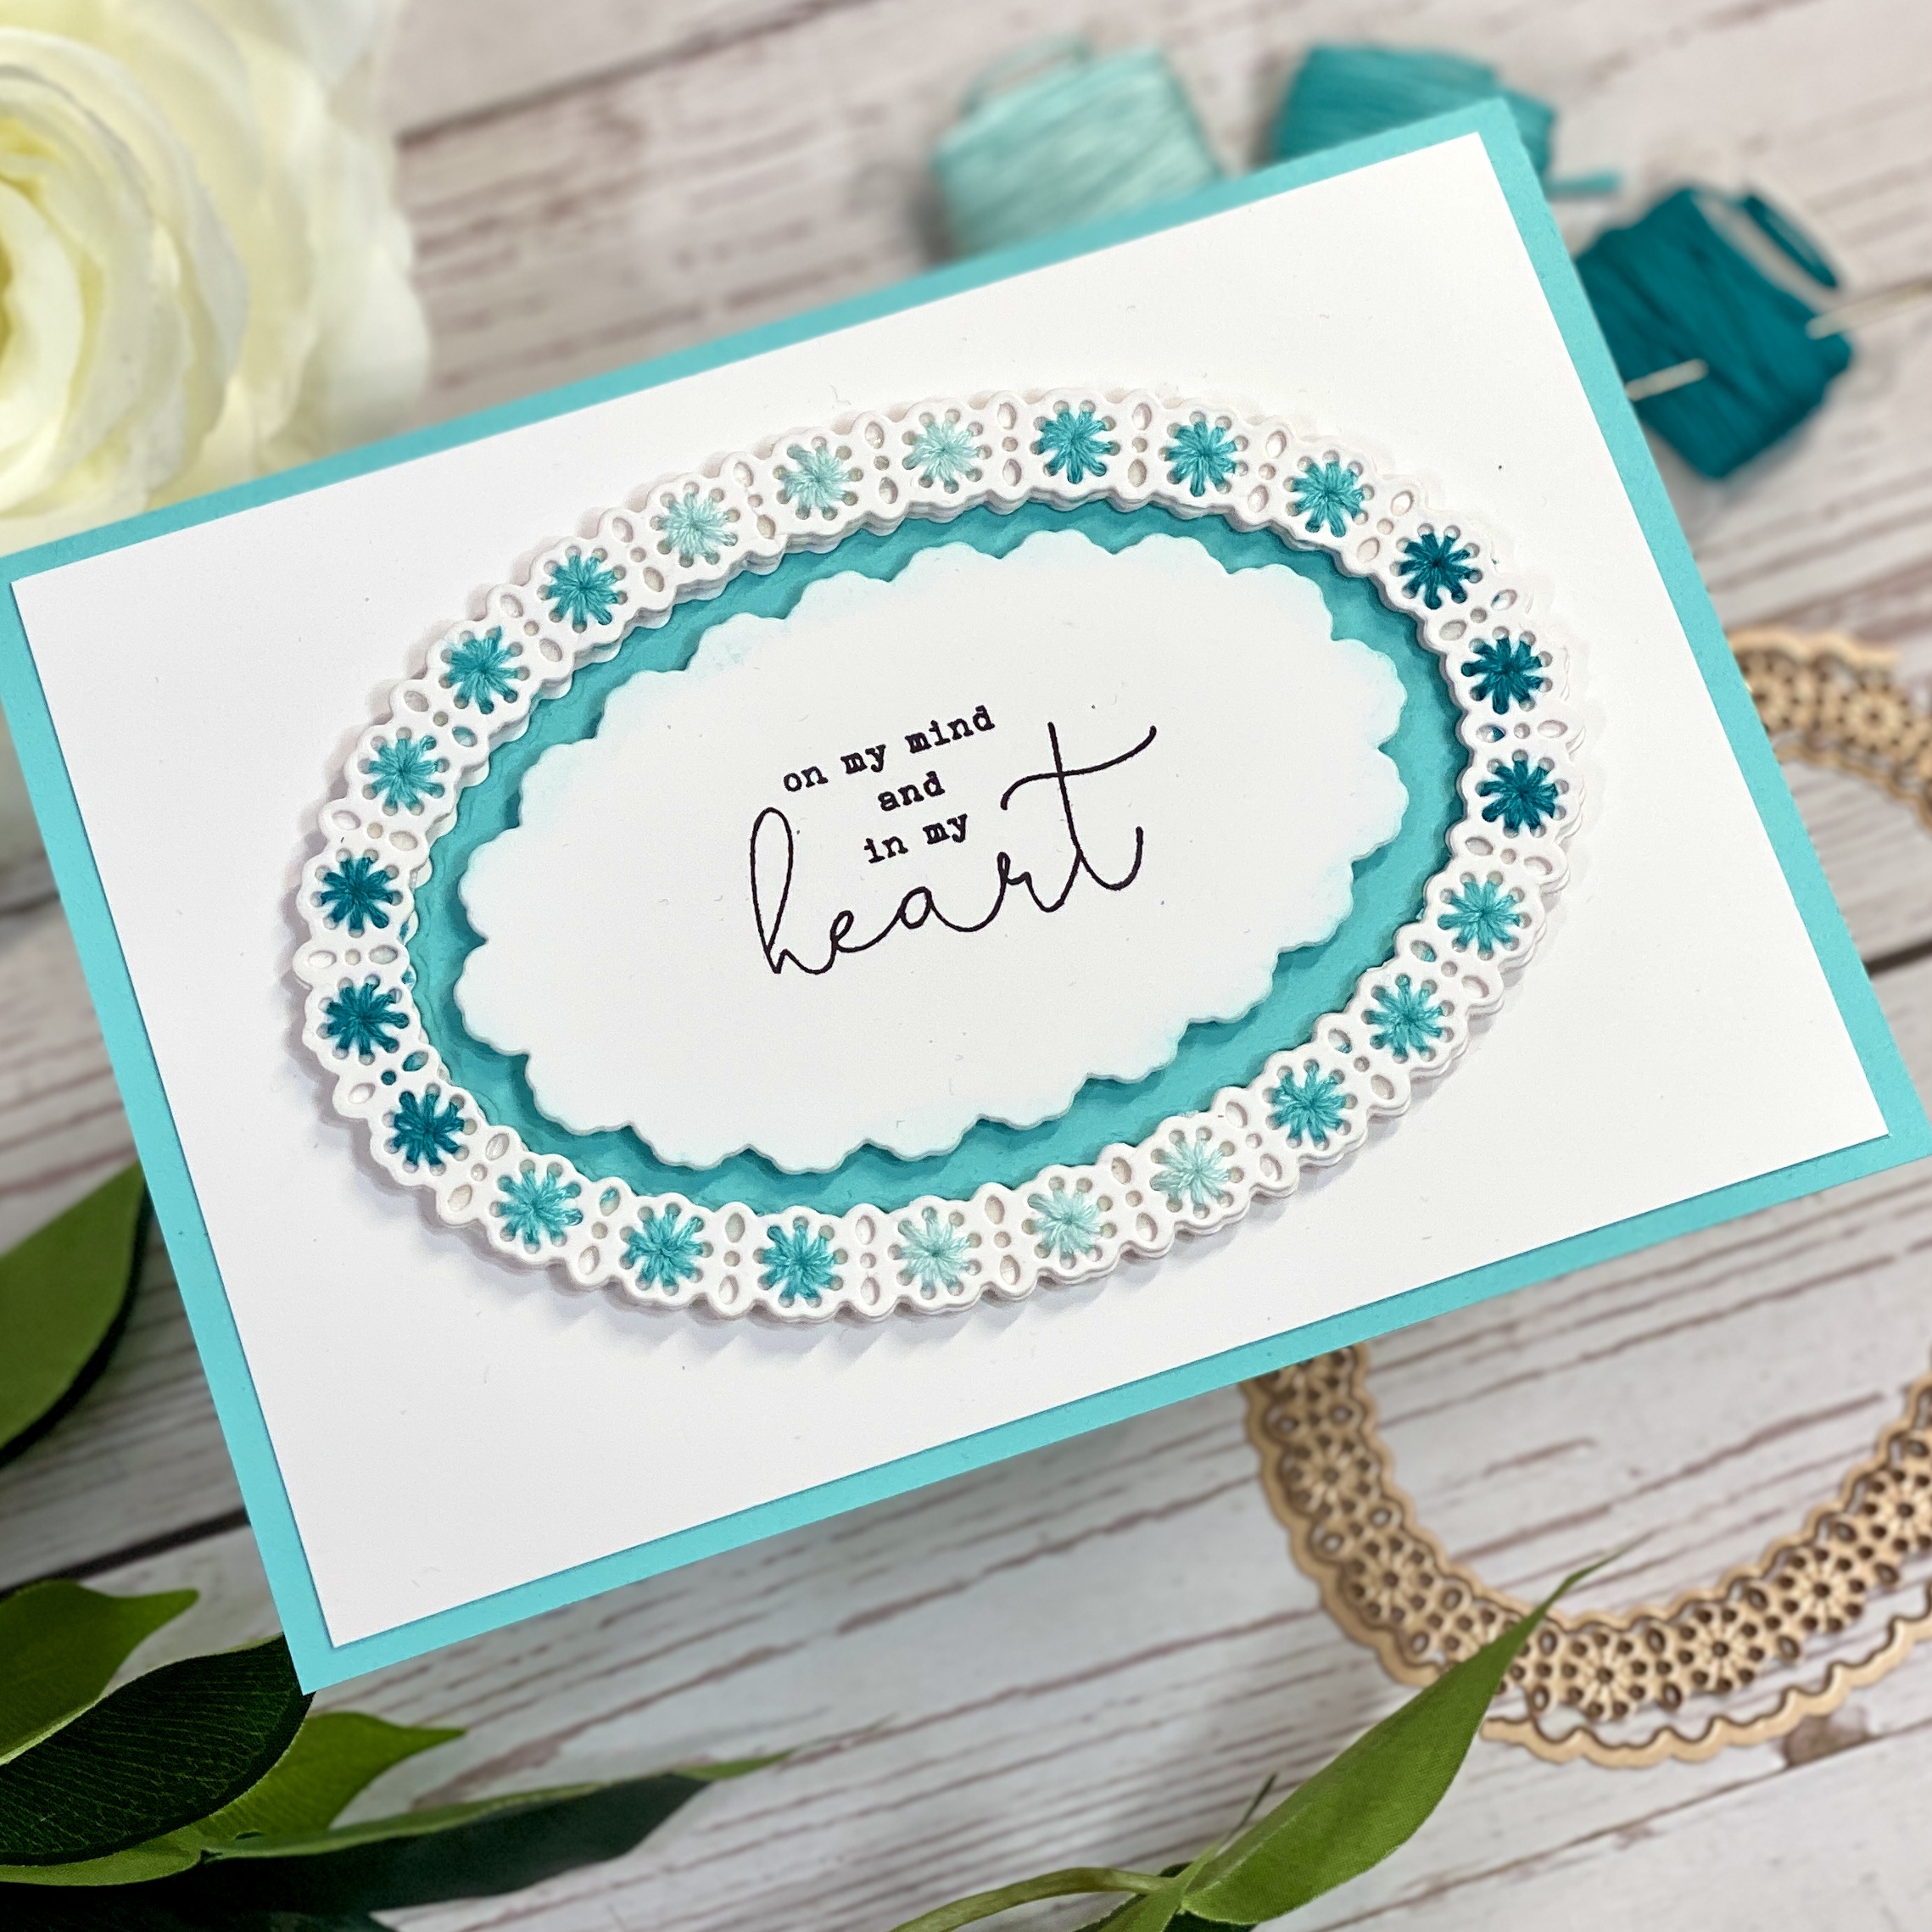
- Select your embroidery thread. My colors are light, mid, and dark teals. My thread has 6 individual strands, but you want to use only 3 so pull in half.
- Use a small embroidery needle to begin stitching your flowers. Knot off when you've finished with one color and repeat with the other two colors.
- Once you have your oval stitches, knot off and add double sided tape to the back. Use the other frame created (without the detail cut into it) and adhere to the back of your stitched design. This will ensure your stitching is firmly in place, adding more durability to the card.
- Place your oval onto foam pads and adhere to the card as shown. Insert the aqua and stamped oval in the centre.
Project 2 - Mini Slimline Violet Stitched Card
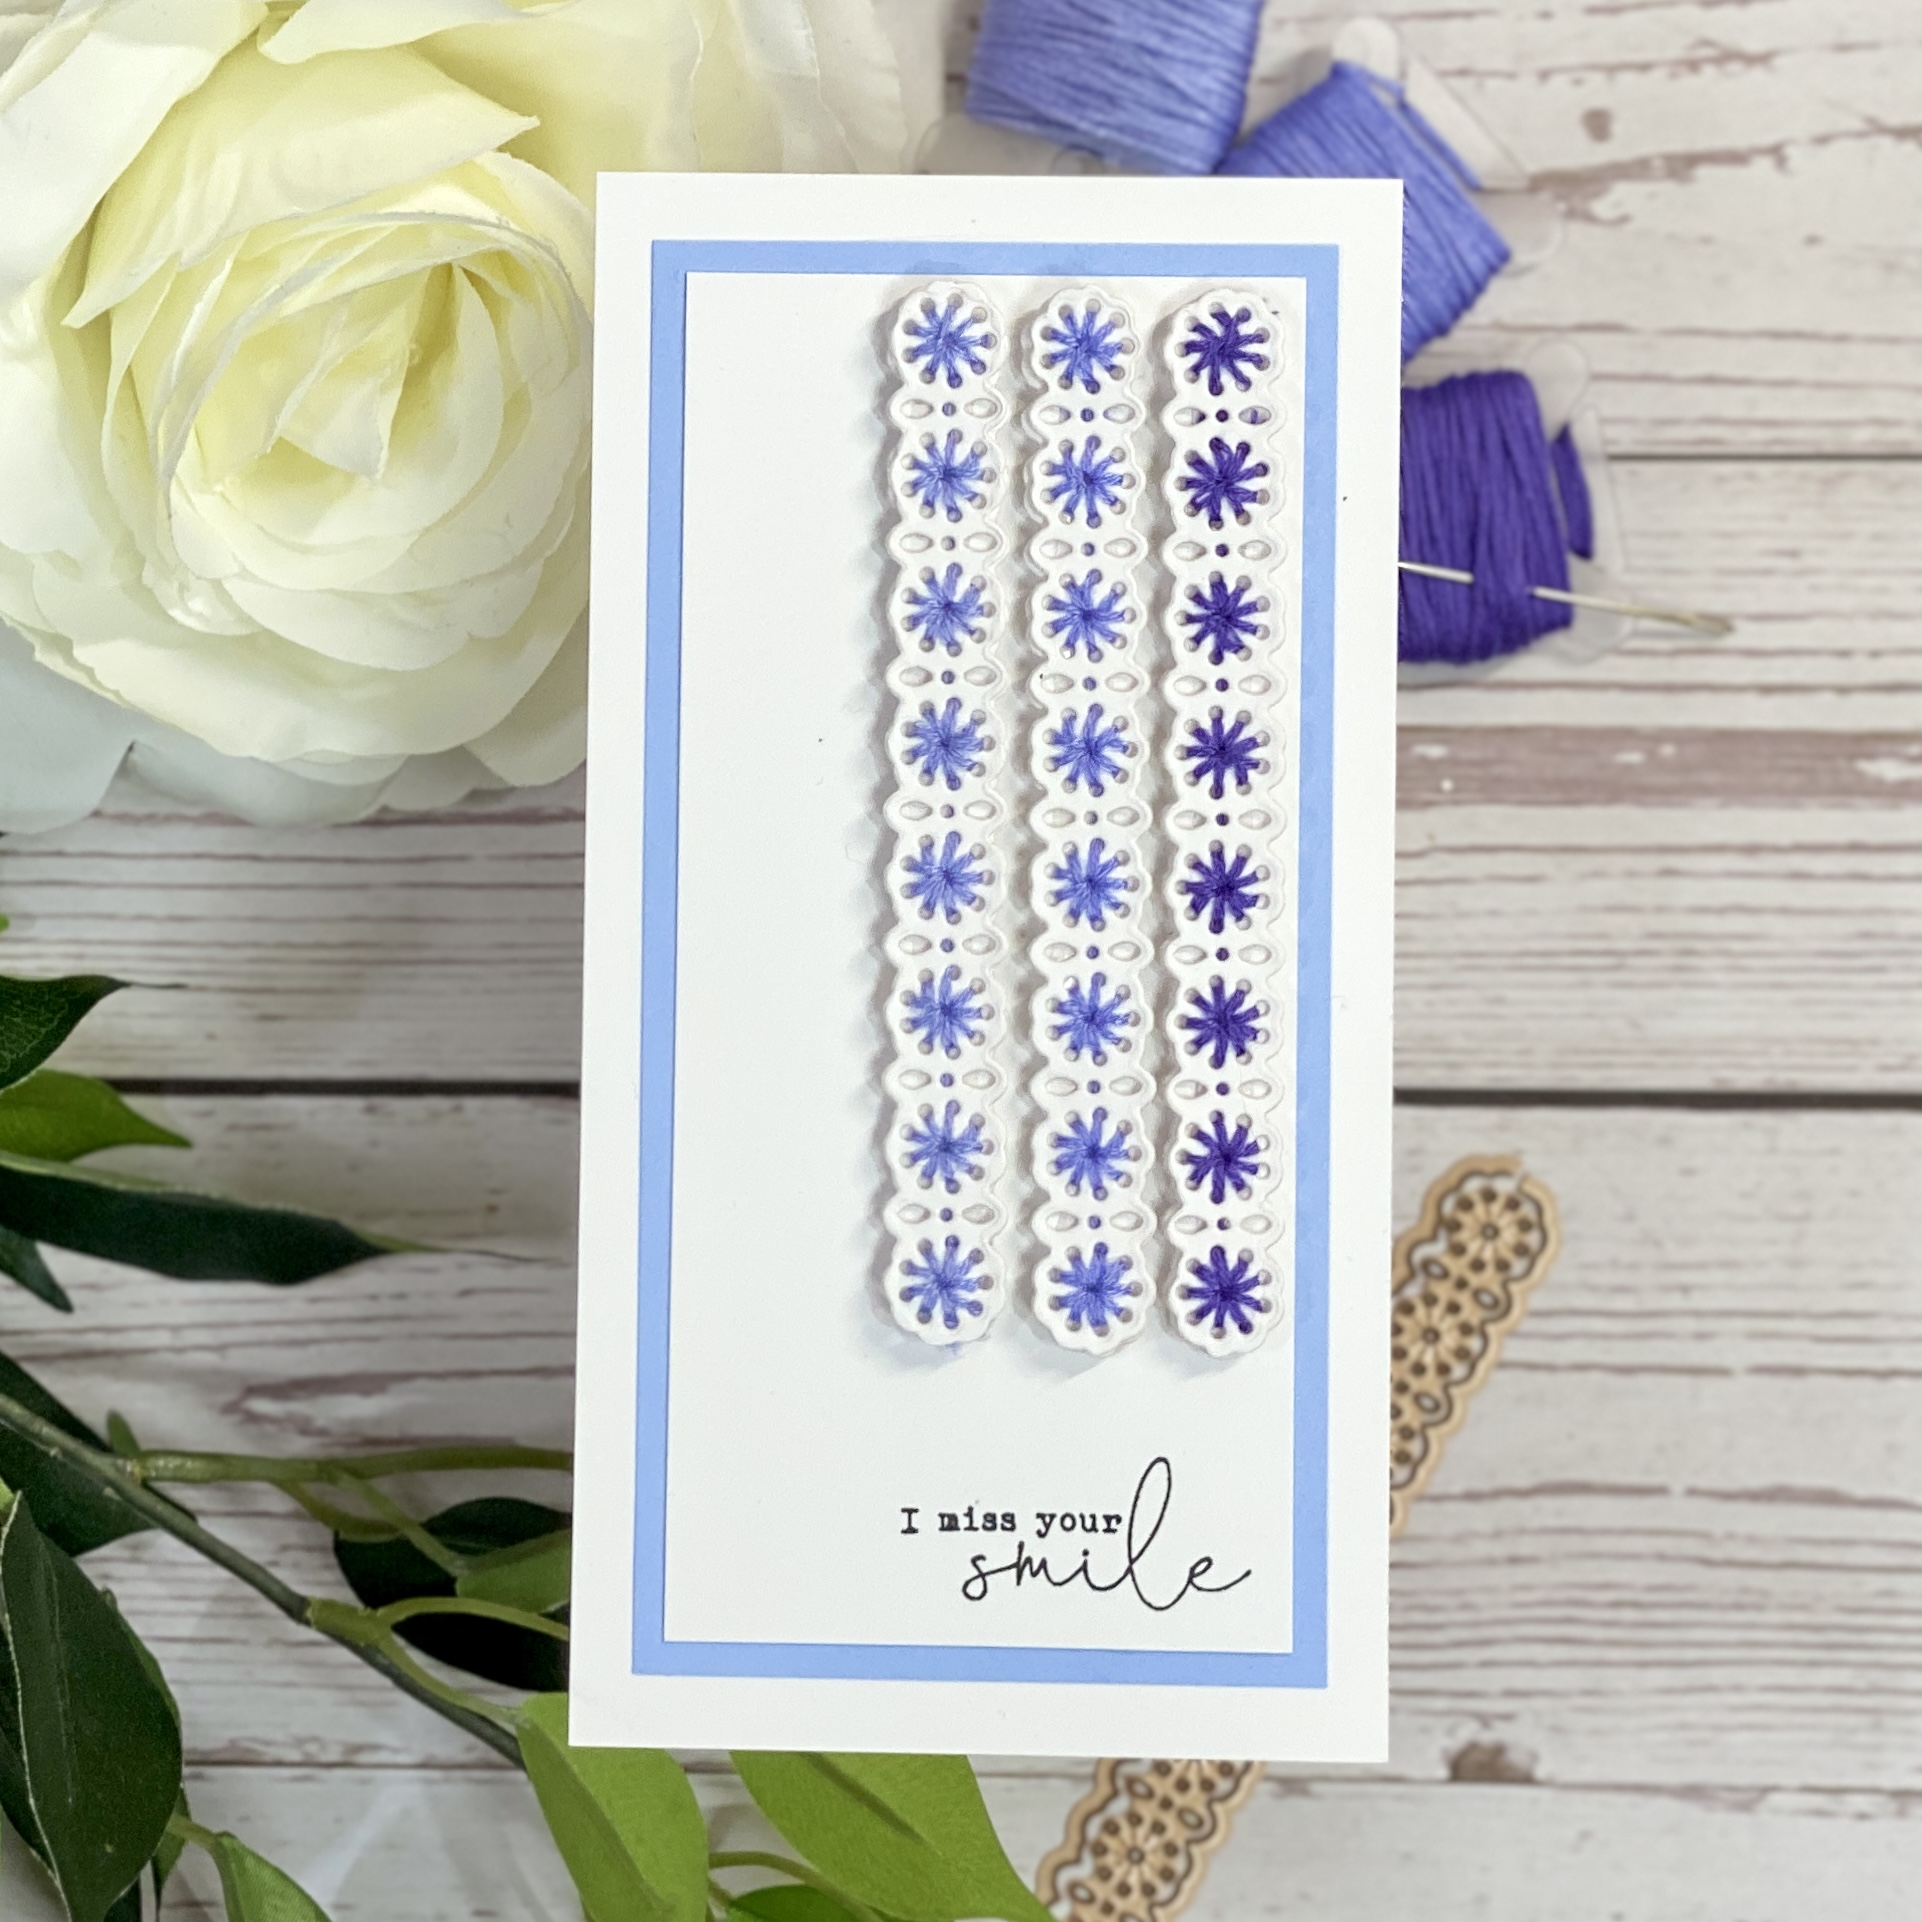
- Create a mini slimline card, 6.25 inches by 3.25 inches, and trim a piece of violet card, 5.75 inches x 2.75 inches.
- Trim a piece of white card, 5.5 inches x 2.5 inches and stamp your sentiment bottom right. Set aside your pieces.
- Die cut 6 small stitched borders, but only cut the detail into three.
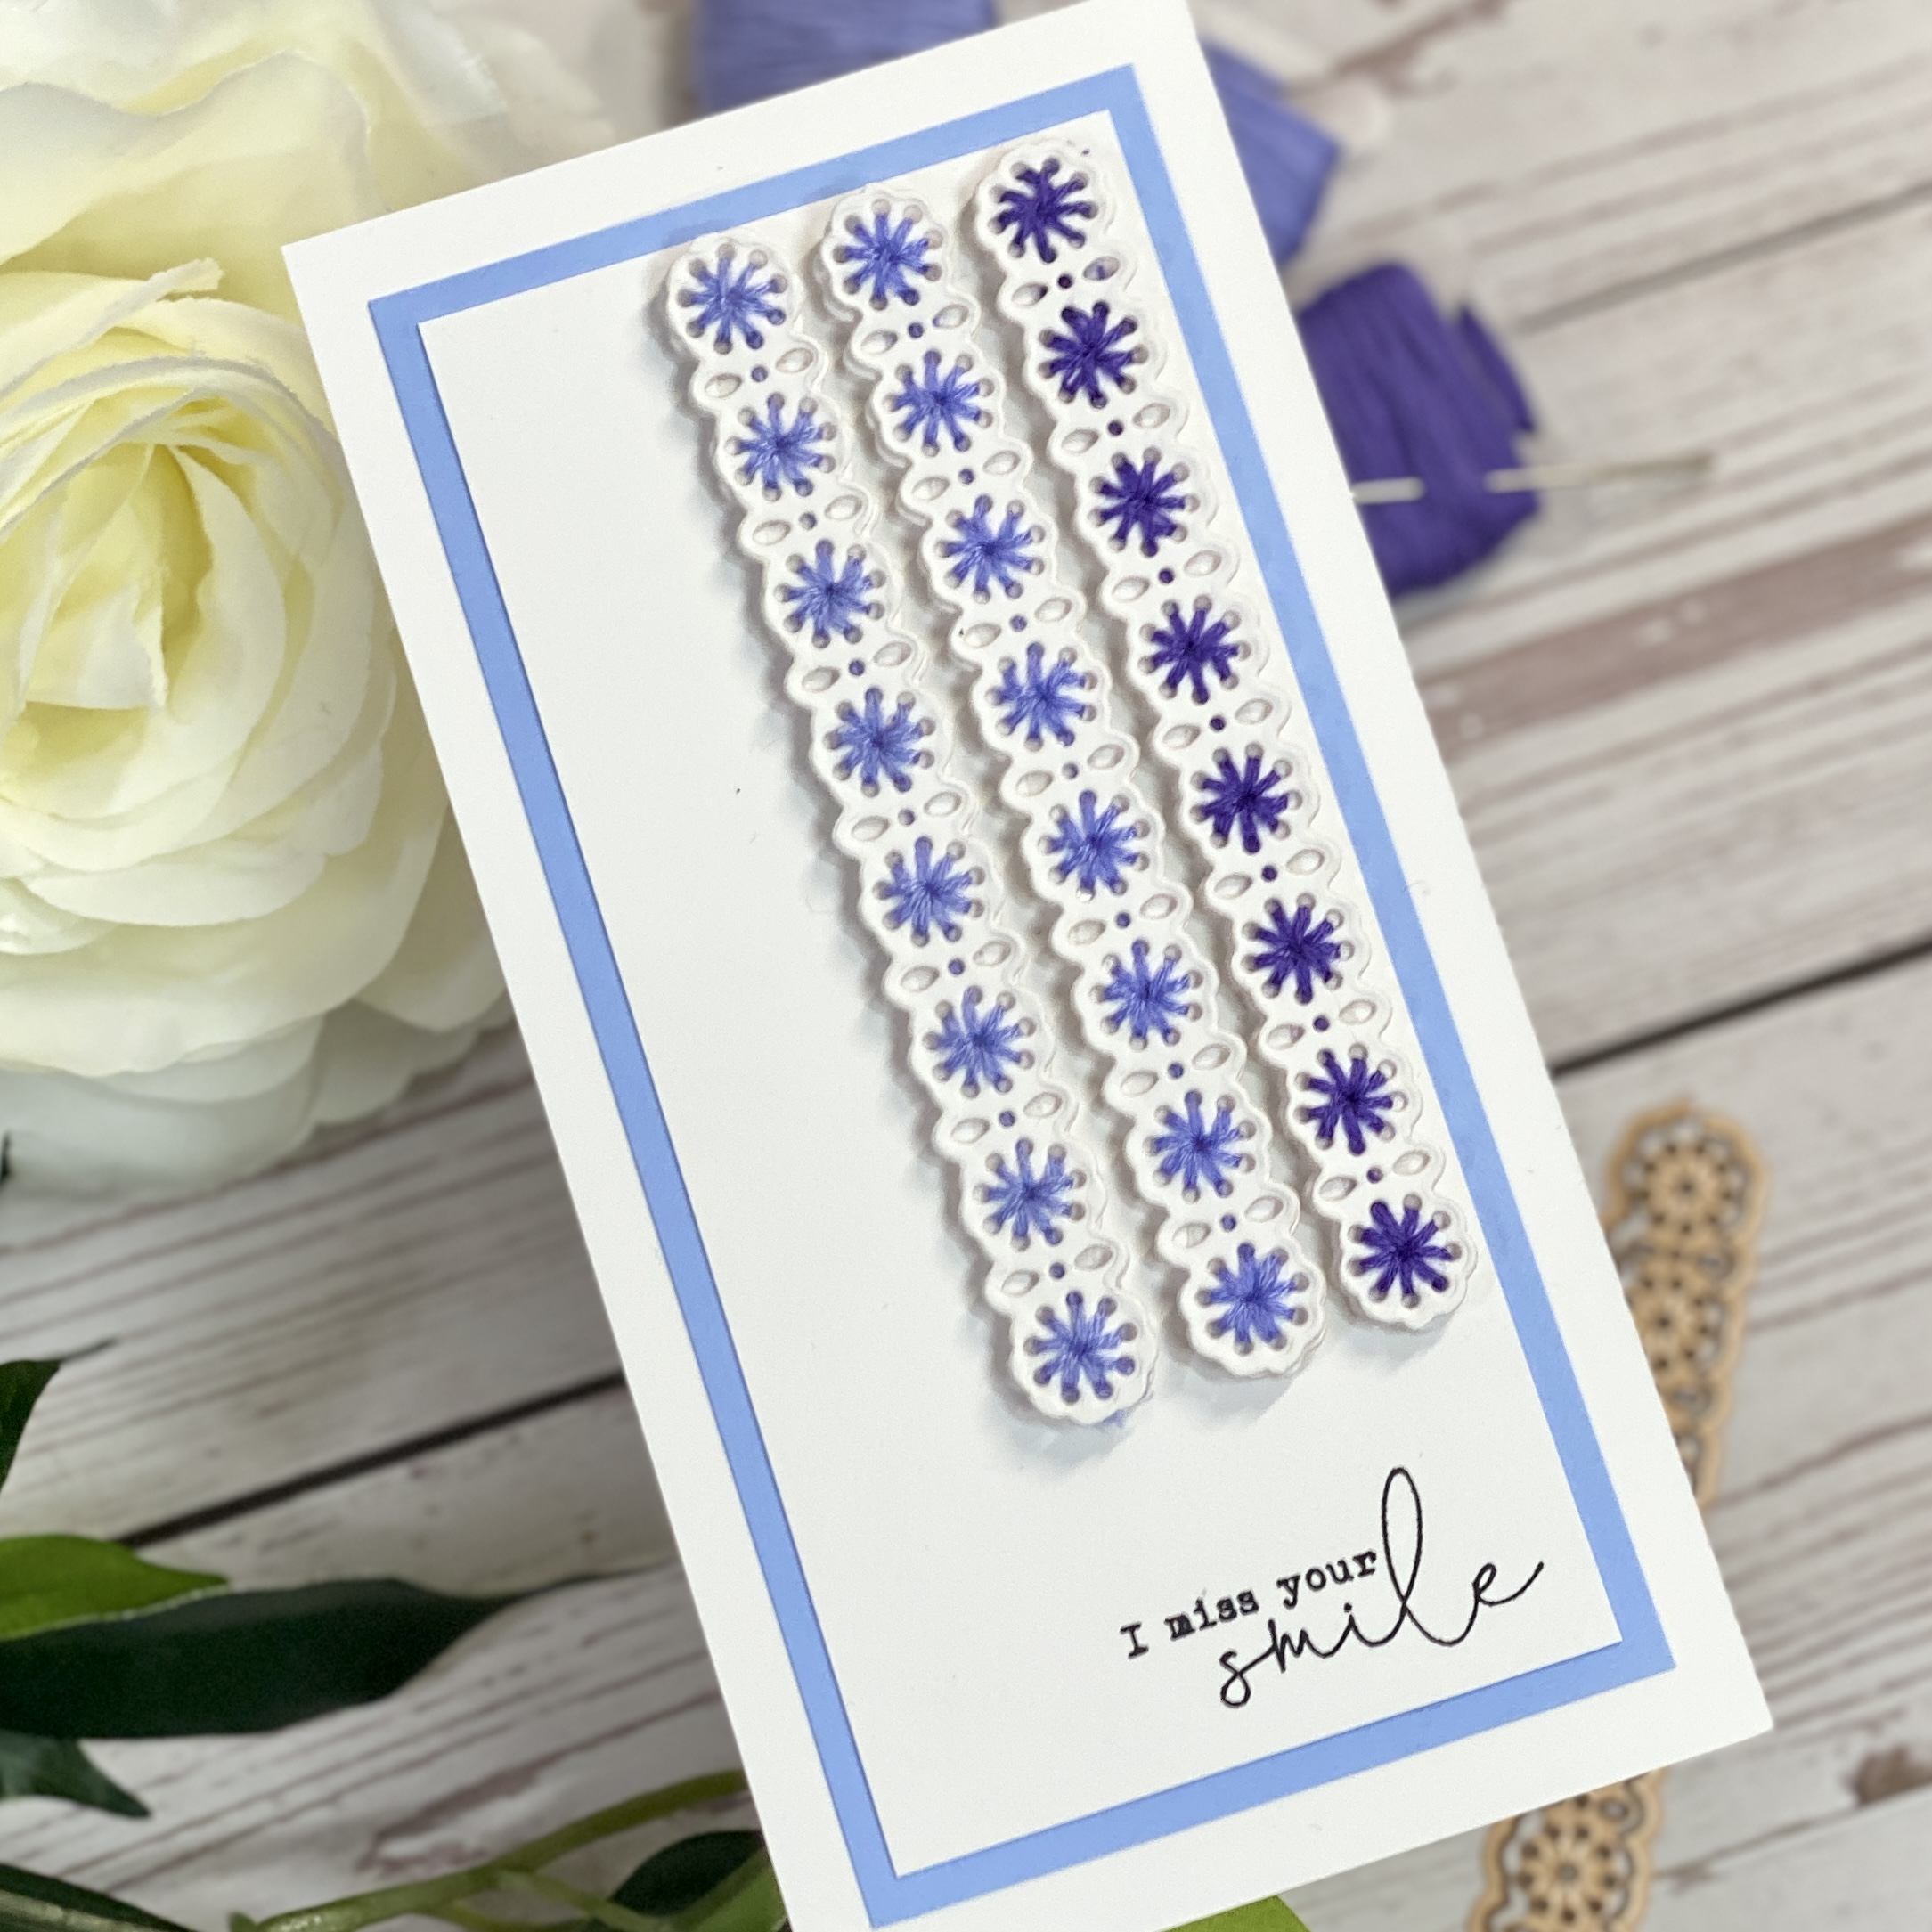
- Select your embroidery colors - mine are light, mid, dark violet and stitch each die cut with one color.
- Add double sided tape to the back of all three, and add the backing die cuts, ensuring no threads are showing.
- Adhere onto your white card panel as shown.
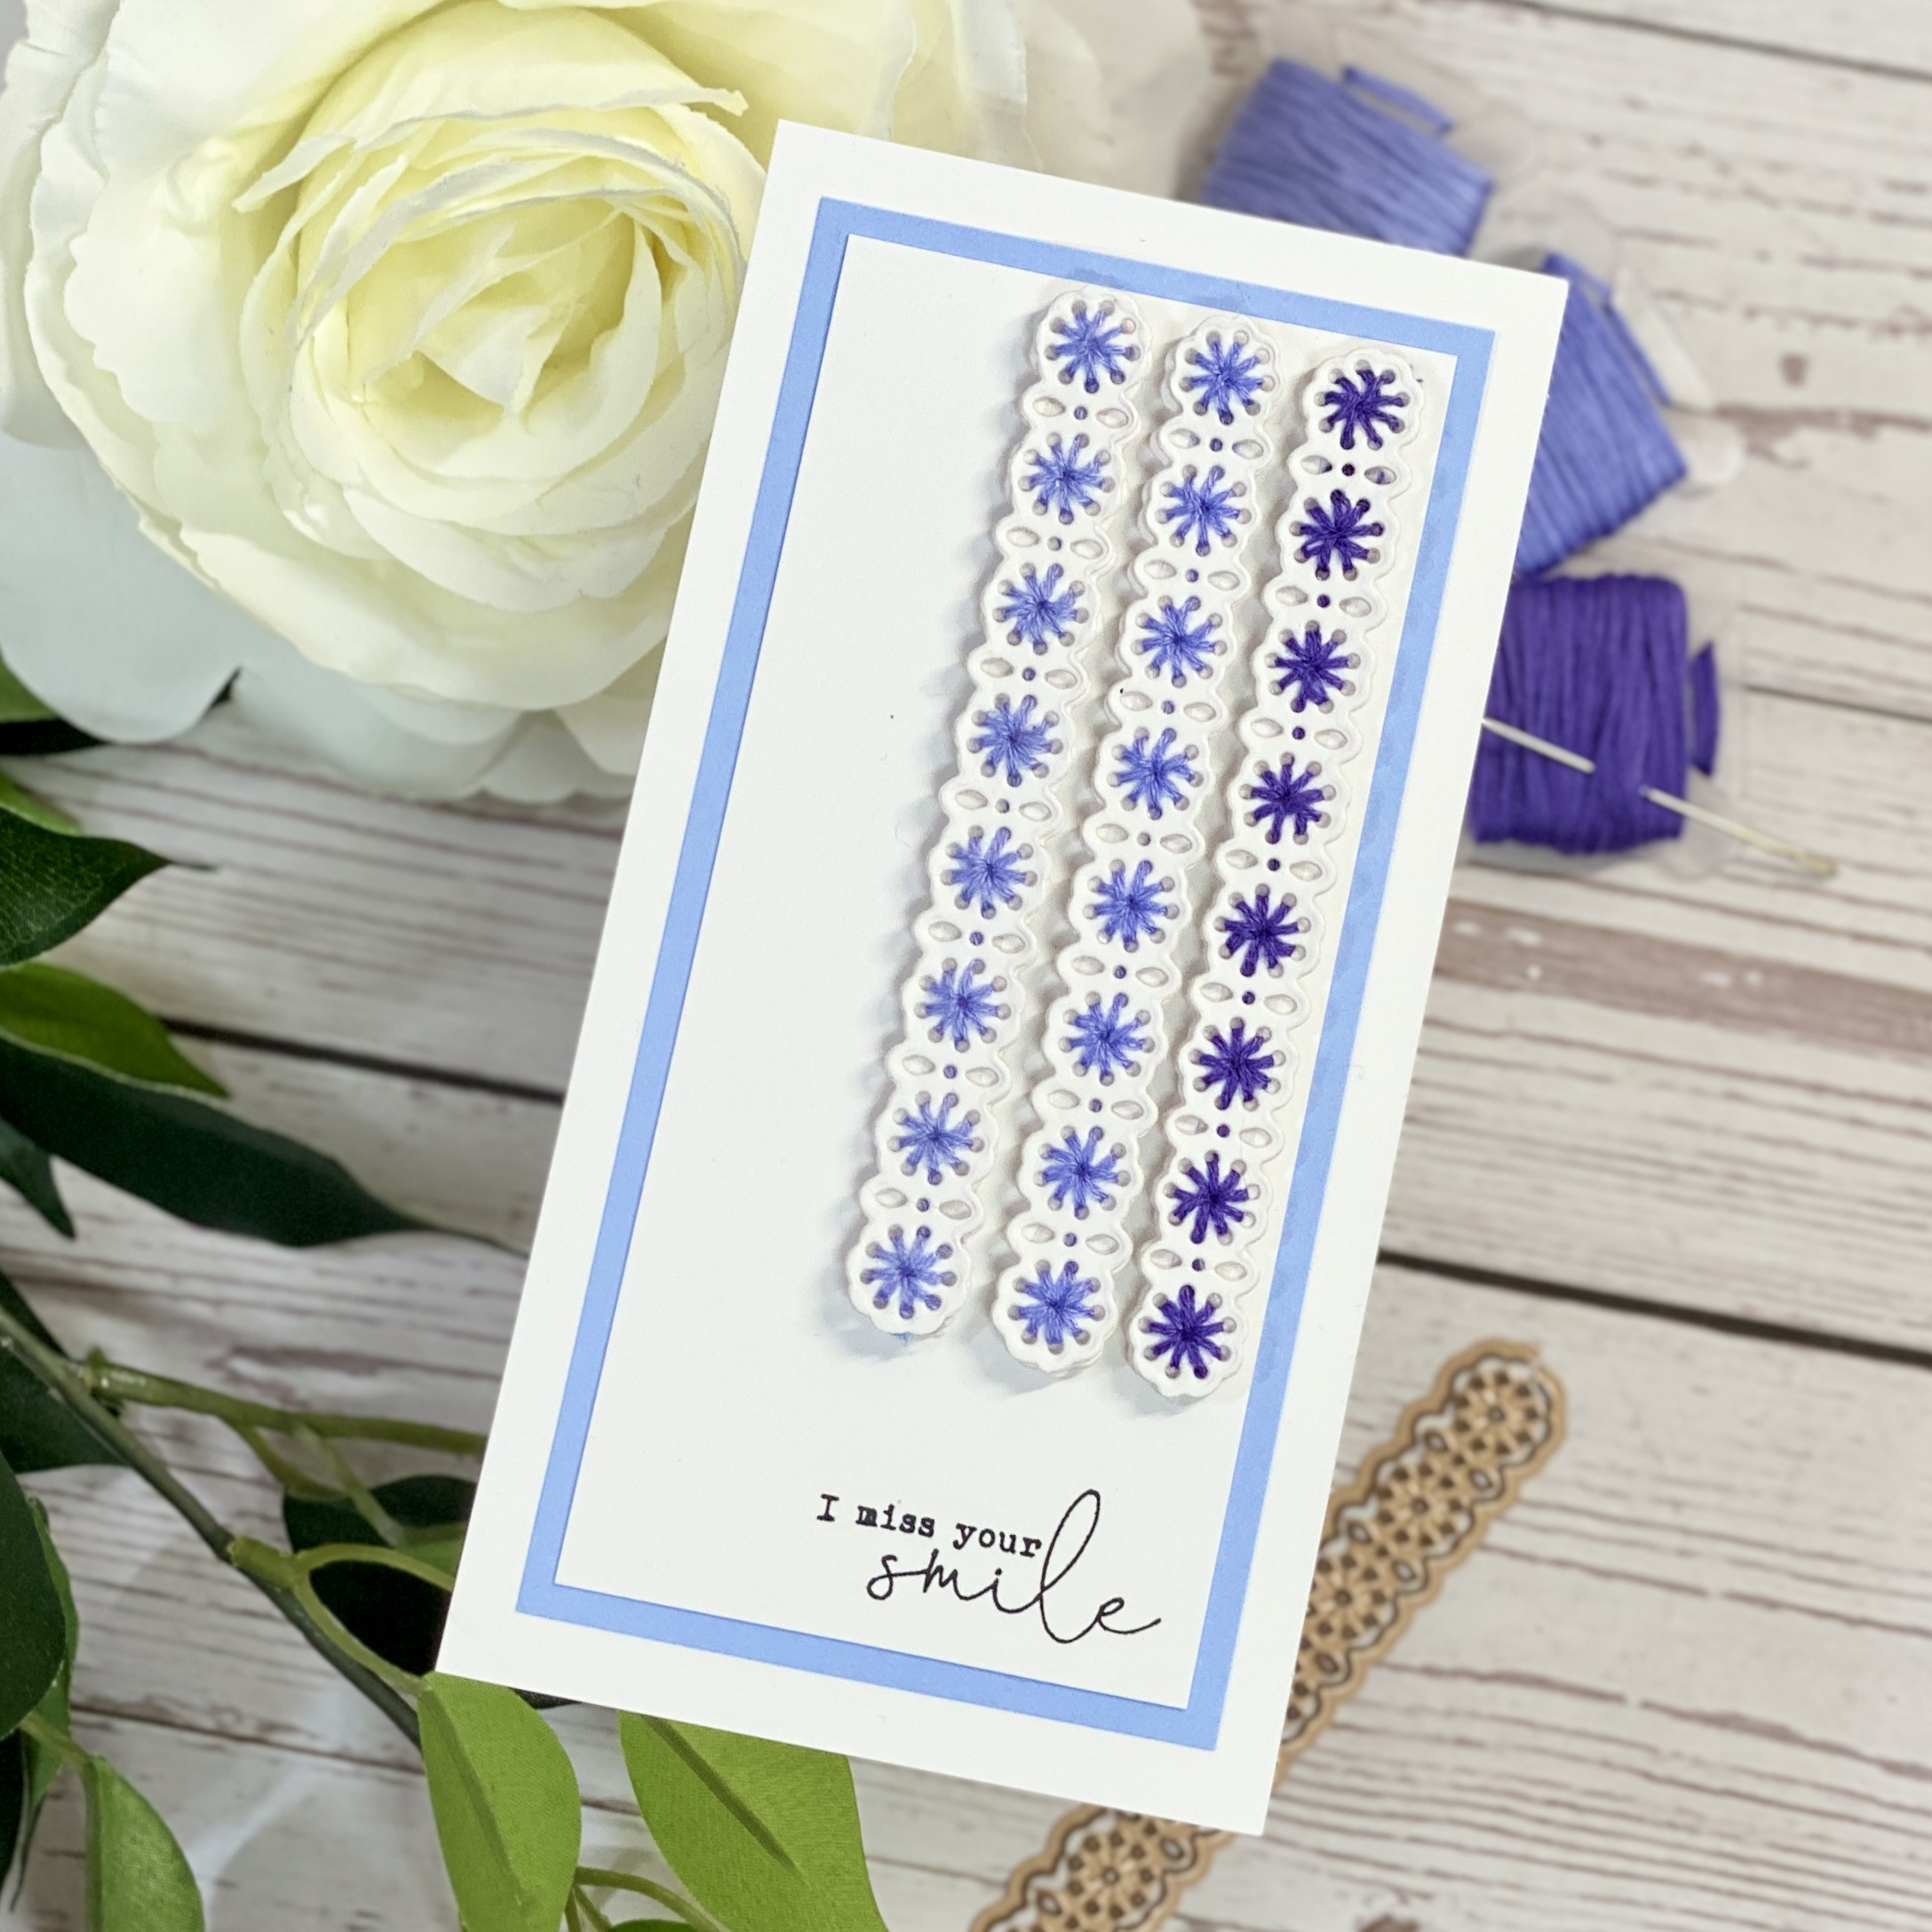
- Assemble your card to create this beautiful mini slimline design.
This is the first time I've used embroidery threads and if I can do it, then anyone can! It was really relaxing and I the stitching was all done in one evening, when I was watching a little T.V.
Project 3 A2 Coral Beauty

I've used the ombre theme on all three cards and it was a lot of fun!
- Trim a piece of bubblegum pink (or light coral) card 5.25 inches x 4 inches, and a piece of white card 5 inches x 3.75 inches.
- Mat your colored card onto an A2 cardblank and set aside.
- Die cut the smaller oval directly into the piece of white card.
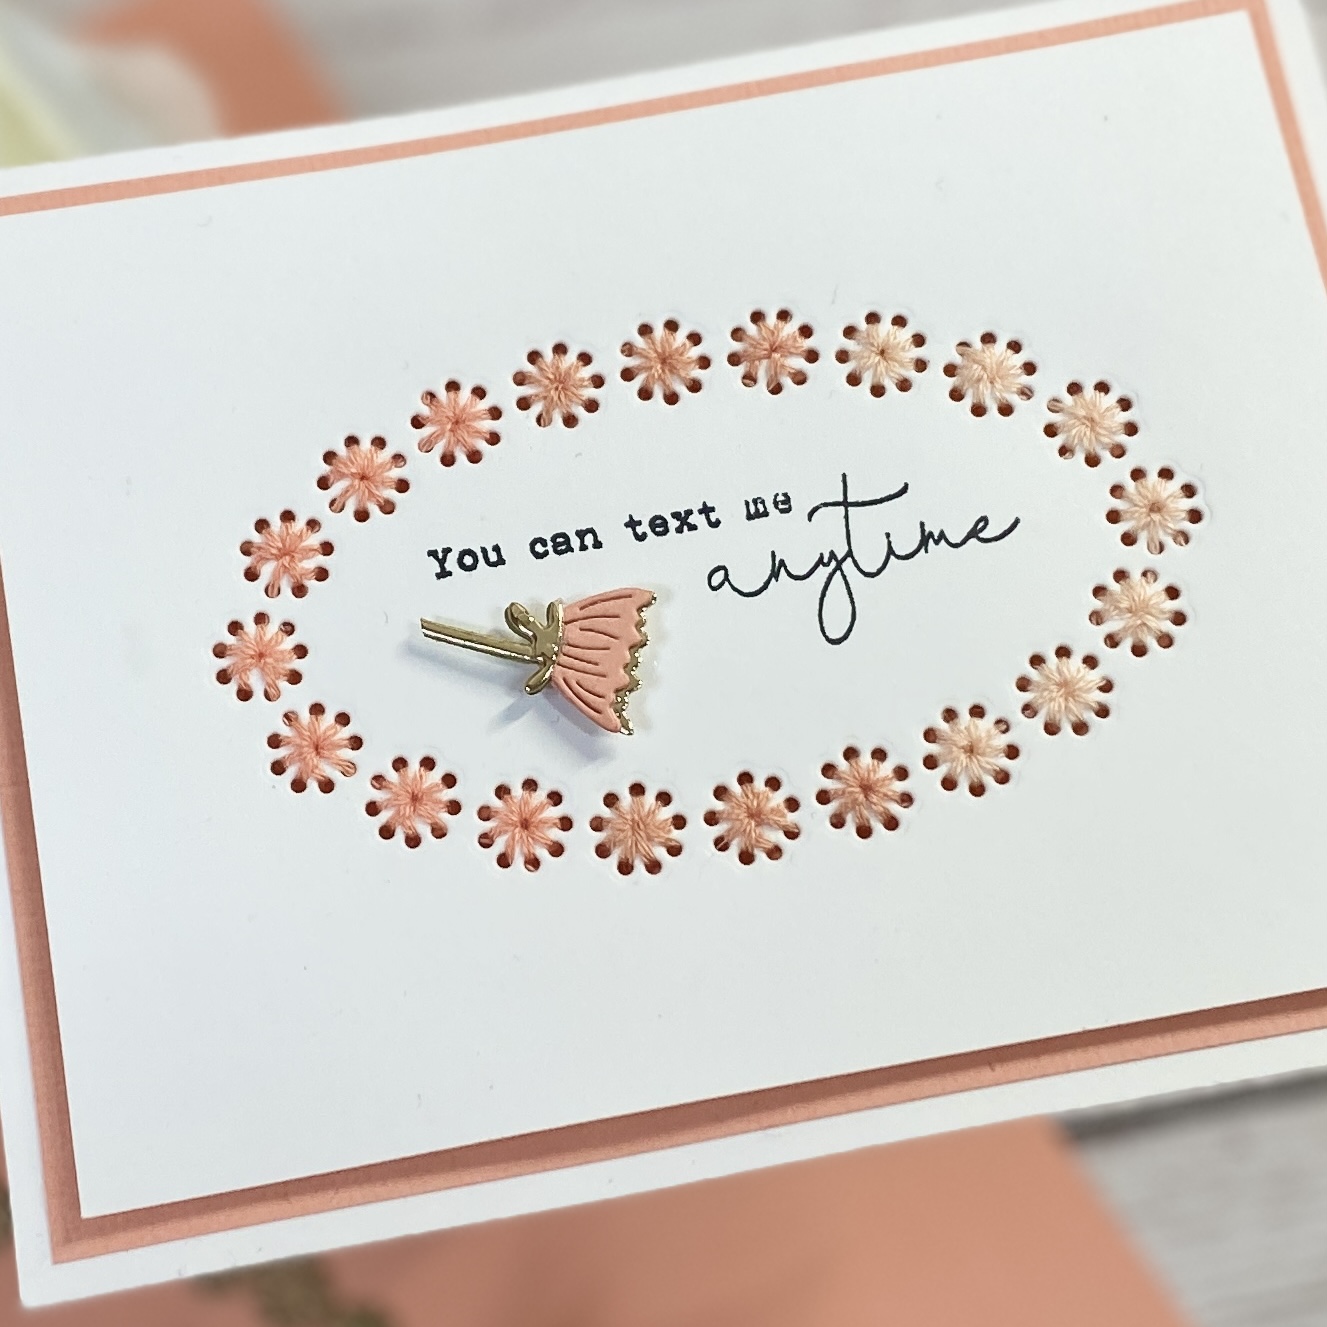
- Stamp your sentiment into the center of the oval before you stitch.
- Select three coral colors, light, mid, and dark. Stitch your design, making sure to knot at each new/end of color.
- Pop up your stitched panel onto foam pads and add to your mat and layered A2 card.
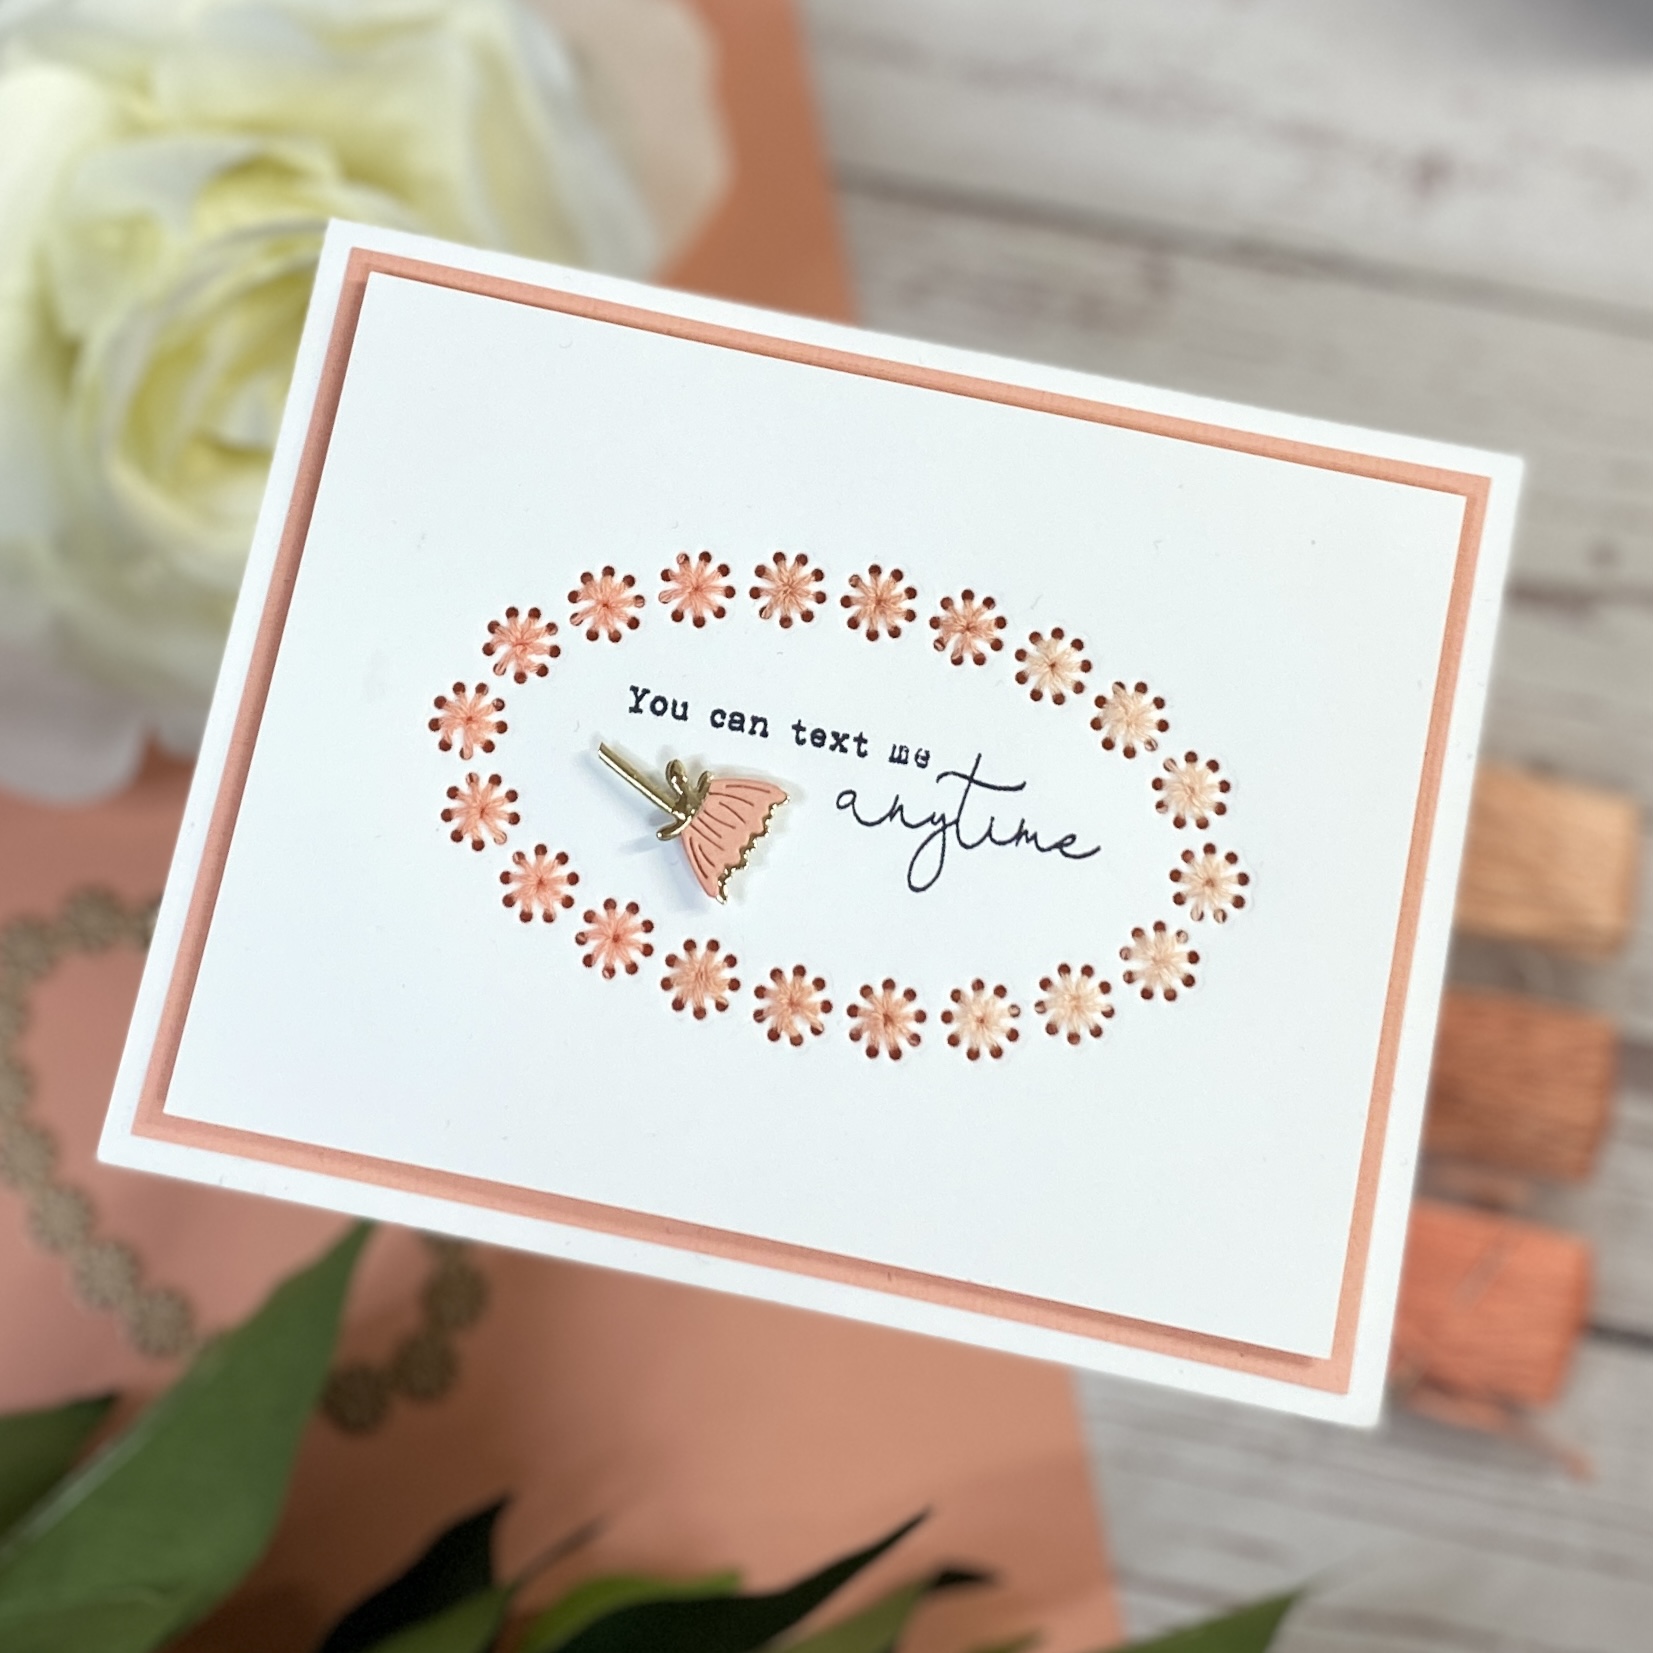
- Die cut one of the small flower heads and stem from the Card Kit of The Month, in bubblegum pink and gold mirror card. Isn't this a beautiful card?!
Well friends, those are my cards for this month's Small Die of the month and hope that you like all the clean, stitched detail.
Shopping Basket (Some of the links I use are affiliated. This means I make a small commission when you purchase through them but don't worry, there is no additional cost to you. Your support means the world to me, and I am so grateful that you choose to shop through me. From the bottom of my heart, thank you.)
Thank you for visiting my blog today and I'm so grateful for your support. If you have any questions, please leave me a comment here, or over on Instagram, handle kittenmoose.
Marisela Delgado said: All of them are gorgeous, but the blue one is my favorite. Nicely done! ☺ Marisela Delgado ☺ mariandmonsterd@yahoo.com
ReplyDelete