
I absolutely LOVE this die set, and it's going to be used many many times for family and friends. One of the coolest things about this set are all the individual elements - all the typewriter pieces, as well as beautiful floral dies, and sentiments.
**Thank you for using my affiliate links to shop, your support means so much to me, and I shall endeavour to share as many inspirational posts as possible.**
Join the Large Die of the Month Club and receive an expertly designed die set each month, complete with inspiration. Plus, members get store savings, extra deals, gifts, and more. Click Here to learn more about club membership.
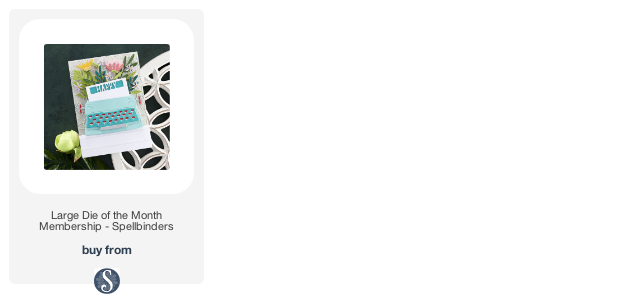
This month's "Typing Class" large die set is perfect for making cards, decor, and more.
This month's "Typing Class" large die set is perfect for making cards, decor, and more.
Membership Includes:
- Exclusive Larger Set of Versatile Dies that cut, emboss, deboss and stencil. Double the size of the Small Die Set! $40 Value!
- Project Inspiration: Each kit will feature project ideas with at least one detailed how-to instruction tutorial each month.
- Member Benefits & Savings: Receive exclusive member pricing in the Spellbinders store. Plus receive access to deals, savings, and gifts - only available to members.
Click here --> ALL ABOUT SPELLBINDERS CLUBS HERE
Interested in becoming a member of multiple clubs? Check out the all the NEW Value Club Options.
**Die & Card Kits Include wafer thin dies that can be used on most industry standard manual die cutting machines.
**Die & Card Kits Include wafer thin dies that can be used on most industry standard manual die cutting machines.
DOML - Typing Class

Mock-up Idea

The Projects

Project 1 - The Mini Card

- Die cut the elements using the following colors - mint, white, light pink, mid pink, gold mirror, and black.
- Assemble the typewriter.
- Create a mini card base approx 2 and 7/8ths by 4 inches.
- Slot the front of the card blank into the typewriter mouth and adhere.
- add leaves and a flower to complete this beautiful mini card.

Project 2 - A2 Landscape Note

- Die cut the elements using the following colors - light green, mint, mid green, white, light pink, mid pink, gold mirror, and black.
- Assemble the typewriter.
- Die cut the foliage.
- Create a mini notelet approx 2 and 7/8ths by 3 inches, and add, 'a note' sentiment onto it, slightly askew.
- Trim a piece of mid pink card 5 inches by 3.75 inches, adhere to an A2 card blank,
- Die cut another pink typewriter, add a score line at the top and adhere to the back of the original typewriter, to create a card blank.
- Add foam pads to the back of the typewriter and adhere to the card base. This allows for an open flap, where you can place your sentiment note in, You can glue in place or leave as a pull out, adding a special message inside.

I love the idea of a secret message!

Project 3 - Happy Birthday

- Using a smooth white A2 card, inkblend a little Distress Oxide, Squeezed Lemonade onto the centre of the card, and set aside.
- Die cut the Typewriter in white, gold mirror, black, and mid blue. Assemble,
- Die cut the leaves and florals in light green, mint, and avocado. Die cut the florals in gold mirror, white, light pink, mid pink, light blue, and mid blue.
- Add foam pads to the back of the typewriter but don't adhere to the card until the florals and leaves are adhered onto the card.
- Now, glue the typewriter over your floral arrangement for a beautiful finish.

I absolutely love this die set, it's stunning!
 Thank you for taking the time to visit me today, I'm always grateful for your crafty friendships! If you have any questions please leave me a message in the comments or over on Instagram, https://www.instagram.com/kittenmoose/
Have a wonderful Friday and I'll be back again Saturday sharing more goodies!
Sending all my love, Jen
Shopping Basket (Some of the links I use are affiliated. This means I make a small commission when you purchase through them but don't worry, there is no additional cost to you. Your support means the world to me, and I am so grateful that you choose to shop through me. From the bottom of my heart, thank you.)
Comments
Post a Comment
Thank you for taking the time to read my blog today. I am thankful for the people in my life and although the world seems upside down at the moment, the joy of craft brings us all together.