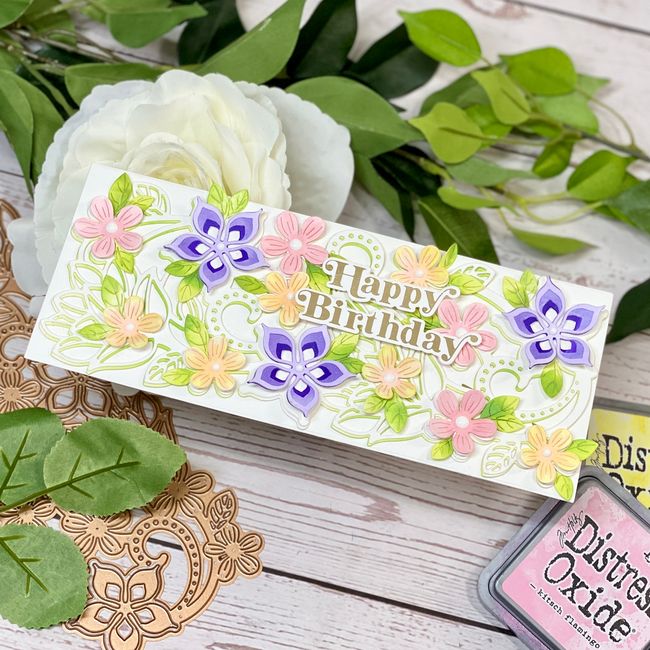
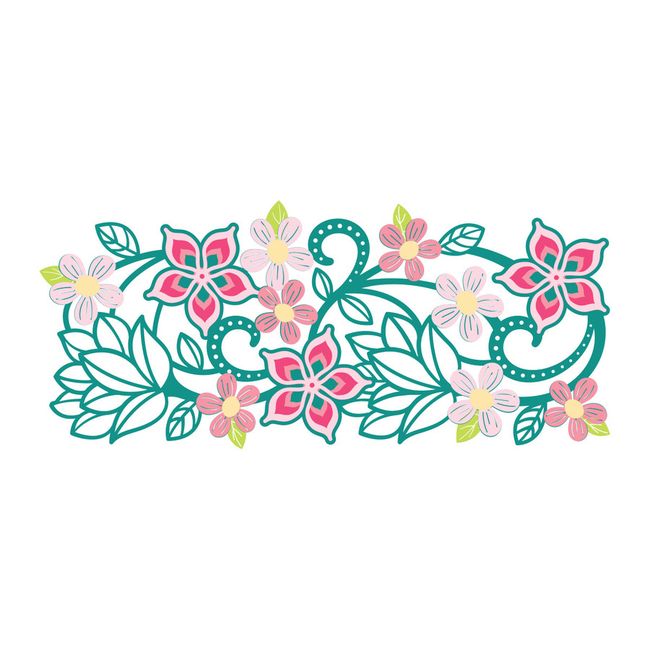
Hello and welcome to my crafty blog! Today I have the pleasure to share with you one of my all-time favorite dies - the new Spellbinders Large Die of the Month, Slimline Kaleidoscope Floral. This is an absolutely stunning die, and I've made a few cards with this already, including one I did for a blog hop lat week - I'll link to the project at the end of this post.
**Thank you for using my affiliate links to shop, your support means so much to me, and I shall endeavour to share as many inspirational posts as possible.**
Join the Large Die of the Month Club and receive an expertly designed die set each month, complete with inspiration. Plus, members get store savings, extra deals, gifts, and more. Click Here to learn more about club membership.
This month's "Kaleidoscope Floral Slimline" large die set is perfect for making cards, decor, and more.
Membership Includes:
- Exclusive Larger Set of Versatile Dies that cut, emboss, deboss and stencil. Double the size of the Small Die Set! $40 Value!
- Project Inspiration: Each kit will feature project ideas with at least one detailed how-to instruction tutorial each month.
- Member Benefits & Savings: Receive exclusive member pricing in the Spellbinders store. Plus receive access to deals, savings, and gifts - only available to members.
Click here --> ALL ABOUT SPELLBINDERS CLUBS HERE
Interested in becoming a member of multiple clubs? Check out the all the NEW Value Club Options.
**Die & Card Kits Include wafer thin dies that can be used on most industry standard manual die cutting machines.
I'm sharing three projects with you today, as I couldn't stop making beautiful cards with this amazing die set!
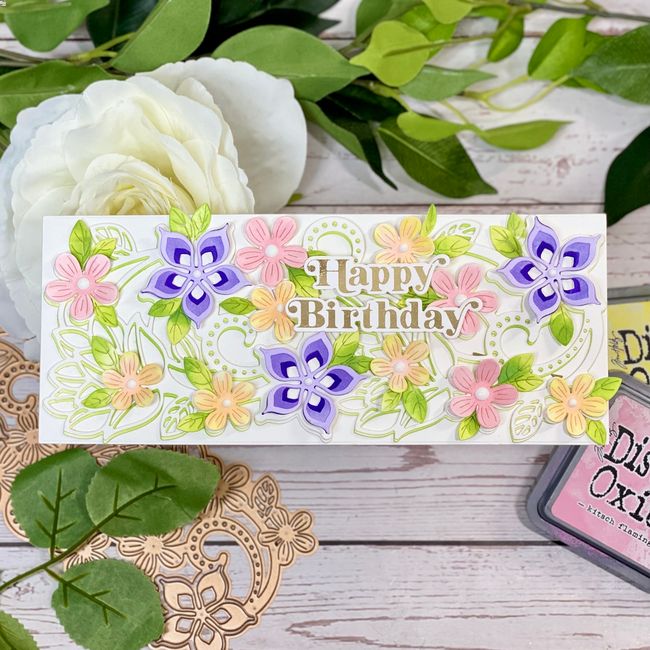
Project 1 - Slimline Birthday Card
- Die cut the Slimline design in white smooth card, and also in a med green, and attach to a slimline card base. Be very careful when removing the green die cut as you want to paper piece all those teeny tiny dots back into your card (the swirls). I love adding small details like this to my cards! You will want to create a drop-shadow with your two die cuts so the green peeks through.
- Use purple alcohol markers on smooth card, light, medium, and dark, then die cut three outer cuts in light, mid cuts in medium, and base cuts in dark purples. Assemble.
- Die cut 12 small flowers and 8 medium flowers in white smooth card. Ink up with Kitsch Flamingo, and Squeezed Lemonade Distress Oxides. Layer up with foam pads and set aside.
- Die cut a ton of florals, and ink up with Squeezed Lemonade, and Grass Green Distress Oxide.
- Assemble the leaves, and florals onto the slimline card base.
- Hot foil in gold the Happy Birthday Sentiment, and attach with foam pads.

Project 2 - A2 Hello Card
- Die cut the slimline die two line in smooth white card, and set aside
- Die cut 2 large base flowers, 3 medium, and 7 small flowers. Set aside.
- Ink blend a panel 4.25" x 3" with Kitsch Flamingo, and Squeezed Lemonade.
- glue one of the white panels onto the ink blended background, and trim.
- Glue the other white die cut onto a white smooth piece of card, 5" x 3.75", making sure it's the same pattern as the ink blended panel.
- Attach panels with foam pads, onto an A2 card base.
- Glue florals onto card, and hot foil the hello sentiment,
- Add small gold embellishments to finish.
Project Three - Thanks
- Trim a piece of white smooth card, 5" x 3.75".
- Die cut 12 small, and 12 medium flowers.
- Ink blend the flowers, small in Squeezed Lemonade and Kitsch Flaming, and the medium flowers in Kitsch Flamingo.
- Glue of the flowers to the card panel as shown, and the add a second layer of flowers with foam pads.
- Hot foil the sentiment and add White Gloss Nuvo Drops to finish.

Those are my three projects using this month's Large Die of the Month, and hope this has given you some inspiration.
Thank you so much for visiting today! I really, REALLY love this die set, and will using it many times in the coming months. Hope to see you soon, all my love, Jen
If you'd like a closer look, you can use my affiliate links, just click here.
If you'd like a closer look, you can use my affiliate links, just click here.
Shopping Basket (Some of the links I use are affiliated. This means I make a small commission when you purchase through them but don't worry, there is no additional cost to you. Your support means the world to me, and I am so grateful that you choose to shop through me. From the bottom of my heart, thank you.)


Comments
Post a Comment
Thank you for taking the time to read my blog today. I am thankful for the people in my life and although the world seems upside down at the moment, the joy of craft brings us all together.