Hi friends! Today I'm sharing something completely new to me - HOT FOILING! I'm ashamed to say I was gifted a Hot Foil Machine from a lovely friend, over two years ago, and it's only now that I'm learning how to hot foil. Whoops!
*Thank you for using my affiliate links to shop, your support means so much to me, and I shall endeavour to share as many inspirational posts as possible.
However, with my very first hot foil plate and die sets, I'm already hooked! To be honest, I thought it might be a waste of time as we already heat emboss. Boy, was I wrong! Foiling is entirely different, it's smooth, and ridiculously beautiful! I still have a lot to learn, but my first efforts were a success!
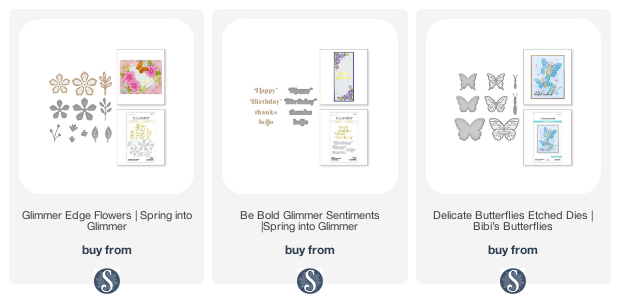
I've been using two sets from the, 'Spring Into Glimmer' Launch and had a great time!
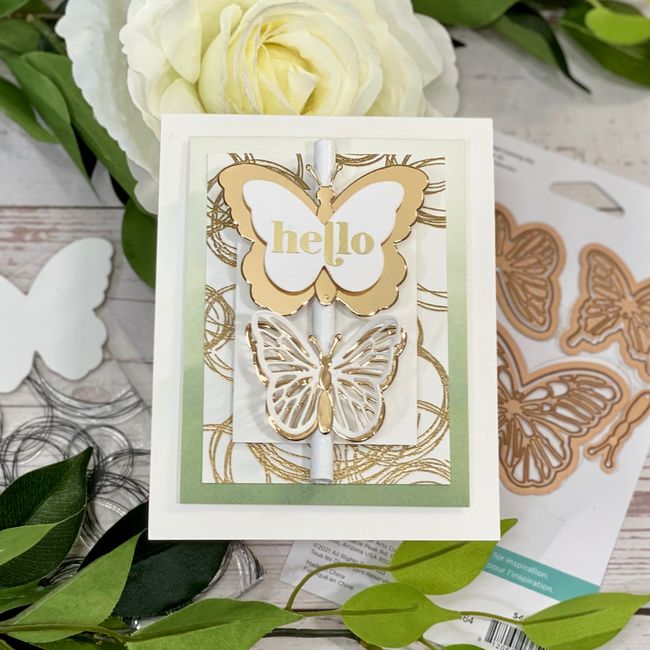
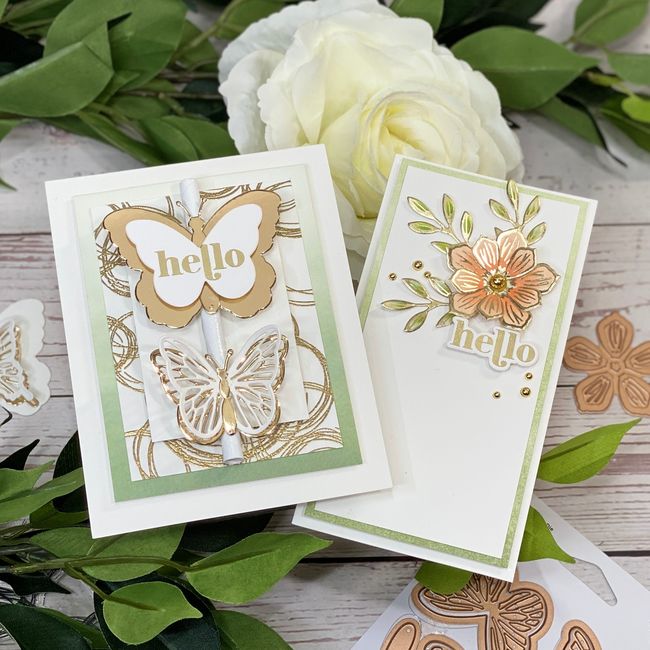
Project One - Hello
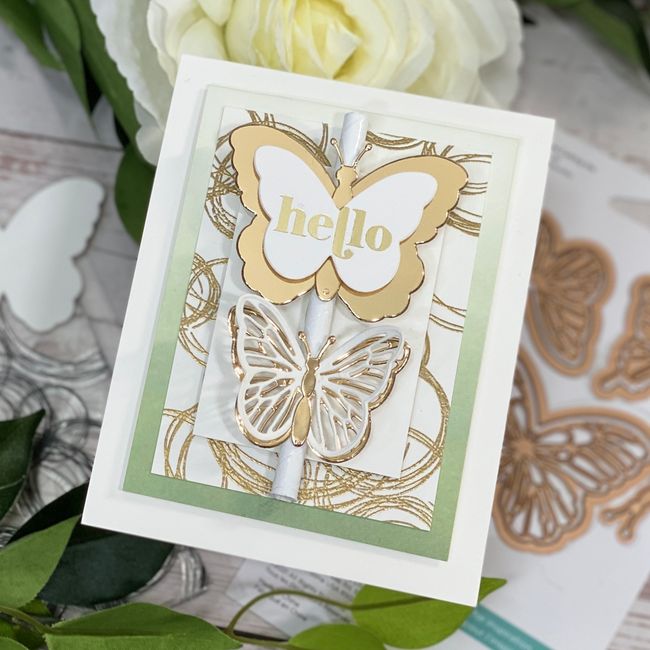
Trim 4 pieces of smooth white card, 11" x 4.25", score at 5.52 (creates A2 card base), 4.75" x 3.5", 4.25" x 3", and 3.25" x 2.25". Ombre ink blend your 4.75" x 3.5" panel with Bundled Sage Distress Ink, Dark to light, bottom to top. Hot foil the Hello, from Be Bold Glimmer Sentiments, in gold, and then die cut using Delicate Butterflies Etched Dies Set, from Bibi Cameron. Congratulations, Bibi! Die cut some more butterflies in both gold mirror and white card, and set aside.
Gold heat-emboss the Circle Sketch Stamp on the panel 4.25" x 3". If you don't have a white paper straw, you can white heat emboss one (mine was white with black polka dots). Just roll the straw onto your embossing pad then cover with embossing powder. You can do this more than once if needed, or just use a white straw if you have one. Trim to size.Adhere all your panels onto the A2 cardbase with foam pads.
Glue the butterflies together, and then use hot glue to attach them to the straw, and then to your card front. I really love this card, it's elegant, clean, and modern.
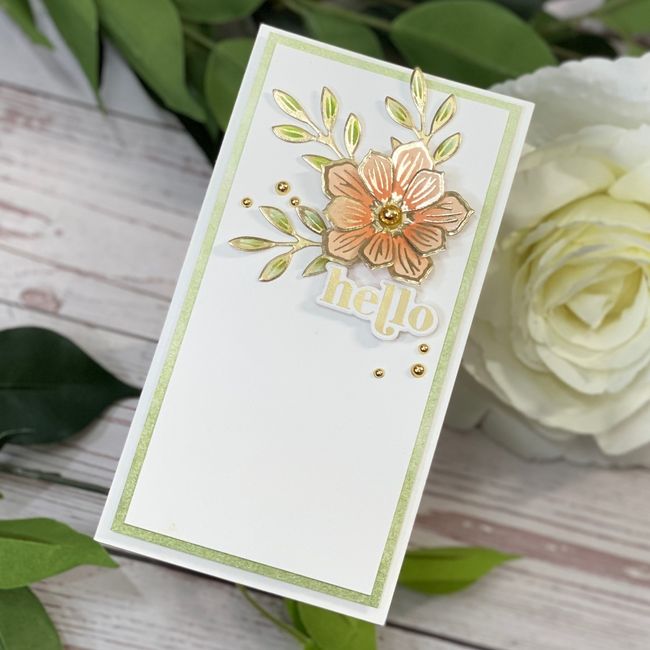
Project Two - Mini Slimline Glimmer Edge Floral Card
Mini slimline cards are my absolute favorite shape to make!
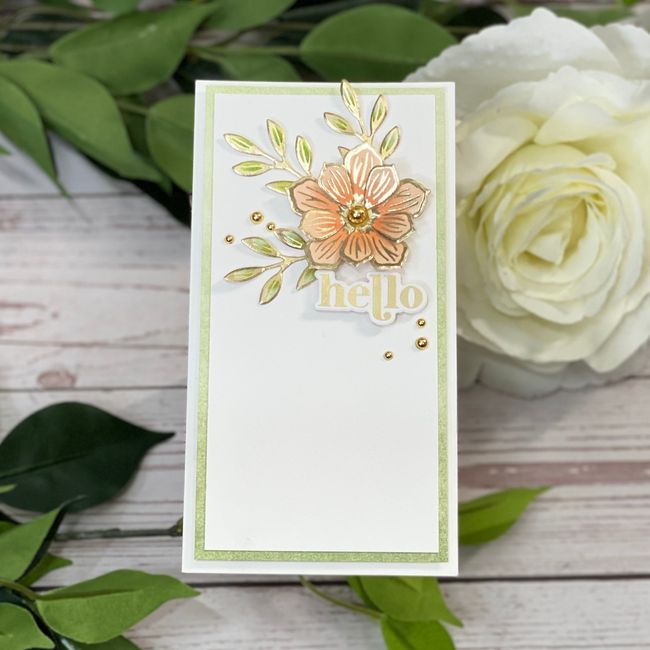
Trim three panels in smooth white card, 6.25" x 6.5" and score at 3.5" to create a mini slimline card base. The other two panels are 6" x 3", and 5.75" x 2.75". Once again, use Bundled Sage Distress Ink on your 6" x 3" panel, going from dark to light, bottom to top.
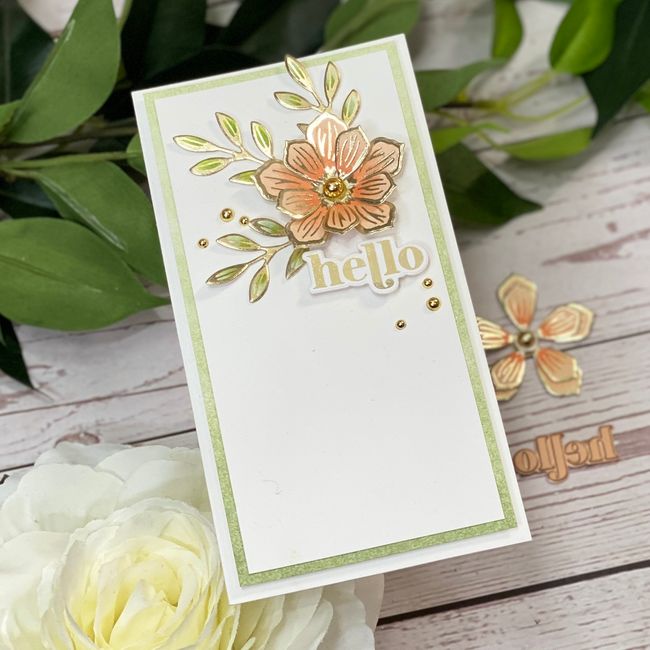
Using the Glimmer Hot Foil Machine, gold foil, the Glimmer Edge Flowers and leaf. Wow, this is something else! I'm really impressed with the foiling machine, it worked the very first time I used it, and had no waste.
Color the florals with peachy alcohol markers, and the leaves with greens. Next, hot foil the 'hello' sentiment, from the be bold glimmer sentiment set. I'm loving the gold hot foil look!
Attach your panels onto the card base, and die cut your sentiment, florals, and leaves. Adhere elements to the card front, and add gold embellishments to finish.
These two cards are a little cleaner than I normally make, but I was really feeling the sleek lines and modern feel to the dies and hot foil. I cannot wait to get some more hot foil dies and see what else I can do with them. These are a perfect set of cards and coordinate beautifully.
Thank you for visiting my blog today, and I hope that I've given you some inspiration to use in your cardmaking. I am a Kit Influencer and regular blogger so be sure to keep up-to-date with all my creative crafty blogs. Crafty hugs, Jen
Some of the links I use are affiliated. This means I make a small commission when you purchase through them but don't worry, there is no additional cost to you. Your support means the world to me, and I am so grateful that you choose to shop through me. From the bottom of my heart, thank you.
Click here for my product links
Marisela Delgado said: Wow! So gorgeous! ☺ Marisela mariandmonsterd@yahoo.com
ReplyDelete