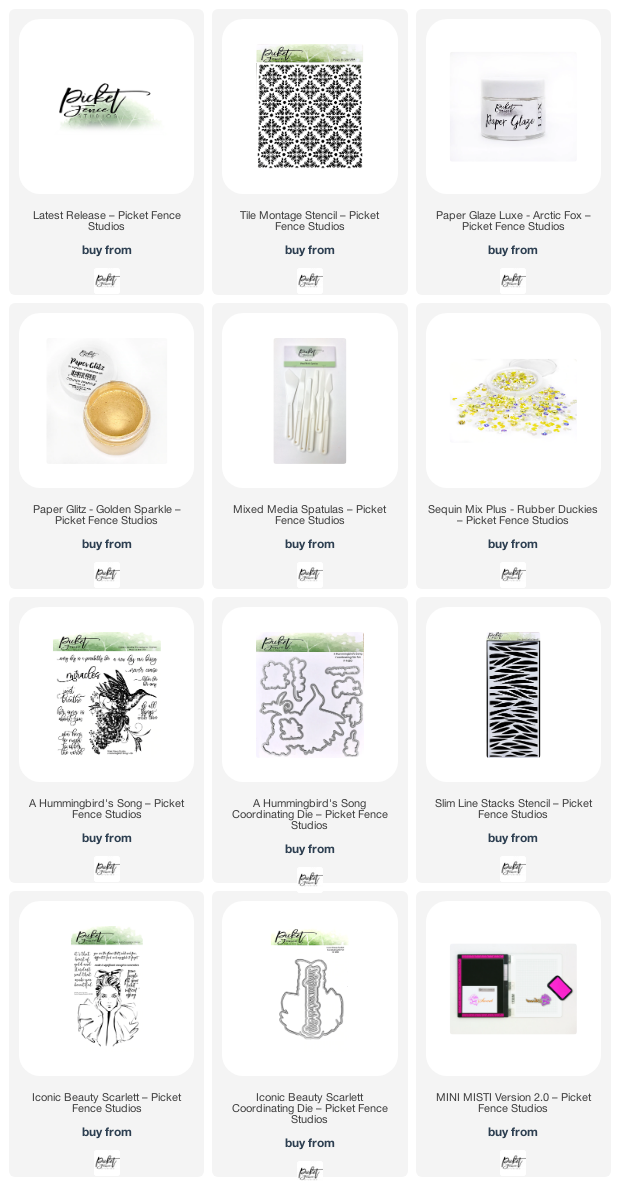
Hi friends, today I'm sharing a couple of cards for the Picket Fence June 2022 launch! I had a lot of fun focusing on a couple of the new stencils, and have some beautiful projects that might inspire you.
**Thank you for using my affiliate links to shop, your support means more to me than ever. If you're here, that means you enjoy my posts and find them inspirational, and I'll strive to create quality tutorials and projects .**
Project One - Tulle Shaker
Paper Glaze Lux, Arctic Fox
Mixed Media Spatulas
Tile Montage Stencil
A Hummingbird's Song (sentiment)
Sequins Mix Plus, Rubber Duckies
Most people know that I have an issue with acetate, which is I just don't like it. It's too icky and shiny for me. Of course I use it occasionally, but prefer my shakers with vellum, tulle, and other transparent or sheer materials.
After creating an Oxide background, I stencilled the Arctic Fox, Paper Glaze Lux directly on top of it.
After creating an A2 frame, I added tulle to the back of it, and shaker tape over top. Add a foam pad in the centre of the stencilled A2 panel once the glaze is dry, add sequins and adhere the tulle frame. I will use an anti static bottle to go around the sides of the foam pad to stop sequins from sticking to them.
Stamp out the sentiment, and add Golden Sparkle Glitz to the outside ring, The tulle gives a soft, subtle elegance to shakers that I love. I particularly like how the Oxide has slightly come through the glaze.
Project Two - Feature Stencilled Background
Slimline Stacks Stencil (I LOVE THIS!)
Iconic Beauty Scarlet, Stamp Set
Iconic Beauty Scarlet, Die Set
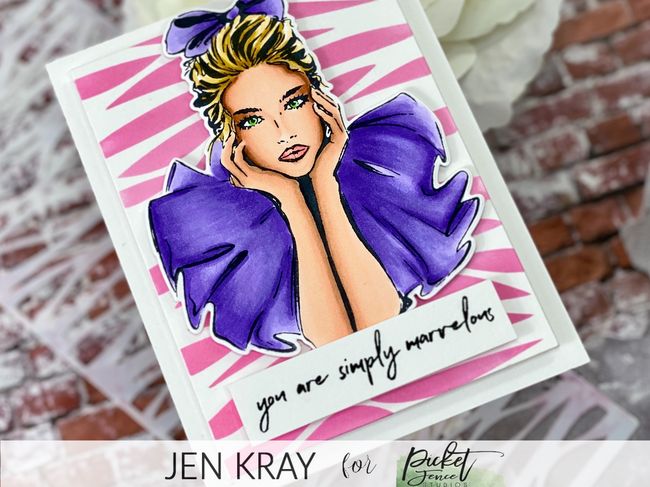
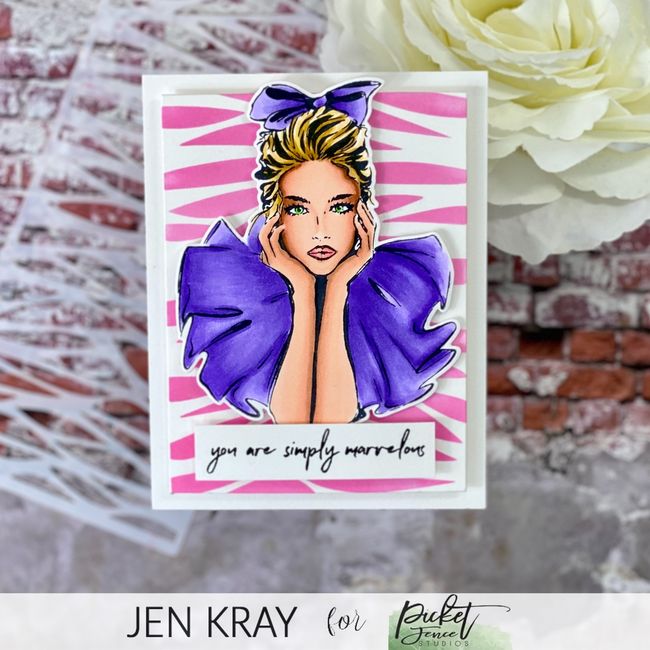
I am IN LOVE with this slimline Stacks Stencil, it's absolutely gorgeous, and will become a staple item this year. I've teamed this stencil up with the Iconic Beauty, Scarlet for an 80's vibe card. I grew up in the 80's so this image really resonated with me in that way.
As this is 80's inspired, I went with the brighest pink Oxide ink I had, Picked Raspberry. I trimmed down the panel 3.75" x 5" and used foam pads to mount onto an A2 card base.
I stamped out my Iconic Beauty and used my Ohuhu markers to color her in. If there are Ohuhu users out there, I am happy to start sharing my swatches and self made combination color swatches. I am no expert with alcohol markers, but a little practice here and there is slowly building a foundation I can take, and grow on.
I then stamped out the sentiment, die cut the image, and adhered them onto the card and panel.
I then stamped out the sentiment, die cut the image, and adhered them onto the card and panel.
She is my 80's girl and I love her so much! Skin tones are tricky but i'm getting there.
Thank you for visiting me today, and I'll be back soon with so much more!
Sending lots of crafty hugs your way.
Jen xoxo
Shopping Links
Some of the links I use are affiliated. This means I make a small commission when you purchase through them but don't worry, there is no additional cost to you. Your support means the world to me, and I am so grateful that you choose to shop through me. From the bottom of my heart, thank you.


Comments
Post a Comment
Thank you for taking the time to read my blog today. I am thankful for the people in my life and although the world seems upside down at the moment, the joy of craft brings us all together.