Hello friends and welcome to my papercrafting space!

Until then, I'll be very slow to craft and blog, but will do my best and hope to stay on top of things.
**Thank you for using my affiliate links to shop, your support means more to me than ever. If you're here, that means you enjoy my posts and find them inspirational, and I'll strive to create quality tutorials and projects .**
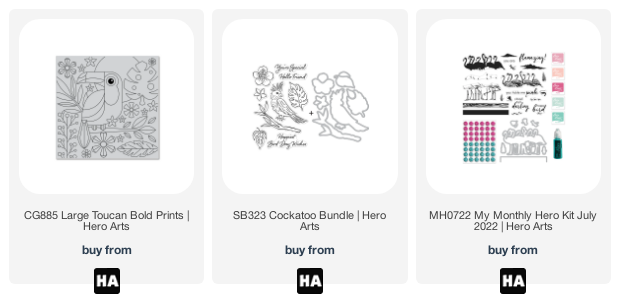
The, My Monthly Hero for July is available now and it's a BEAUTY! There's a tropical theme that runs thoughout the entire collection, from Toucans, Flamingo's, Cockatoo's, and tons of foliage! If you want to see the full release, it's here.
My first project for the month focuses on the amazing Toucan Large Bold Print, and the sentiment from the Cockatoo Bundle. Both can be found here.
The Project
Easy Coloring For Bold Prints

- Stamp out this large rubber stamp using any alcohol friendly ink. When stamping rubber stamps, I take the foam out of my MISTI for a perfect impression.
- I trimmed down the image before I started to color, 5" x 3.75".
- The trick with large bold prints is to not worry about perfect blending. This is a cool image with large spaces to color in and the key is to use bold, and bright colors. Not only is this a little quicker than your traditional coloring, but it looks super cook when it's finished!
- These are the Ohuhu Alcohol Markers, I used. There's also a few Nuvo Alcohol Markers I used.

I was having too much fun to worry about writing down color blends or shades I used, but these two pots hold all the colors used.

They're mostly Ohuhu but a few are Nuvo Alcohol Markers too.

- One other thing I'd like to mention is the background. I colored everything with a very light cool grey, then used a slightly darker shade to make a shadow around the image. Although this is very subtle, it's really effective when you see i it with the naked eye.
- Once the coloring has dried, use some white ink to splatter the image. This helps break up very large areas and adds interest to the project.
- White heat emboss onto black card, and trim to size the sentiment.
- Trim a piece of black card 5 1/8th x 3 7'8th. Assemble the panels onto an A2 card base, and adhere the sentiment with foam pads.
- Add flat back pearls to finish.

I hope this has given you some inspiration for coloring large prints, but the most important thing is to have fun! If you'd like to check out the products I've used, you can use my link below.
See you soon,
See you soon,
Jen
Some of the links I use are affiliated. This means I make a small commission when you purchase through them but don't worry, there is no additional cost to you. Your support means the world to me, and I am so grateful that you choose to shop through me. From the bottom of my heart, thank you.
Comments
Post a Comment
Thank you for taking the time to read my blog today. I am thankful for the people in my life and although the world seems upside down at the moment, the joy of craft brings us all together.