Hi friends! Today I'm sharing a super fun scene-building Christmas card.
I have so much to catch up with, but we're getting there.
**Thank you for using my affiliate links to shop, your support means more to me than ever. If you're here, that means you enjoy my posts and find them inspirational, and I'll strive to create quality tutorials and projects .** It's a BIG day for me on Friday, I have my first post-op check-up. The known success of my operation may take many months, but I'm hoping for a neutral report card from my Team. As long as my results haven't significantly declined, there's no reason to think it won't have worked. In other words, I'm staying calm and carrying on.
 Start out with a piece of smooth card 5.25" x 4". Use the Window Seat to the World stamp set. Use the wood stamp three times from the bottom up. Now color the wood with Copic markers. Mask the wood, and ink-blend the rest of the panel (the white portion) with Distress Oxide Salvaged Patina.
I have so much to catch up with, but we're getting there.
**Thank you for using my affiliate links to shop, your support means more to me than ever. If you're here, that means you enjoy my posts and find them inspirational, and I'll strive to create quality tutorials and projects .**
 It's a BIG day for me on Friday, I have my first post-op check-up. The known success of my operation may take many months, but I'm hoping for a neutral report card from my Team. As long as my results haven't significantly declined, there's no reason to think it won't have worked. In other words, I'm staying calm and carrying on.
 Thank you for all your continued support, and for hanging in there with me during these challenging times. I have so much more to give and I'm already making BIG plans for 2023!
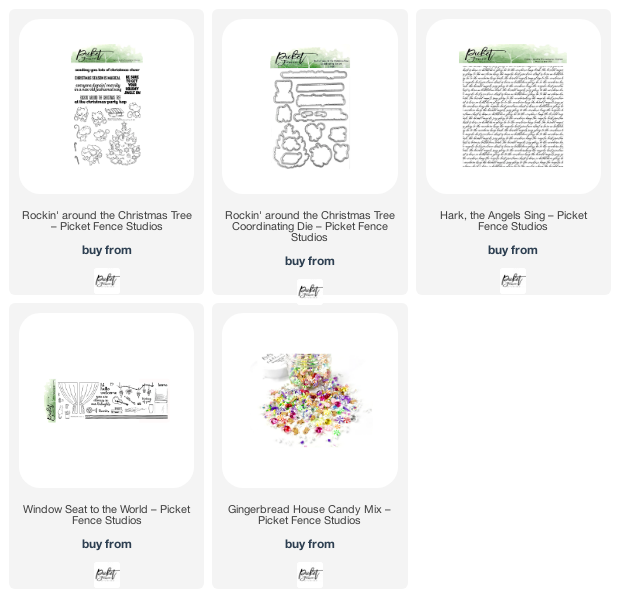
This month, Picket Fence Studios has the cutest launch! This is the brand new, 'Rockin' Around the Christmas Tree' stamp and die set, and the NEW 6"x6" script Background stamp!
Products
Rockin' Around the Christmas Tree Stamp Set
Rockin' Around the Christmas Tree Coording Die Set
Hark, the Angels Sing Background Stamp
Window Seat to the World Stamp Set
Gingerbread House Candy Mix
Products
Rockin' Around the Christmas Tree Stamp Set
Rockin' Around the Christmas Tree Coording Die Set
Hark, the Angels Sing Background Stamp
Window Seat to the World Stamp Set
Gingerbread House Candy Mix
ROCKIN' AROUND THE CHRISTMAS TREE A2 CARD

Once dry, and with the mask still on, stamp the Hark background stamp over the blue background with more Salvaged Patina. Stamp out the cute mice, tree, and sentiment from the 'Rockin Around the Christmas Tree' stamp set. Color images with Copics and then die cut. These cute mice needed pajamas, but you can also just color them as regular ole' mice if that suits you better.

Jen

Assemble all the die cuts onto the stamped and colored panel with foam pads. Pop the finished panel onto an A2 card base and then add the gorgeous clay candies.

Now you're ready to pass on this sweet card to someone at Christmas! If you colored a whole sheet of images, then made a whole sheet of wood, and ink-blending - with a little tweaking, you could turn this into a batch-making session.
That was a lot of fun, and thank you for visiting me today!
Lots of crafty love,Jen
Some of the links I use are affiliated. This means I make a small commission when you purchase through them but don't worry, there is no additional cost to you. Thank you for all your support.
Comments
Post a Comment
Thank you for taking the time to read my blog today. I am thankful for the people in my life and although the world seems upside down at the moment, the joy of craft brings us all together.