
Hi friends! I know it's been a while but I'm still recovering from my surgery and although it's going pretty good, it's also very slow.
The good news is that I had already made some projects, this being one of them for an Instagram Hop with Picket Fence Studios and Maker Forte. If you'd like to join the HOP fun and have a chance to win a $25 voucher from Picket Fence Studios and Maker Forte, you can start here over on Instagram here: IG HOP

**Thank you for using my affiliate links to shop, your support means more to me than ever. If you're here, that means you enjoy my posts and find them inspirational, and I'll strive to create quality tutorials and projects .**
A full list of Picket Fence Studios Materials PFSTAMPS
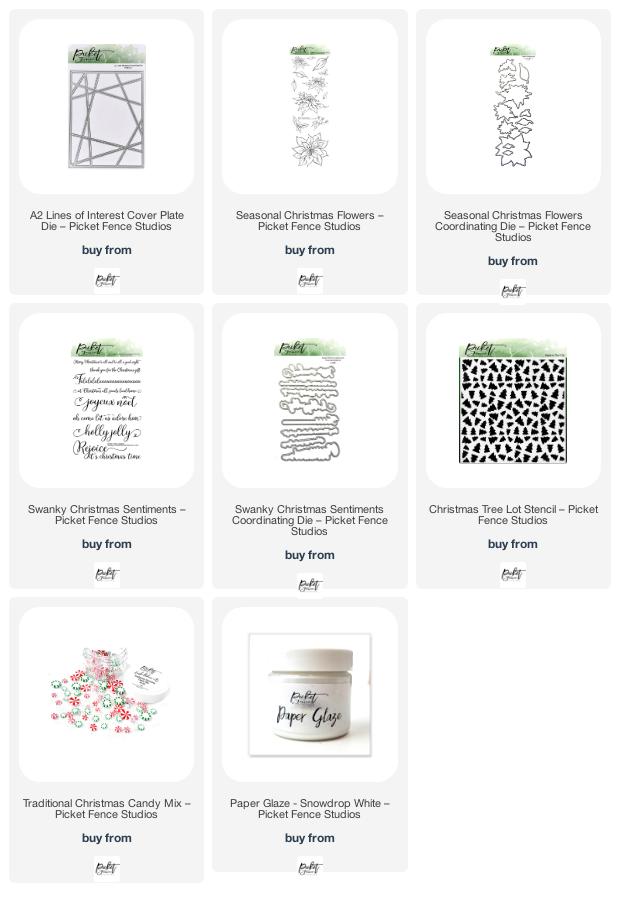
- A2 Lines of Interest Coverplate Die
- Seasonal Christmas Flowers Stamp Set
- Seasonal Christmas Flowers Coordinating Dies
- Swanky Christmas Sentiments Stamp Set
- Swanky Christmas Sentiments Coordinating Die
- Christmas Tree Lot Stencil 6"x6"
- Traditional Christmas Candy Mix
- Paper Glaze Snowdrop White
- Life Changing Blender Brushes
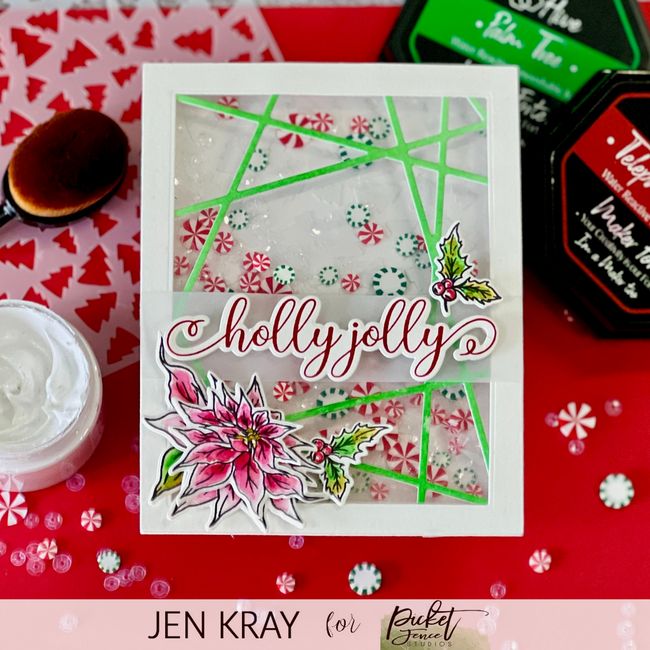
Holly Jolly A2 Shaker Card
I love the Poinsettia, so when I was sent the red and green ink pads from Maker Forte, I knew I would use this stamp and die set. I was also waiting for an opportunity to use the best sequin mix ever - the Traditional Christmas Candy Embellishment Mix!
If you want to know how I made this beautiful card, my recipe is below.
RECIPE:
Stamp out the images and watercolor with the Color Hive Reactive Inks. They are lovely to later and you can get a deep red and bright green. I also used a small amount of yellow for the middle of the poinsettia and the leaves.
Die cut a piece of watercolor card with the A2 lines of Interest Coverplate and then ink it up with Palm Green.
Next, using a set of A2 nesting dies, create a watercolor card frame thick enough to create a shaker border. Set aside.
Use the tree stencil and white Paper Glaze on a piece of A2 watercolor Card. Set aside to dry or heat set.
Glue the green lines of interest die cut to the A2 white frame you made earlier. Cut an A2 size piece of thick acetate and adhere to the back of both with double-sided tape.
Next, use foam pads or shaker foam around the frame. Because the shaker mix I'm using is clay and dimensional, I doubled up my foam pads.

Once the stencil panel is dry, add the Christmas Candy sequin mix and then the frame on top. You should have enough room for all the clay elements to move freely. And although the stenciled trees are white, this gives a subtle texture to an otherwise stark background.
.jpg)
Stamp out the sentiment with the red ink - this is a great way to keep the card palette consistent. Add a piece of vellum under the bottom of the sentiment and attach it to the card front.
Next, adhere the stamped images to the card front and add a couple candy sequins to the front of the card.
To finish, add the shaker panel to an A2 card base.
Although there are quite a few steps to this card it will only take about 30 minutes to make. In fact, if you did multiple steps with this card, you could make quite a few in one sitting.

Hopefully, I continue to heal and start to bounce back soon. I miss my crafty desk! Until then, have a wonderful weekend.
Lots of crafty love,
Jen
Some of the links I use are affiliated. This means I make a small commission when you purchase through them but don't worry, there is no additional cost to you. Your support means the world to me, and I am so grateful that you choose to shop through me.
Comments
Post a Comment
Thank you for taking the time to read my blog today. I am thankful for the people in my life and although the world seems upside down at the moment, the joy of craft brings us all together.