
Hi friends!
**Thank you for using my affiliate links to shop, your support means more to me than ever. If you're here, that means you enjoy my posts and find them inspirational, and I'll strive to create quality tutorials and projects .**
Today is all about this beautiful new pierced blanket cover plate die! It comes in two sizes, A2 and slimline, but we're using the A2 die for this project.
Shopping Basket
A2 Pierced Blanket Cover Plate Die
Plumeria Rubra
A Little Note Word Die
Gem Mix - Sands of Time
PFS Black Hybrid Ink
White Smooth Card
Navy Card
Copic Colors - (flowers) B02, B04, B06, BV08 (leaves) YG01, YG05, G09
A2 Pierced Blanket Cover Plate Die
Plumeria Rubra
A Little Note Word Die
Gem Mix - Sands of Time
PFS Black Hybrid Ink
White Smooth Card
Navy Card
Copic Colors - (flowers) B02, B04, B06, BV08 (leaves) YG01, YG05, G09
Just A Note A2 Card
To start, stamp out the beautiful Plumeria Rubra Stamp with PFS Black Hybrid Ink. I always heat set my ink although this is not essential. Next, I color the flowers with B02, B04, B06, and BV08 with a flicking stroke. Next, color the leaves with YG01, YG05, and G09. 
 Attach your panel onto an A2 card base, and then the sentiment with foam pads. Next, add the sands of time gems for a little bling. To finish, use a white gel pen to for a little white detail. |
 Isn't this a great combination? I absolutely love this die and it adds texture to otherwise plain backgrounds.
 Thanks for visiting me today, and I hope this card has given you a little inspiration.
Some of the links I use are affiliated. This means I receive a small commission when you purchas though them. But don't worry, it doesn't cost you anything additional, but supports me as a small creator. I'm so grateful to you all! 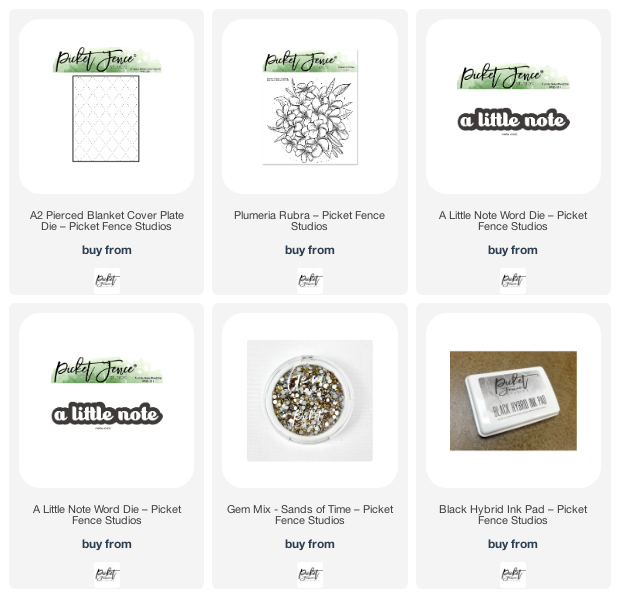
Lots of hugs,
Jen
Comments
Post a Comment
Thank you for taking the time to read my blog today. I am thankful for the people in my life and although the world seems upside down at the moment, the joy of craft brings us all together.