Hi friends and thanks for joining me today for the new Picket Fence Studios release.
**Thank you for using my affiliate links to shop, your support means more to me than ever. If you're here, that means you enjoy my posts and find them inspirational, and I'll strive to create quality tutorials and projects .**
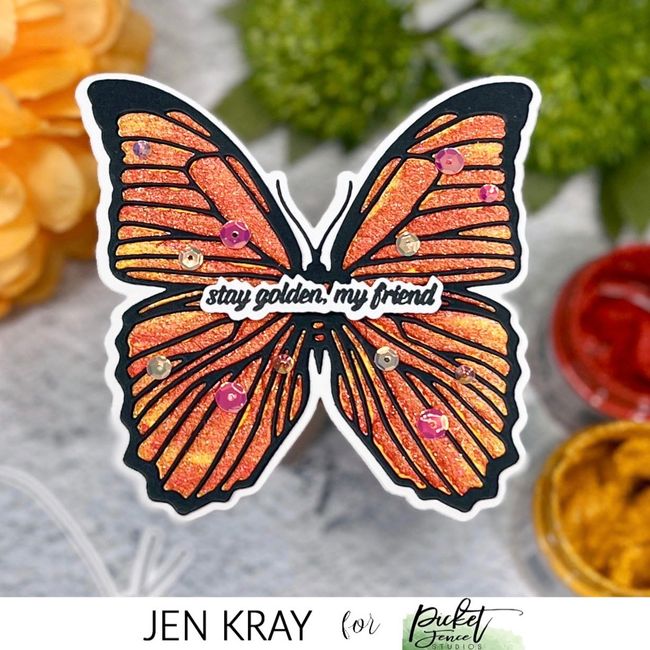
There are so many amazing products this month but I want to start with the gorgeous, Soar Butterfly Die. It's my favorite in the whole collection this month and I hope to see more.
The Soar Butterfly comes with an intricate die and an outer die, perfect if you want to make shaped cards like I have!
Stay Golden, my friend - shaped card
The first thing I did was to create a card base with the outer die by folding a piece of card in half and allowing a very small amount of hangover at the top. You'll want to die cut another outer die with the same white card and set it aside.
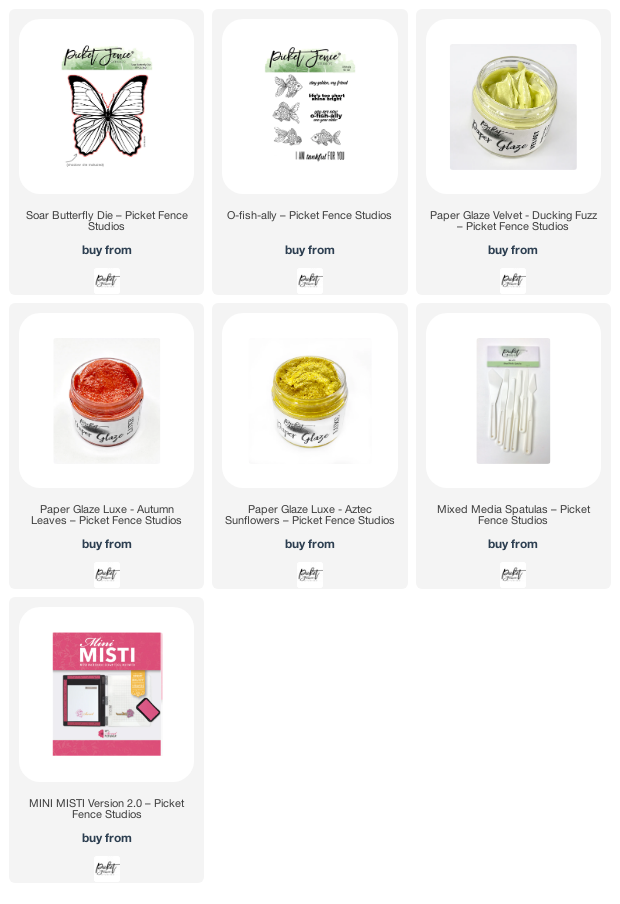
Next, die cut the intricate die and adhere it to a piece of watercolor card. using a spatula start adding both Luxes - over the top of the butterfly. Don't worry about staying inside the design as you're going to cut it out later. I've used Autumn Leaves and Aztec Sunflowers. I've then added fuzzling duck over the whole image to really bring out any yellows and to tone down the glitter just a little.
 Once completely dry, I fussy cut the design out. You do not have to be careful, e.g. I cut off the head and was not careful around the edges. Next die cut another intricate soar butterfly in black card and adhere it to your glazed one. Next, attach your butterfly to the extra white outer die cut, then attach it to your card base. Stamp out and die cut your sentiment, adding it to the center of your shaped card. I've added a few sequins to finish.
I hope you love this card as much as I do - these would be perfect to make as party invites or thank you cards and if you used ink instead of glaze, you could make a ton in one session.
Lots of crafty hugs,
Jen
Some links I use are affiliated. This means I make a small commission when you purchase through them but don't worry, there is no additional cost to you.


Comments
Post a Comment
Thank you for taking the time to read my blog today. I am thankful for the people in my life and although the world seems upside down at the moment, the joy of craft brings us all together.