Hello friends! Spring is just around the corner, and I'm so ready for the brighter days ahead! I live in England, and our climate is SOGGY and grey from October to February, so we welcome the changing Season.
Today is the last day of the President's Day FLASH SALE click here

The Picket Fence Studios February Release is out now and there are some amazing products this month! For my project, I'm focusing on the new Slim Line Tree Branch Die. This really is a must-have, and I can see myself reaching for it on multiple projects.
PRODUCTS
.jpg) Instructions
Instructions
.jpg) I hope that this has given you some inspiration for slim-line
I hope that this has given you some inspiration for slim-line
Follow me
Lots of crafty hugs, Jen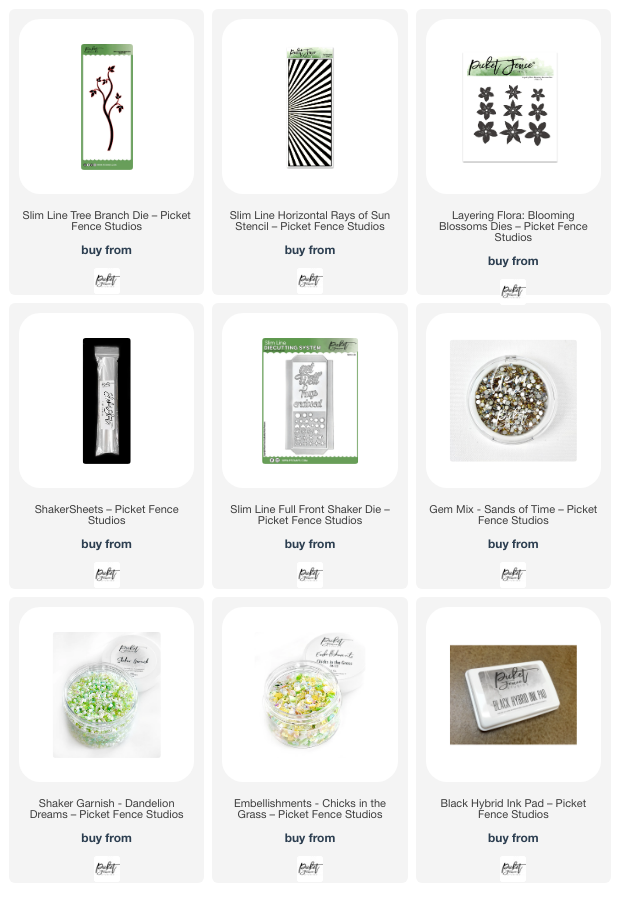
.jpg)
Today is the last day of the President's Day FLASH SALE click here
The Picket Fence Studios February Release is out now and there are some amazing products this month! For my project, I'm focusing on the new Slim Line Tree Branch Die. This really is a must-have, and I can see myself reaching for it on multiple projects.
PRODUCTS
- Slim Line Tree Branch Die
- Slim Line Full Front Shaker Die
- Slim Line Horizontal Rays of Sun Stencil
- Layering Flora: Blooming Blossoms Dies
- Shaker Sheets
- Gems Mix - Sands of Time
- PFS Black Hybrid Ink Pad
- Shaker Garnish - Dandelion Dreams
- Embellishments - Chicks in the Grass
Full Front Slim Line Shaker Card
.jpg)
- Use yellow ink through the Slim Line Horizontal Rays of Sun Stencil onto a piece of smooth white card 8.5" x 3.5".
- Die cut the Slim Line Tree Branch Die and the Layering Flora: Blooming Blossoms Dies, and color both with alcohol markers. Alternatively, use colored card or ink.
- Stamp out with sentiment with PFS Black Hybrid Ink Pad, and then die cut.
- Die cut one of the Shaker Sheets with the Slim Line Full Front Shaker Die.
- Using double sided tape, attach three sides of the die cut shaker sheet to the stencilled panel.
- Add in the Shaker Garnish - Dandelion Dreams and Embellishments - Chicks in the Grass, then adhere the last side. You now have a gorgeous shaker panel!
- Attach your shaker panel onto a slim line card base, and then glue the tree branch, the flowers, gems, and sentiment to the front of the card.
.jpg)
Follow me
Lots of crafty hugs, Jen
Some of the links I use may be affiliated. This means I make a small commission when you shop through them - but don't worry, it doesn't affect the cost to you.
Comments
Post a Comment
Thank you for taking the time to read my blog today. I am thankful for the people in my life and although the world seems upside down at the moment, the joy of craft brings us all together.