
Hello crafty friends!**Thank you for using my affiliate links to shop, your support means so much to me, and I shall endeavour to share as many inspirational posts as possible.**
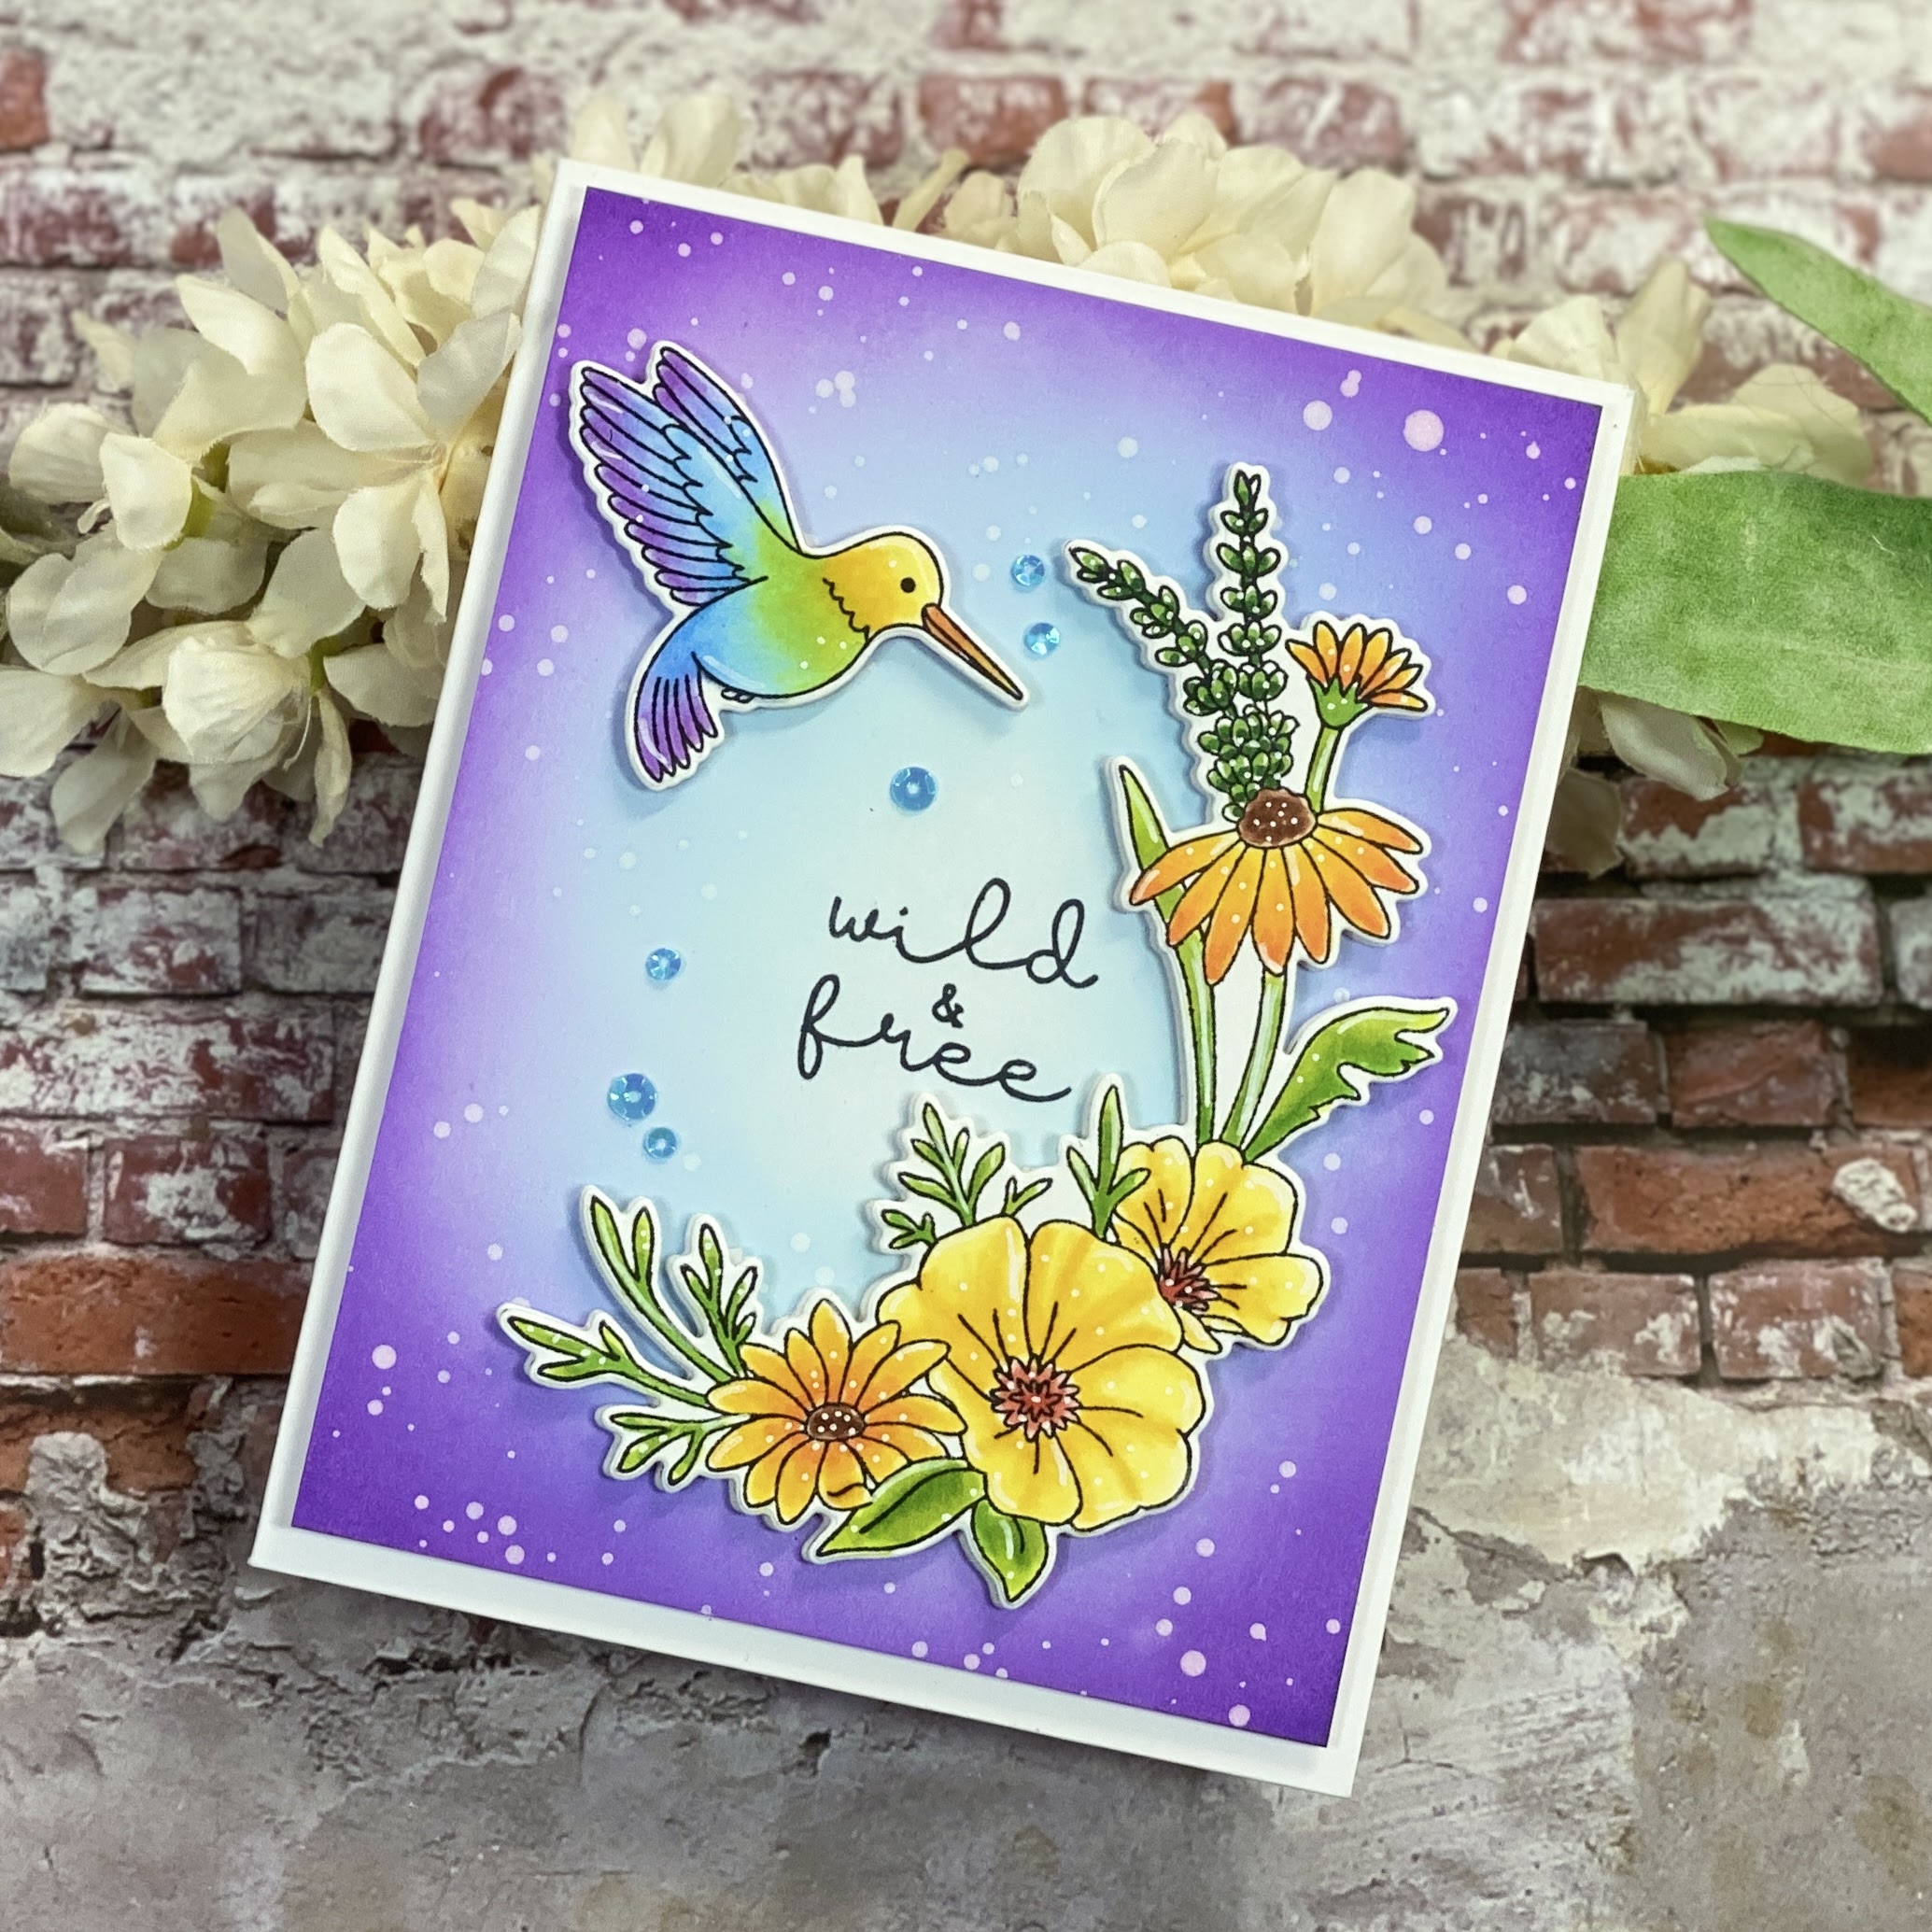
Today I'm sharing a beautifully bold wildflower card with you. These gorgeous images are a promise of the joys of Spring.
January 2022, Stamp Club - Wildflower Wonderland
A2 Hummingbird Card

Materials
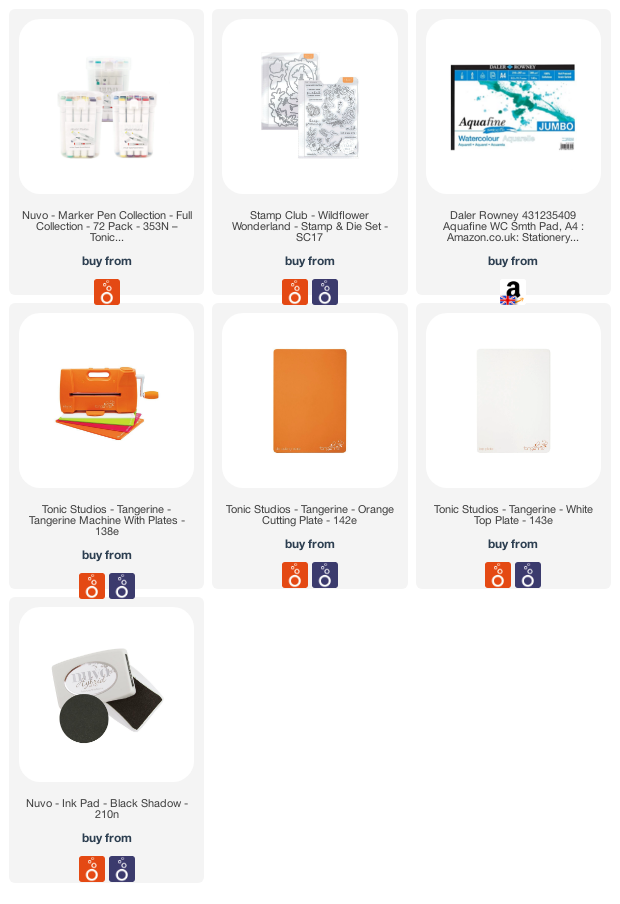
Wildflower Wonderland Stamp Club
Tangerine Die Cutting Machine, Stamping Platform/Stamp Block
Nuvo Hybrid Inks – Borrowed Light, Blue Mineral, Spring Heather, Royal Plum, Black Shadow Hybrid Ink
Nuvo Blending Brushes
Nuvo Alcohol Markers:
- Hummingbird - 392, 393, 401, 405, 410, 425, 247, 437, 433
- Leaves 410, 412, 416
- Centre floral 401, 403, 405, 373, 374, 375
- Outer Florals 405, 391, 393, 477, 478, 461
Craft Perfect 300GSM Smooth White Card
Alcohol marker friendly card
White Acrylic Ink
Small Round Paintbrush
Sub-zero sequins
Craft Perfect A2 Card blank
- Stamp the floral image onto alcohol friendly card with Black Shadow Hybrid Ink. Begin with the lightest of the greens, 401. Next, use 412 and blend the two colours together. Add 416, the darkest colour. You may want to go between shades for seamless blending. The more saturated the card is the easier it will be to blend.
- Colour the centre florals with 401, 403, 405. Colour the outer florals with 405, 391, and 393. Use 413, 415, 417 for the sprig.
- Colour the centres of your florals with 373, 374, 375. Use 477, 478, 461 for the centres of the outer florals.
- Die cut the floral image once the alcohol markers are completely dry.
- Stamp the hummingbird with Nuvo Black Shadow Hybrid Ink and colour with 392, 393, 401, 405, 410, 425, 247, 437, 433. Die cut once dry and set aside.
- Trim a piece of smooth 300gsm card 4 inches by 5.25 inches. Use Nuvo Hybrid Inks, starting with Royal Plum on the outside edge, followed by Spring Heather, Blue Mineral and working towards the centre with Borrowed Light. Blend colours until you are happy with the finish.
- Use your die cut pieces to find the perfect alignment for your sentiment before stamping. First stamp Wild, then & free as you want them as close together as possible.
- Cover your sentiment with a piece of scrap paper and splatter white acrylic ink over your inked panel with a small paintbrush. Allow to dry.
- Use foam pads to adhere your hummingbird and floral piece onto your inked panel.
- Adhere your panel onto an A2 card base. Add sequins to finish.


Jen x
Comments
Post a Comment
Thank you for taking the time to read my blog today. I am thankful for the people in my life and although the world seems upside down at the moment, the joy of craft brings us all together.